How to choose the best stabilisers for embroidery

Even with a good machine, a beautiful embroidery design can quickly look messy if the fabric gives, puckers or disappears under the stitches while you embroider. That's why the best stabilisers for embroidery aren't simply the thickest or stiffest ones. They suit the fabric, the size of the design and how the finished piece will later be worn, washed or used.
Once you've seen how smoothly a design sits on jersey with the right backing, or how crisply lettering comes out on towelling, you won't want to go without. With a few simple rules, choosing a stabiliser becomes much easier - even if you're only just getting started with your embroidery machine.
Why stabiliser makes such a difference
In machine embroidery, the thread pulls on the fabric in many directions. Without stabilisation, the material can distort. The result is shifted outlines, little ripples around the design or embroidery that looks untidy on the back. With stretchy, delicate or fluffy fabrics in particular, simply hooping the fabric tightly isn't enough.
Stabiliser keeps the area steady while you embroider. It spreads the pull of the stitches and supports the fabric where the machine places lots of thread. After stitching, depending on the type, it is carefully torn away, cut away or washed out.
The rule of thumb: a stabiliser should support the fabric, not overpower it. A delicate blouse needs a different solution from a felt bag. And a large, densely stitched design needs more support than a small name on a baby bodysuit.
The best stabilisers for embroidery by use
For most projects, a few tried-and-tested types of stabiliser are all you need. What matters isn't how many rolls you have in your sewing room, but which stabiliser suits your material.
Tear-away stabiliser for firm, stable fabrics
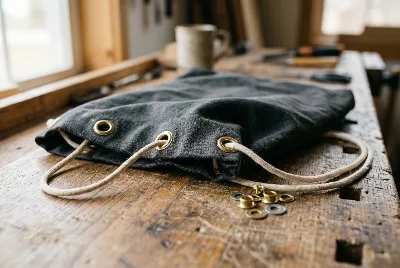
Tear-away stabiliser is a good place to start and works especially well for woven cotton, canvas, felt, sturdier bag fabrics or patchwork projects. It goes underneath the fabric and is carefully torn away along the stitching once you've finished. A little can stay on the back, as pulling too hard can distort the embroidery.
The advantage: tear-away is quick to use and adds hardly any bulk. For small to medium designs on non-stretch fabrics, it gives a clean result. For very dense designs or fabrics that are washed often, however, it isn't always the best choice, as it may lack long-term support.
Cut-away stabiliser for jersey and clothing
Cut-away stabiliser stays on the back of the fabric after embroidering. It is trimmed close to the embroidery but not torn out. That's exactly why it's so well suited to jersey, sweatshirt fabric, knits and other stretchy materials.
Clothing flexes again and again as it's worn and washed. A stabiliser that stays in place stops the stitches from drawing up later or the design from going wavy. For children's clothes, T-shirts or hoodies, a soft cut-away is a comfortable choice. It stabilises reliably and feels less scratchy against the skin.
Very thin jersey often benefits from using a suitable embroidery hoop as well and not hooping the fabric too tightly. If you stretch jersey in the hoop, it often shrinks back once released - even with a good stabiliser.
Water-soluble stabiliser for lace and fine details
Water-soluble stabiliser disappears when washed out. It's used whenever you don't want any backing to remain visible afterwards. Classic examples are freestanding lace, embroidered charms, delicate appliqués or designs on sheer fabrics.
For freestanding embroidery, the design is stitched straight onto the water-soluble stabiliser. The denser and larger the design, the sturdier the stabiliser should be. With very fine lace designs, it can be worth using two layers. This stops the embroidery from pulling in or coming loose while stitching.
After washing out, leave the design to dry flat so it keeps its shape. You don't always need to remove every last trace of the dissolved stabiliser: with lace, a little residue can even help to stiffen the embroidery slightly.
Water-soluble topping for towelling
On towelling, velour, plush, teddy fleece or chunky knits, fine lines and small letters easily sink between the fibres. This is where a water-soluble topping film placed on top of the fabric helps. It holds the pile down while you embroider so the stitches stay clearly visible.
The topping doesn't replace the backing. Underneath the fabric, you'll usually still need tear-away or cut-away stabiliser, depending on the material. After embroidering, carefully tear the film away from the open areas. Any small bits dissolve in the first wash.
For towels and embroidered cuddly toys in particular, this simple combination makes a big difference. Names are easy to read, outlines stay crisp and the design doesn't vanish into the fabric.
How to choose the right stabiliser
Before hooping, ask yourself three questions: Is the fabric stretchy? How dense and large is the design? And will the project be washed often or see heavy use? These three points usually lead you to the right solution quickly.
Stretchy fabrics generally need a cut-away stabiliser that stays in. Stable woven fabrics often manage well with tear-away for small designs. For dense fill stitching, large hoop-sized designs or lots of colour changes, go one step sturdier. The back doesn't need to be invisible - it needs to support the embroidery for the long term.
Colour can matter too. Light stabiliser under white or pale fabric is less noticeable. On thin, dark fabrics, dark stabiliser is often the nicer choice. With very delicate materials, it's best to stitch a small test piece first. It takes a few minutes but saves frustration on your favourite fabric once it's cut.
Iron on, hoop or just lay it in place?
Iron-on stabilisers are handy if the fabric shifts in the embroidery hoop or if you're working with small pieces. They stick lightly to the back and stop the fabric and stabiliser moving against each other. With jersey or small parts such as sleeve cuffs, pocket flaps and baby bodysuits, this can make the job much easier.
Not every fabric can take heat, though. Test softshell, coated fabrics, delicate synthetics or materials with a special finish on a scrap first. If you're unsure, a non-fusible cut-away stabiliser is often the gentler alternative.
For fabrics that don't fit in the hoop or might be marked by hooping, you can also hoop the stabiliser on its own as a base. The fabric is then attached to the stabiliser with a temporary spray adhesive or by carefully securing it in place. Use adhesive sparingly: it should never get on the needle or into the bobbin area of the machine.
Common problems and what causes them
Ripples around the embroidery often point to too little stabilisation or fabric that has been stretched too much. With jersey, switch from tear-away to cut-away, or add an extra layer for dense designs. Only smooth the fabric in the hoop - don't pull it taut.
If lettering on towelling is hard to read, the embroidery thread usually isn't to blame. A water-soluble topping stops the fabric's loops from covering the stitches. With very small text, it also helps to make the design a little bigger. Not every file is made for tiny font sizes.
If the stabiliser tears during stitching, it's too light for the design or the fabric is under too much strain. Use a sturdier stabiliser or work with two layers. This applies especially to large designs on canvas, denim or heavy cotton.
If the back of the embroidery feels unpleasantly stiff, too firm a stabiliser may be the cause. For clothing, a softer cut-away is worth it. For sensitive skin, such as on baby and children's clothes, a soft backing fabric over the reverse of the embroidery can also be a good idea.
Small tests lead to beautiful results
Even experienced embroiderers test new fabric and stabiliser combinations before stitching on a finished piece. Feel free to note down which combination worked well for your favourite jersey, for towels or for bag fabric. Bit by bit, you'll build up your own material guide that you can rely on for new projects.
If you're torn between two types of stabiliser, choose the sturdier option for a hard-wearing garment or a dense design. For delicate fabrics, on the other hand, keep things as light as possible. In our shop or at Die Stoffkönigin, a quick description of your fabric and design will help us find the right stabiliser for your project - so your embroidery stays beautiful exactly where it's meant to be seen.
Matching categories
Matching products
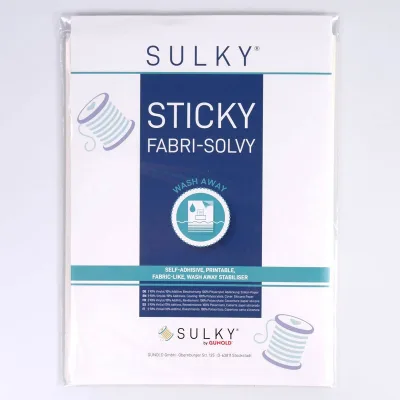
Sulky Sticky Fabri-Solvy 12 sheets 21.5 × 28 cm in White
€24.50per piece
Unit price €34.03 / m²
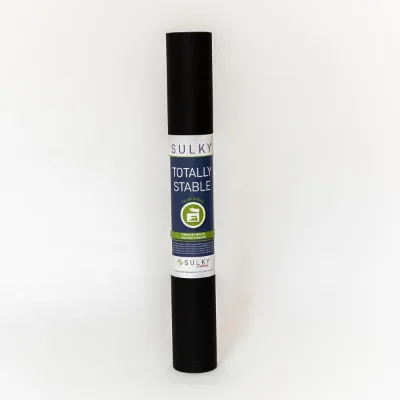
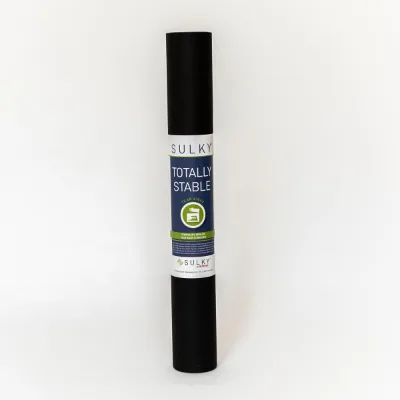
Sulky Totally Stable 50 cm × 25 m in Black
€39.00per piece
Unit price €3.12 / m²
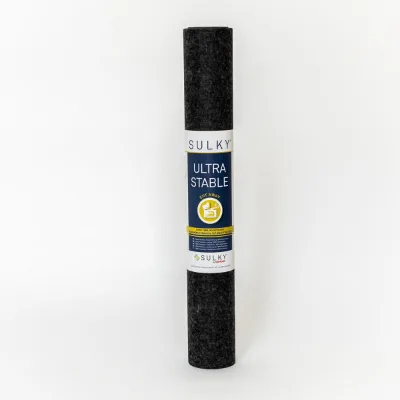
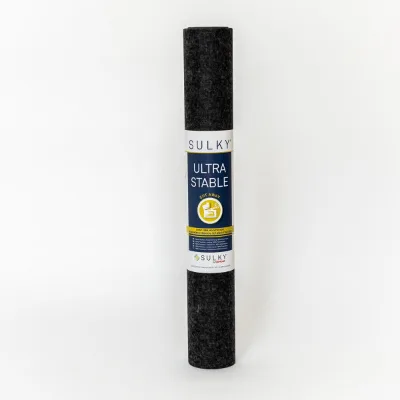
Sulky Ultra Stable 50 cm × 25 m in Black
€80.00per piece
Unit price €6.40 / m²
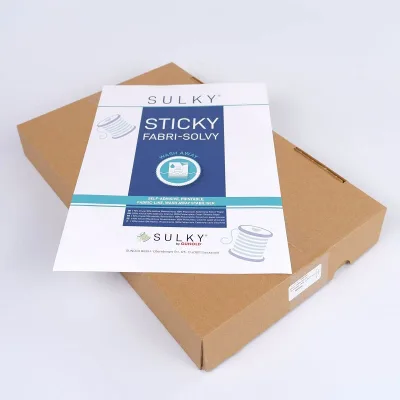
Sulky Sticky Fabri-Solvy 108 sheets 21.5 × 28 cm in White
€159.00per piece
Unit price €24.46 / m²
Sulky Totally Stable 50 cm × 10 m in Black
€23.00per piece
Unit price €4.60 / m²
Sulky Ultra Stable 50 cm × 5 m in Black
€21.50per piece
Unit price €8.60 / m²