How to Cut Fabric Properly: Tools and Tips for Clean Edges
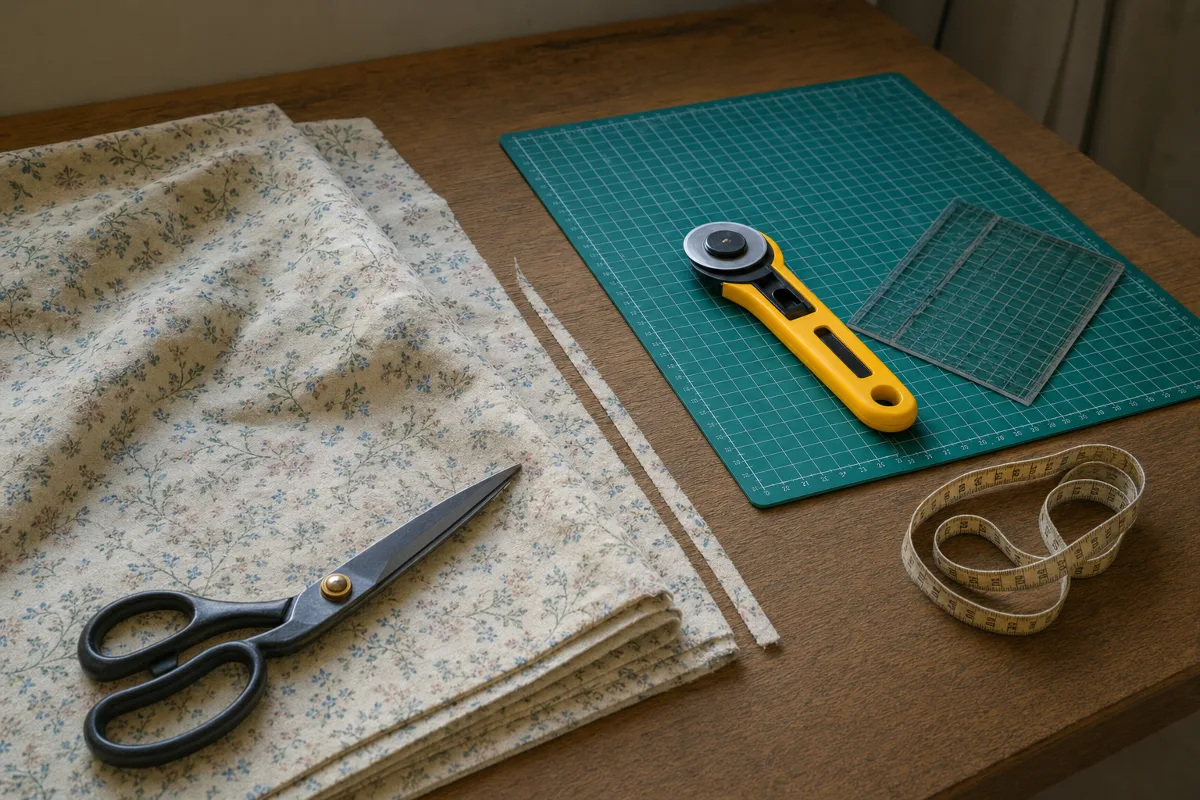
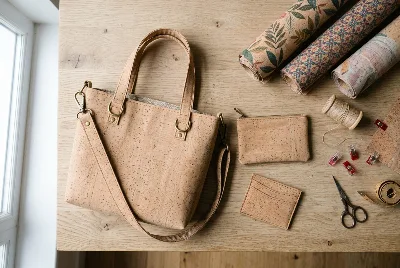
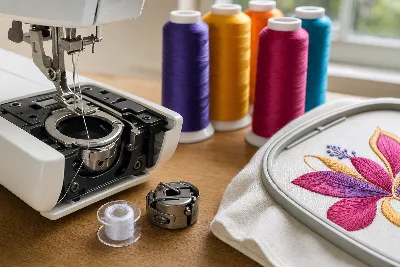
Image created with AI
To cut out cleanly, you really need three things: sharp dressmaking shears that you use for fabric only, a tape measure and ruler, and a marking pen. If you do a lot of straight cutting, sew patchwork or work with wadding, add a rotary cutter and cutting mat. They let you cut straight edges faster and more accurately than any pair of scissors.
Preparation matters just as much as the tools: prewash the fabric, press it smooth, line it up with the grain and cut with the fabric lying flat on the table, without lifting it. Stick to this order and your pattern pieces will fit together neatly later on.
The basic kit for cutting fabric
Dressmaking shears
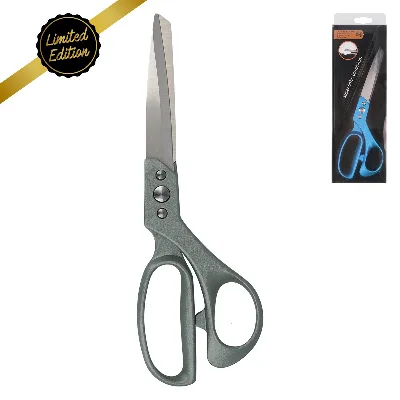
Dressmaking shears are the tool you'll use most often. Their long blades cut a large stretch of fabric in one go, and the angled handle keeps the lower blade flat on the table. That way the fabric barely lifts while you cut and doesn't distort. Our 23 cm dressmaking shears are well suited to long cuts for clothing and home décor. For left-handed sewists there are the KATANA 20 cm dressmaking shears, with blades designed for the left hand. If you use right-handed scissors in your left hand, you push the blades apart instead of together, and the cut turns out ragged.
You'll find an overview of all models in our Scissors category.
Small scissors and pinking shears
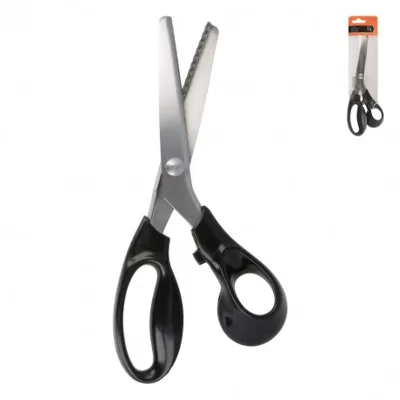
For threads, corners and small snips into the seam allowance, reach for a small pair of scissors such as our star embroidery scissors. The pointed blade lets you get close to the seam without damaging it. The universal pinking shears are meant more for finishing seam allowances on woven fabrics that don't fray much, and for decorative edges. For the actual cutting along the cutting line, use your smooth-bladed dressmaking shears.
Rotary cutter
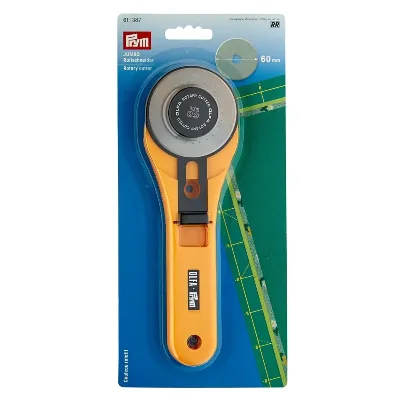
A rotary cutter is a round blade on a handle that you roll through the fabric on a cutting mat. It comes into its own on long straight edges, multiple layers and patchwork strips. The standard all-round size is 45 mm, as on the Prym Rotary Cutter Maxi EASY or the rotary cutter from the prym.ergonomics range. The Prym OLFA Rotary Cutter Jumbo has a 60 mm blade and cuts thicker layers and long lengths with less effort. Smaller blades, on the other hand, are easier to guide round tight curves. Replacement blades are available for both sizes; just check the diameter of your cutter when you buy new ones. You can read in detail how to use it safely in our guide Cutting fabric with a rotary cutter made easy.
Scissors or rotary cutter? The decision table
| Tool | Best for | Less suitable for |
|---|---|---|
| Dressmaking shears | Garment patterns, curves, single layers, cutting without a mat | very long, perfectly straight strips |
| 45 mm rotary cutter | straight edges, patchwork, curves with a ruler or template | working without a cutting mat |
| 60 mm rotary cutter | multiple layers, thicker fabrics and wadding, long lengths | small, tight curves |
| Small embroidery scissors | threads, corners, notches in the seam allowance | cutting out large pieces |
| Pinking shears | finishing seam allowances, decorative edges | precise cutting along the cutting line |
The right cutting mat
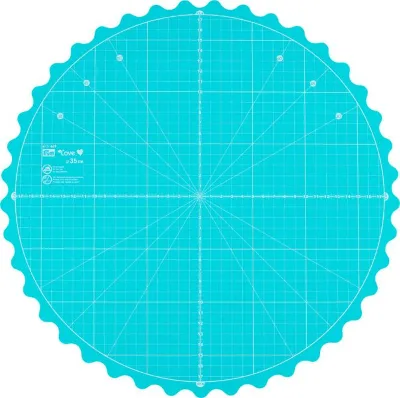
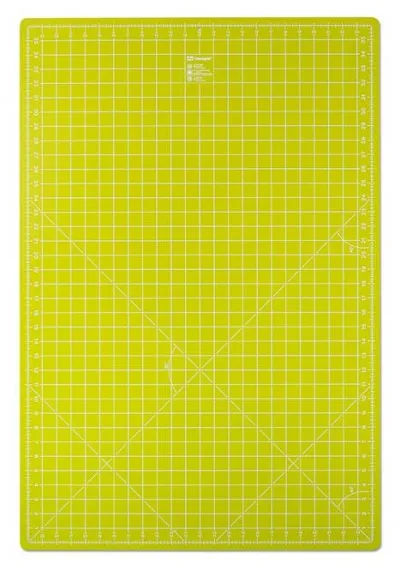
No mat, no rotary cutter: it protects your table and keeps the blade sharp. The size depends on your projects. A 45 x 30 cm mat, such as the OLFA cutting mat, is enough for patchwork pieces and small cuts. The Prym Omnigrid 60 x 45 cm cutting mat is a good middle ground. If you cut out clothing regularly, the Prym Omnigrid 90 x 60 cm cutting mat will serve you best, as you'll need to reposition less. For small pieces, the Prym Love rotating cutting mat with a 35 cm diameter is handy: you turn the mat instead of the fabric and can cut all sides of a piece without shifting it.
Measuring and marking
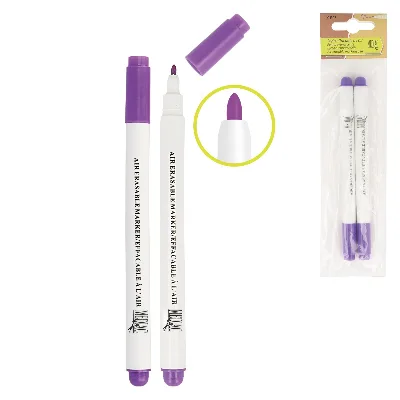
You can only cut accurately what you've marked accurately. Use a 150 cm tape measure for body measurements and long distances, and a ruler for straight lines and seam allowances. The 16 cm set square helps you mark neat right angles at corners and hems, and the eight-piece dressmaker's ruler set covers both straight and curved lines. For transferring lines and markings to fabric, the violet air-erasable fabric pen is ideal, as its lines disappear on their own after a while. Our guide Which marking pen is best for fabric? explains which pen suits which fabric.
Step by step to a clean cut
- Prewash: Wash the fabric the way you plan to wash the finished item. That way it shrinks before you cut, not afterwards.
- Press: Creases and folds distort measurements. Press the fabric smooth before laying it out.
- Find the grain: Lay the fabric so that the selvedges line up exactly. The grainline arrow on the sewing pattern runs parallel to the selvedge.
- Lay out the pattern pieces: Place all the pieces first, then cut. Pieces marked ‘on the fold’ go exactly against the fabric fold.
- Secure: Pin within the seam allowance or weigh the paper down with pattern weights.
- Mark: Now transfer outlines, seam allowances and markings such as notches or pocket positions.
- Cut: Keep the fabric lying flat, cut with long strokes of the shears and walk round the table instead of pulling the fabric.
If you work with PDF sewing patterns, you can skip sticking together lots of A4 pages: with our pattern printing service you upload the file and receive the pattern printed in large format on paper.
Tips for special fabrics
Jersey and stretch fabrics
Stretch fabrics distort as soon as they hang over the edge of the table. Lay all of the fabric on the table top and don't pull on it while cutting. A rotary cutter is often more accurate than scissors here because the fabric isn't lifted.
Slippery and delicate fabrics
Viscose or chiffon like to slide about. Lay them out in a single layer and weigh them down rather than using lots of pins.
Wadding, fleece and thick fabrics
For volume wadding and thick fabrics, a large rotary cutter with a ruler works well, as it cuts evenly through the layers. Scissors tend to squash thick layers together, giving you a crooked cut.
Common mistakes
- Cutting paper with your fabric shears: paper quickly blunts the blades.
- Cutting without prewashing, so the finished item shrinks after the first wash.
- Ignoring the grain: the piece twists or hangs crooked later.
- Guiding the rotary cutter towards your body or leaving the safety guard open.
- Forgetting the seam allowance when the sewing pattern is printed without one.
- Cutting with a blunt blade: it leaves threads uncut and tears delicate fabrics.
- Ironing over air-erasable markings before they've disappeared.
Help with cutting in person
If you're just starting out, or a large project won't fit on your kitchen table, you can rent a sewing space at the Königliches Nähstübchen and get help with cutting out and sewing.
Frequently asked questions
What's the best tool for cutting fabric?
For clothing and curves, sharp dressmaking shears are the first choice. For long straight edges, patchwork and multiple layers, you'll work more accurately and faster with a rotary cutter, ruler and cutting mat.
How do I cut wadding cleanly?
Lay the wadding on a cutting mat, position a ruler and cut through in one even stroke with a large rotary cutter, for example one with a 60 mm blade.
Can I have a PDF sewing pattern printed in large format instead of sticking it together?
Yes. With our pattern printing service you upload the PDF file and receive the pattern as a plotter print on paper, which you can lay straight onto your fabric.
How do I cut fabric perfectly straight?
Line the fabric up with the selvedge, place a long ruler at a right angle to it and run the rotary cutter closely along the ruler. A set square helps you check the right angle.
Do I need special scissors if I'm left-handed?
Yes, it's worth it. On left-handed scissors the blades are mirrored, so you can see the cutting line and the blades press together as you cut. We stock the KATANA dressmaking shears for this.
Matching categories
Matching products
Dressmaking Shears 23 cm in Dark Grey
€42.90per piece
Pinking Shears
€24.50per piece
Prym OLFA Jumbo rotary cutter 60mm in Yellow
€33.90per piece
Prym Love cutting mat 35 cm in Mint
€39.00per piece
Prym Omnigrid cutting mat 90 x 60 cm / 35 x 23 Inch in Light Green
Back soon€69.00per piece
Fading Fabric Marker in Purple
€4.50per piece