Cutting Fabric with a Rotary Cutter Made Easy
The jersey curls up at the cut edge, the cotton shifts while you're marking it, and suddenly the pattern piece doesn't quite fit on the fabric any more. Cutting fabric with a rotary cutter can make moments like these far more relaxed. The tool cuts cleanly through several layers, saves you constantly repositioning your scissors and is especially pleasant for long, straight edges. To get pattern pieces that are truly accurate, though, you need more than just a sharp blade.
Why cutting fabric with a rotary cutter is so practical
A rotary cutter works with a round, rotating blade. You guide it along a ruler and it slices through the fabric with even pressure. Unlike with fabric scissors, you don't have to lift the fabric. That's a real advantage for large pieces, slippery viscose fabrics or stretchy fabrics such as jersey and French terry.
Especially when you're sewing children's clothes, preparing patchwork pieces or need several identical pattern pieces, cutting out often goes much faster. You can also cut several layers of fabric together, as long as they lie smooth and are securely held in place. With very fine, slippery or highly elastic fabrics, however, it's worth working with just one layer at first. Precision matters more than speed here.
A rotary cutter won't replace your scissors in every situation. Tight inner curves, small cut-outs and very delicate pattern pieces are often easier to control with a good pair of fabric scissors. For long outer edges, strips, ribbing and geometric shapes, on the other hand, the rotary cutter is hard to beat.
The right equipment for clean cut edges
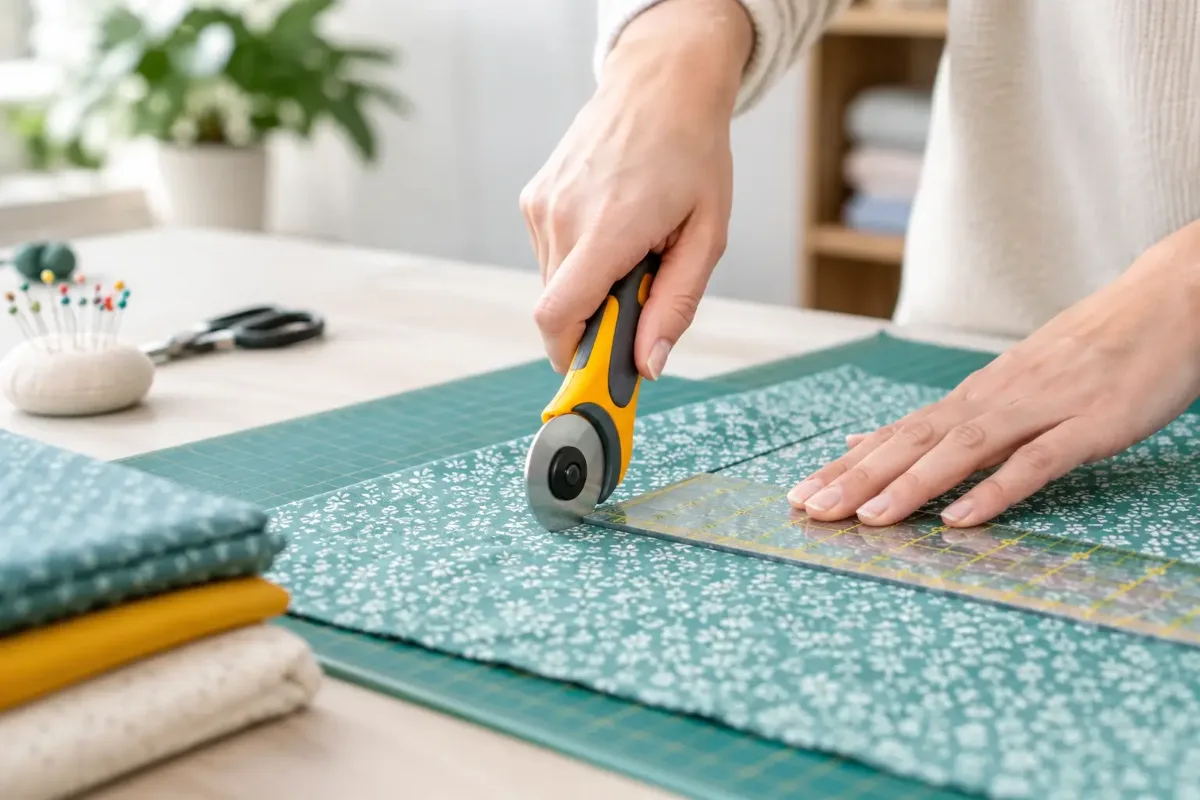
For successful cutting, you need three things that work well together: a rotary cutter, a cutting mat and a suitable ruler. If you cut straight on the table, you'll not only damage the surface but also ruin the blade in no time.
Rotary cutter: which blade size is right?
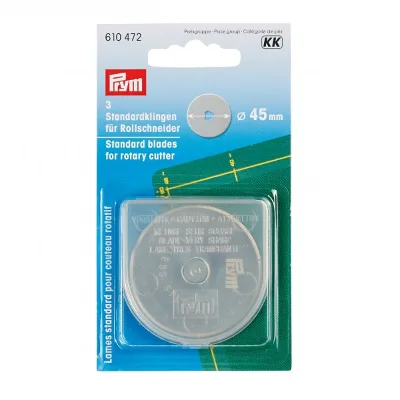
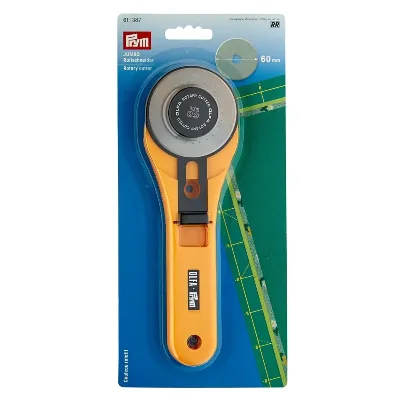
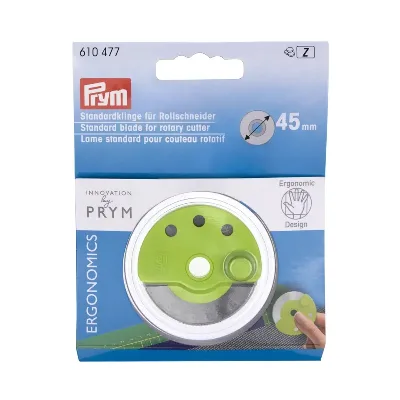
For most sewing projects, a rotary cutter with a 45 mm blade is a good choice. It reliably cuts cotton, jersey, sweatshirt fabric, canvas or softshell and is easy enough to handle for typical sewing pattern pieces. Smaller 28 mm blades are great for curves, appliqué and small patchwork shapes. A 60 mm blade is handy for thicker layers, for example fleece, several layers of cotton or heavy home décor fabric.
Look for a handle that sits comfortably in your hand and a blade guard that works properly. The blade should be covered again after every cut. This is no minor detail: rotary cutters are extremely sharp and should always be kept out of children's reach.
Cutting mat and ruler
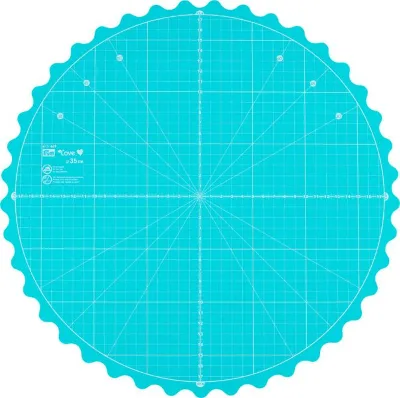
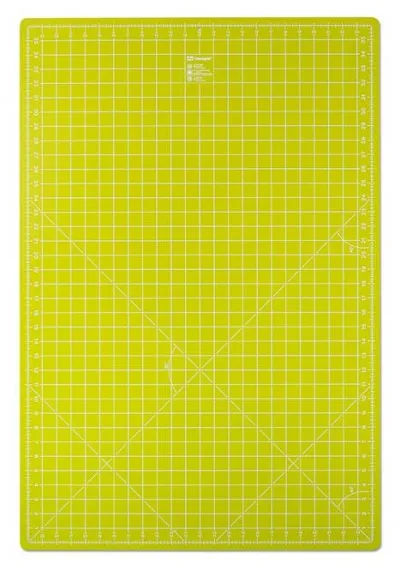
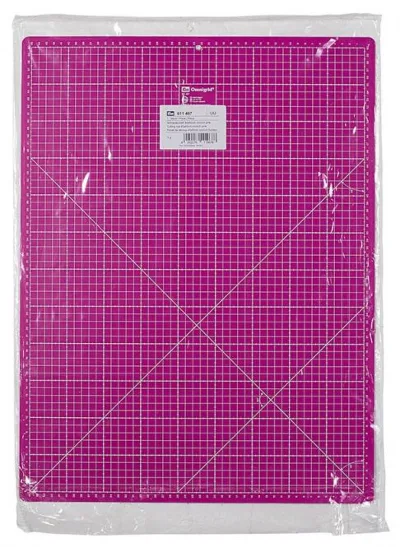
A self-healing cutting mat protects both your table and your blade. Choose a size that suits your projects. A compact mat is enough for smaller sewing jobs, while for clothing or bags a larger surface makes working considerably more comfortable. The mat should lie flat and shouldn't be left in the sun or in great heat for long periods, otherwise it can warp.
A transparent patchwork ruler with a clearly legible centimetre scale helps you cut fabric strips and straight edges precisely. Over longer distances, the ruler mustn't slip. Place your free hand flat on top and apply even pressure. Small non-slip dots on the underside can help too.
A sharp blade saves fabric and nerves
If your rotary cutter pulls threads, you have to go over the same spot several times or individual fibres are left uncut, the blade is blunt. It's better to change it sooner rather than later. A new blade doesn't just cut more neatly; it also stops you shifting the ruler while recutting and ending up with an inaccurate edge.
Paper, pins and hard spots are particularly tough on the blade. That's why pattern paper shouldn't be cut out with the rotary cutter on the cutting mat. Use paper scissors for that, and only then cut the fabric with your fabric blade.
Preparing your fabric: the step before the first cut
The cleanest cut doesn't start at the cutting mat but with preparation. Wash your fabrics if your finished project is going to be washed later. Many natural fibres can still shrink a little in the first wash. Once dry, press the fabric so that creases don't distort the pattern.
Next, find the grainline. On woven fabric, you can recognise it by the selvedge, which runs parallel to the grain. With jersey and other knits, use the rows of stitches or the fabric edge as your guide. Lay the fabric on the mat so that it's perfectly smooth. Don't pull on it, as this can distort stretchy fabric.
Fabrics with a print, pile or nap need extra care when cutting. Animals, flowers, lettering or vehicles shouldn't end up upside down. Velvety fabrics, nicky velour and some types of fleece look lighter or darker depending on the direction of the pile. Lay all pattern pieces in the same direction so the finished garment looks calm and consistent.
Laying out and weighting your sewing pattern securely
Pins are only of limited use with a rotary cutter. The blade can catch on them or get damaged. Pattern weights are a better choice. They hold the paper firmly on the fabric without getting in the way of the cutting line. Shop-bought weights work just as well as smooth washers, small fabric bags filled with rice or heavy ceramic tiles.
Lay the pattern along the marked grainline and check the distance to the selvedge at two points. Only when both distances are the same is the piece correctly positioned. Don't forget to check the seam allowance: some sewing patterns already include it, while with others you'll need to add it when cutting.
If you're adding the seam allowance as you cut, 1 cm is standard for many garment projects. For hems, zips or pockets, a different amount may make sense. Always follow the instructions of the individual sewing pattern. A rotary cutter with a seam allowance ruler can be helpful, but it's not a must.
Cutting fabric with a rotary cutter: step by step
Start at a straight edge. Position the ruler so that the cutting line stays visible or runs exactly along the edge of the ruler. Hold the ruler firmly and push the rotary cutter away from you with calm, even pressure. Keep the hand holding the cutter as upright as possible so the blade doesn't slip under the ruler.
On long edges, it's better to cut in one controlled stroke than with lots of short stops. If your arm can't reach far enough, start again neatly without moving the ruler. Cut the straight lines first, then the large curves and finally the small curves or corners. That way the fabric stays stable for longer.
You don't need a rigid ruler for curves. Guide the rotary cutter slowly along the paper pattern piece and turn the fabric or the mat as needed. For tight armholes especially, you may find it easier to cut the last few millimetres with fabric scissors. That's not a mistake but a sensible combination of both tools.
Don't transfer markings such as notches, pocket positions or darts with deep cuts. Small notches of about 3 to 5 mm within the seam allowance are enough. For markings that sit on the fabric itself, a chalk pencil, fabric marker or tacking thread works well. Test washable markers on a scrap first, especially on light-coloured or delicate fabrics.
Common mistakes and how to avoid them
If the fabric edge is frayed or uneven after cutting, it's usually down to a blunt blade or cutting too many layers at once. With jersey, the edge may also curl. That's normal and not a sign of poor cutting. What matters is that the pattern piece has the right measurements when measured flat.
If the fabric shifts, more weights and a smooth surface will help. With viscose or very lightweight polyester, tissue paper underneath the fabric can stabilise it. Then carefully cut through both fabric and paper. Spray starch can also make woven fabric temporarily easier to handle, but always test it on a scrap first.
Another classic: pattern pieces cut as mirror images by mistake, or cut twice facing the same way. Especially with front pieces, pocket flaps or fabrics with a motif, it's worth taking a quick look before the first cut. Pattern pieces marked “cut as a mirrored pair” are flipped over after the first cut or placed on folded, double-layered fabric.
Care and safe storage
After sewing, remove fluff from your rotary cutter and mat. Store the cutting mat flat so it stays straight, and keep spare blades dry. When changing blades, it's a good idea to have a small container for old blades so they can be disposed of safely.
Good cutting takes time for aligning, weighting and checking. That way, a lovely fabric becomes a pattern piece that's a joy to sew. And if you're unsure about how much fabric you need, the nap direction or the right quality for your project, personal advice will often help you more quickly than a second, unnecessary round of cutting.
Matching categories
Matching products
Prym replacement blade 45 mm in Silver
€19.90per piece
Prym Love cutting mat 35 cm in Mint
€39.00per piece
Prym OLFA Jumbo rotary cutter 60mm in Yellow
€32.50per piece
Prym Omnigrid cutting mat 90 x 60 cm / 35 x 23 Inch in Light Green
€69.00per piece
Prym Ergonomics replacement blade in Silver
€10.90per piece
Prym Omnigrid cutting mat 60 x 45 cm / 23x 17 Inch in Hot Pink
€37.90per piece