Sewing jersey without wavy seams: here's how
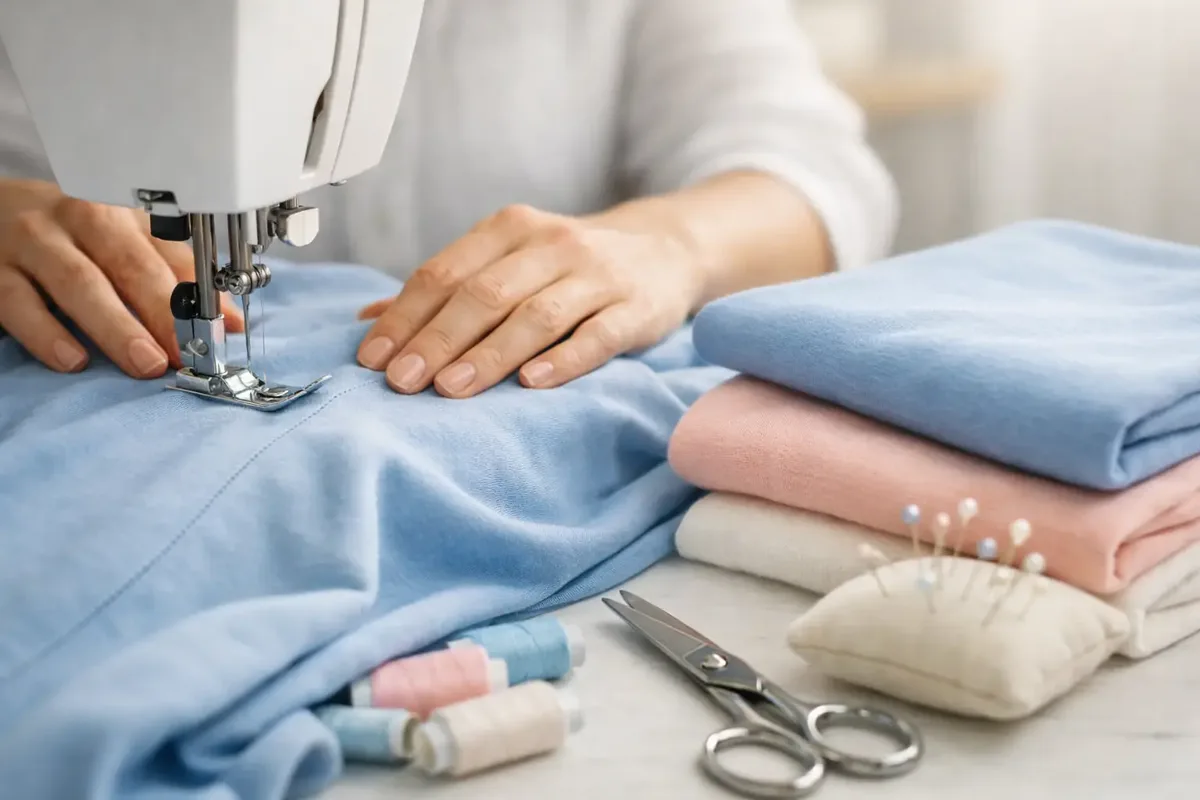
You've finished a seam, the top is still under the machine – and suddenly the hem is rippling like a little wave. It's frustrating, but no reason to give up on the project. You can reliably sew jersey without wavy seams when the fabric, stitch and handling work together. Usually it isn't one single mistake but a combination of too much pulling, an unsuitable setting or a seam that isn't flexible enough for that particular jersey.
Why jersey goes wavy at the seam
Jersey is a knit fabric. Unlike woven fabric, it stretches in at least one direction, often both widthways and lengthways. That's exactly what makes it so comfortable for T-shirts, leggings, dresses and children's clothes. When you sew it, though, it reacts sensitively to being stretched under the presser foot or fed unevenly by the machine.
The most common cause is pulling on the fabric. If you hold the fabric at the front or back and deliberately tug it along, you lengthen the edge as you sew. Once you let go, it contracts again, while the thread holds on to the stretched length. The result is a wavy seam. Too much presser foot pressure can also stretch the jersey as it feeds through. With very fine or particularly stretchy jersey, even small differences in feeding are enough to make the edge ripple.
Then there's stitch length and thread tension. A very short zigzag stitch can pack a lot of thread into a short distance and pull the fabric together. If the upper thread tension is too high, the jersey will be gathered up as well. On the other hand, a straight stitch on very stretchy clothing is often not elastic enough and can snap when you pull the garment on – it may look smooth, but it won't last long.
Sewing jersey without wavy seams: preparation matters
Before the first seam goes into your actual project, it's worth sewing a small test piece. It saves unpicking and gives you confidence, especially with a new jersey or an unfamiliar machine. Cut a strip from the same fabric and sew a few centimetres with the seam you're planning to use. Then gently stretch the strip. The seam should stretch with it, spring back into shape and lie flat.
It's best to wash jersey before cutting if the finished garment will be washed too. Some qualities still shrink a little in the first wash. Lay the fabric out flat and without tension for cutting. Edges curl easily, especially on thin jersey. Fine pins, fabric clips or pattern weights help keep the pieces still. Make sure the fabric doesn't hang off the table: its own weight can be enough to distort it.
The right needle makes a big difference
For jersey, put a stretch or jersey needle in your machine. Its point is shaped to push the knit loops aside rather than damage them. A universal needle may work on some firmer jerseys, but on fine or very stretchy fabrics it's more likely to cause skipped stitches, ladders or messy seams.
For most dressmaking jerseys, a size 75/11 is a good starting point. For very lightweight viscose jersey a 70/10 can make sense, while thicker sweatshirt fabric or ponte roma may need an 80/12 or 90/14. The condition of the needle matters too: a blunt or bent needle often causes problems that look like a settings issue. So on larger projects, don't hesitate to change it.
When it comes to thread, a good-quality all-purpose polyester thread is a practical choice. It's strong enough and has a little give. Very old, fluffy or brittle thread can interfere with stitch formation. Especially for children's clothes and tops that get a lot of wear, it pays not to skimp on thread.
The right stitch for stretchy, smooth seams
For shoulder, side and sleeve seams, a narrow zigzag stitch on a domestic sewing machine is usually the most reliable option. Start, for example, with a stitch width of 0.5 to 1 millimetre and a stitch length of 2.5 to 3 millimetres. This keeps the seam elastic while it looks almost straight from the outside.
Many machines also have a stretch straight stitch or a triple straight stitch. The stretch straight stitch can look lovely on medium-weight jersey, but often takes more time and thread. The triple straight stitch is very strong, but can be too heavy for thin fabrics and encourage waves. It's better suited to seams under strain than to a delicate viscose dress.
An overlock stitch on your sewing machine is handy if you want to sew and finish the edge in one go. It does take a bit of practice, though, and varies from machine to machine. Here too, always sew a test piece, as some overlock programmes pull thin jersey together more than a narrow zigzag does.
With an overlocker, jersey is especially quick and flexible to sew, provided the differential feed and thread tension are right. The differential feed stops the lower and upper layers of fabric being moved at different rates. If your seams are wavy, increase the setting gradually above 1.0. If the seam is being pushed together or the fabric bunches up, turn it back down. The exact setting depends on the fabric thickness, stretch and machine – so there's no fixed number.
How to guide the fabric through the machine
Place the fabric edges flush under the presser foot and let the machine do the feeding. Your hands only guide; they don't pull. Rest one hand lightly in front of the presser foot and the other behind it. That way you can control the edges without stretching the jersey. It feels unusually slow at first, but gives you noticeably better results.
If the fabric is very slippery or the top layer keeps shifting, a walking foot or a jersey foot will help. A walking foot also moves the top layer of fabric along, stopping it from creeping relative to the bottom layer. This is especially helpful for long side seams, striped jersey or several layers, such as ribbing and necklines.
If your machine lets you adjust the presser foot pressure, reduce it slightly for thin or soft jersey. Work in small steps and test after every change. Too little pressure can mean the fabric doesn't feed properly. Too much stretches it. You'll know the setting is right when the fabric feeds evenly and stays flat after sewing.
Not every wave is really a sewing mistake
Straight after sewing, a jersey seam can look slightly wavy even though it's technically fine. Lay the piece flat and give the seam time to relax using steam, holding the iron a little way above it. Only press down rather than sliding the iron along the seam. For delicate viscose jersey, use a pressing cloth and a low to medium temperature.
If the wave is still visible once it has cooled, first check the upper thread tension and the presser foot pressure. Then sew a new test piece with a slightly longer stitch length or a narrower zigzag. Only ever change one setting at a time. Otherwise you won't know in the end what actually helped.
Hems and ribbing need their own technique
Waves form particularly easily on hems, because the fabric edge gets stretched as you turn it up. First press the hem allowance up carefully and, if needed, hold it in place with a few clips or pins. Sew with a twin needle, a stretch stitch or a coverstitch, depending on which machine you're using.
With a twin needle, lower presser foot pressure is often the deciding factor. Use a stretch twin needle in a suitable width and be sure to test it on a scrap first. The right side shows two straight lines, while a zigzag forms on the underside, which makes the seam stretchy. If the two rows go wavy, reduce the upper thread tension a little and avoid pulling on the hem.
Ribbing is deliberately stretched as it's sewn on, so that it sits nicely against the body later. The key question here isn't whether to stretch it, but how evenly. Before sewing, divide both the ribbing and the fabric edge into quarters and mark these points. Pin or clip them together and distribute the stretch only between the marks. That way you won't get unwanted pleats and the neckline stays round.
If the seam is still wavy
Sometimes it simply comes down to the fabric quality. Very light, soft viscose jersey behaves differently from a stable cotton jersey with elastane. Jerseys with a high elastane content can also call for a more delicate touch. For beginners, slightly firmer cotton jerseys are often more forgiving, as they distort less when cutting and sewing.
At Die Stoffkönigin you'll find jersey in a range of qualities for tops, dresses, children's clothes and more. If you're unsure whether your sewing pattern needs a drapey or a more structured jersey, it's worth choosing your fabric before you cut the very first pattern piece. The right fabric does more of the work for you while sewing than any later fix ever could.
Whenever you try a new combination of fabric, thread and machine, give yourself five minutes for a test piece. This small habit quickly turns a frustrating wavy edge into a neat, stretchy seam – and leaves you more time to enjoy what sewing is really about: creating a garment that people love to wear.