How to Stitch Embroidery Designs Cleanly on Fabric
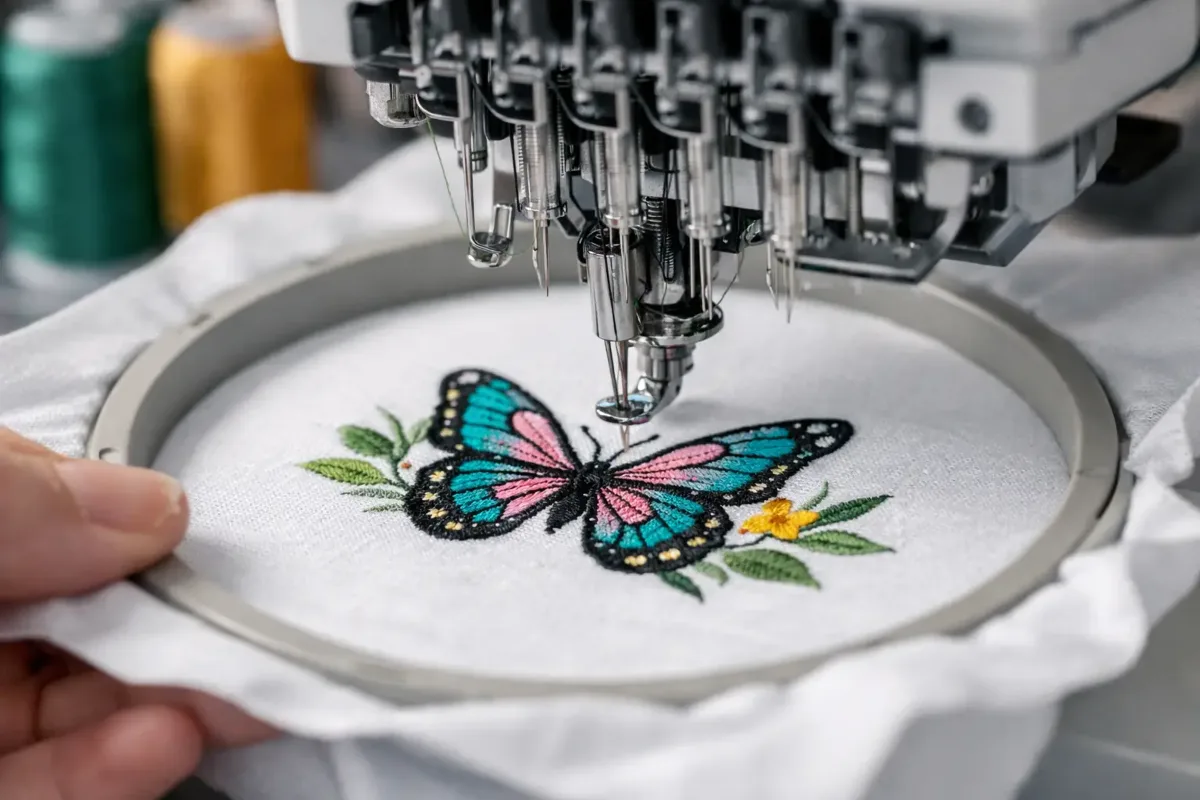
If your embroidery ends up puckered, distorted or full of little loops, the design file is rarely the only culprit. More often than not, it's the combination of fabric, stabiliser, needle and hooping that decides whether an embroidery design sits cleanly on your fabric or whether the result simply looks messy, however lovely the thread colour. This is exactly where it pays not just to fiddle with the machine settings, but to take a practical look at the whole project.
Why an embroidery design looks clean or messy on fabric
Every fabric reacts differently to stitches. Jersey gives, canvas stays comparatively stable, fleece swallows outlines and coated fabrics are very unforgiving of hooping mistakes. An embroidery design can be well digitised from a technical point of view and still look messy if the base is too soft or the wrong stabiliser is used.
Then there's stitch density. Very dense designs often look neat on firm cotton fabrics, but on stretchy or fluffy materials they can quickly turn stiff, distorted or sunken. So if you want clean embroidery, don't just look at the design – always consider the character of the fabric too. That saves frustration and often material as well.
The right fabric and stabiliser combination for clean embroidery
The most important step happens before the first stitch. A stable woven fabric usually needs different support from a stretchy dressmaking fabric. For cotton, linen or canvas, a classic tear-away or cut-away embroidery stabiliser often works well. With stretchy fabrics such as jersey or sweatshirt fabric, a cut-away stabiliser is the safer choice in many cases, because it provides lasting stability.
On fluffy surfaces such as towelling, velour or fleece, a water-soluble topping on top also helps. It stops the stitches from disappearing into the pile. Lettering and fine outlines in particular benefit noticeably. Without this layer, embroidery can quickly look blurry, even though the machine has done its job properly.
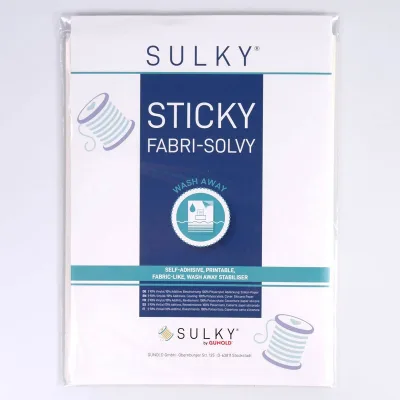
Self-adhesive stabilisers can also be useful, for example for small cut pieces, pocket areas or delicate materials you'd rather not hoop tightly. The advantage is better control. The downside: depending on the fabric and design, the adhesive can leave residue or make the project stiffer. So, as so often, it depends.
Stretchy fabrics need more stability
Jersey, interlock and ribbing are popular, but they're demanding to embroider. They draw up under the stitches and tend to pucker. A combination of cut-away stabiliser and, where needed, temporary adhesive helps here. It's also important not to stretch the fabric when hooping it. What looks taut in the hoop can look crooked and uneven once you take it out.
Firm fabrics are easier, but not automatically trouble-free
Poplin, woven cotton and canvas are considered easy-going fabrics to embroider. Even so, they can distort if the design is too dense or the stabiliser too light. For larger, fully filled designs especially, a sturdier stabiliser is worth it, even if the fabric itself feels firm.
Hooping without distortion
A lot of messy embroidery starts in the hoop. The fabric should lie smooth, but not be overstretched. A good rule of thumb: taut, but not tight as a drum. If the fabric is pulled too hard, it springs back after stitching and the embroidery looks puckered.
If you're working with delicate or coated fabrics, hooping only the stabiliser is often the better solution. The fabric is then secured onto the stabiliser rather than sitting under pressure in the hoop itself. This is especially handy for faux leather, softshell or pre-cut bag pieces.
Also make sure the fabric sits straight in the hoop. Even a slight skew will be very noticeable later on geometric designs or lettering. Spending two extra minutes here often gives you the cleaner result.
Choosing the right needle, thread and machine settings
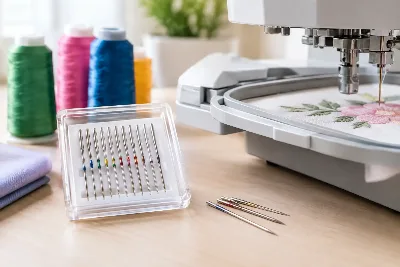
Not every embroidery needle suits every material. For woven fabric, a classic embroidery needle is often the right choice. For jersey or other stretchy fabrics, a jersey or stretch needle may make more sense, so the fibres are pushed aside cleanly rather than damaged. If you get thread loops or skipped stitches, a blunt or unsuitable needle is often partly to blame.
Thread affects the finished look too. Good-quality embroidery thread runs more evenly and produces less lint. It's also worth not improvising with the bobbin thread. Using sewing thread instead of proper bobbin thread can work, but it may not. If tension and materials don't match, the result quickly looks uneven.
When it comes to speed, faster isn't automatically better. Fine lettering, small details and delicate fabrics in particular benefit from a slightly reduced embroidery speed. The machine works in a more controlled way and the fabric is under less stress. It doesn't sound exciting, but it often makes all the difference to the result.
Assessing the embroidery design realistically
Not every embroidery design suits every fabric. Small lettering on fleece, extremely dense appliqués on jersey or delicate satin stitches on loosely woven linen are typical combinations where it's better to check beforehand whether the design suits the material.
If you want an embroidery design to look clean on fabric, pay attention to design size, stitch type and density. Large filled areas need stability. Fine lines need a steady base. Lettering below a certain height almost always becomes trickier on fluffy or stretchy fabrics. That's not user error – it's simply a limit of the material.
That's why a test stitch-out on a similar fabric scrap isn't tiresome extra work, but the most sensible shortcut. You'll see straight away whether the design sinks in, whether the outlines stay crisp and whether the stabiliser is sufficient. It's always worth it, especially with favourite fabrics or one-off cut pieces.
Common mistakes when you want clean embroidery on fabric
A common mistake is too little stabilisation. The design still looks neat in the hoop, but draws up once it's taken out. The opposite is just as problematic: too much material under the fabric. The embroidery then becomes unnecessarily stiff and the project loses drape or comfort.
The next classic is the wrong needle. If you embroider jersey with an unsuitable point, you risk not only skipped stitches but also small holes in the fabric. And then there's the choice of design. A gorgeous design isn't automatically equally suitable for children's clothes, towels and bags.
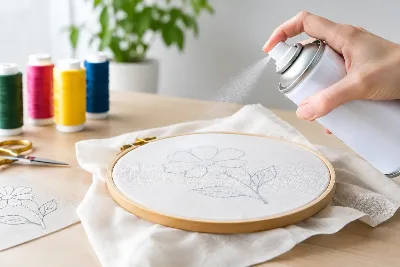
Spray adhesive and temporary fixing methods should also be used sparingly and appropriately. Too much makes fabrics dull, gums up the needle or affects how the fabric feeds. Less is often more here.
How beginners can work more calmly and cleanly
If you haven't been embroidering for long, it's best to start with forgiving materials. Woven cotton, designs that aren't too small and a solid stabiliser are more forgiving than thin jersey or high-pile cuddle fabric. That's nothing to do with ambition – it's about the learning curve. Once you've developed a feel for the hoop, thread flow and how materials behave, you'll get lovely results much sooner.
It also helps to think about projects in terms of how they'll be used. A cushion cover can be a bit stiffer, a T-shirt should stay soft, and a towel needs crisp outlines despite the pile. That makes choosing materials easier. At Die Stoffkönigin, many customers appreciate exactly this practical approach, because fabric, stabiliser and notions have to work together in the end – not just sound good on their own.
When a clean look isn't just about technique
Sometimes embroidery is technically clean and still doesn't look harmonious. Then it comes down to colour, design placement or the fabric surface. A tone-on-tone design on a busy print can easily get lost. A highly detailed design on a very lively texture can look visually cluttered, even though every stitch is perfect.
So clean doesn't just mean smooth and free of puckers. Clean also means that design and material come together to create a coherent look. Especially for gifts, children's clothes or decorative sewing projects, it's worth thinking about this design side too.
What really works in practice
If you want consistently better embroidery results, focus on three things: the right fabric, the right stabiliser and an honest test stitch-out. The machine can compensate for a lot, but not everything. If you combine material and design sensibly, you'll get clean embroidery on fabric far more often and save yourself readjusting ten other things.
The good news: you don't need any complicated workshop wisdom for this. Usually a few reliable basic rules and a willingness to take fabric properties seriously are enough. Then uncertain attempts gradually turn into clean, beautiful embroidery projects that you'll love holding in your hands – and love giving away even more.
Matching categories
Matching products
Sulky Sticky Fabri-Solvy 12 sheets 21.5 × 28 cm in White
€24.50per piece
Unit price €34.03 / m²
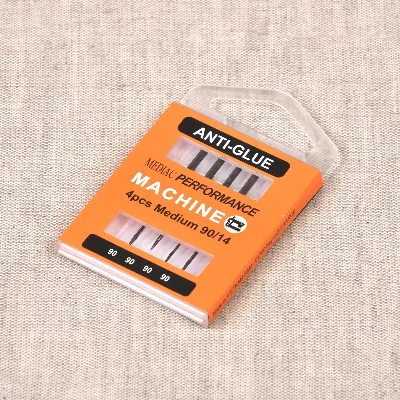
Machine Needles Anti-Glue 90/14, 4 pieces
€5.90per piece
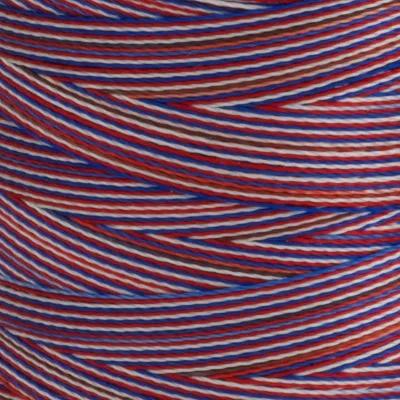
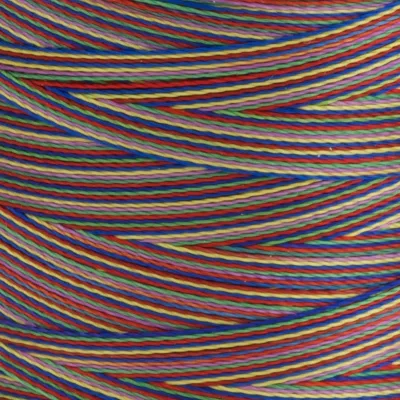
Sulky Rayon 40 Embroidery Thread 780 m Multicolour 2504
€6.90per piece
Unit price €0.01 / m
Sulky Sticky Fabri-Solvy 108 sheets 21.5 × 28 cm in White
€159.00per piece
Unit price €24.46 / m²
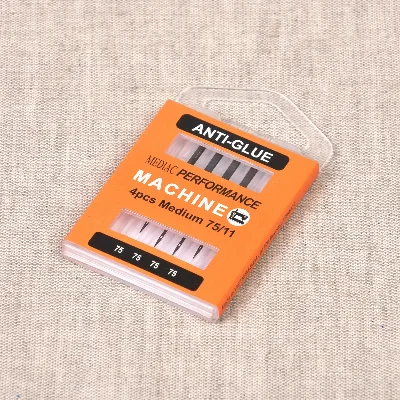
Machine Needles Anti-Glue 75/11, 4 pieces
€5.90per piece
Sulky Rayon 40 Embroidery Thread 780 m Multicolour 2247
€6.90per piece
Unit price €0.01 / m