3D Embroidery with Puffy: How to Embroider with Foam
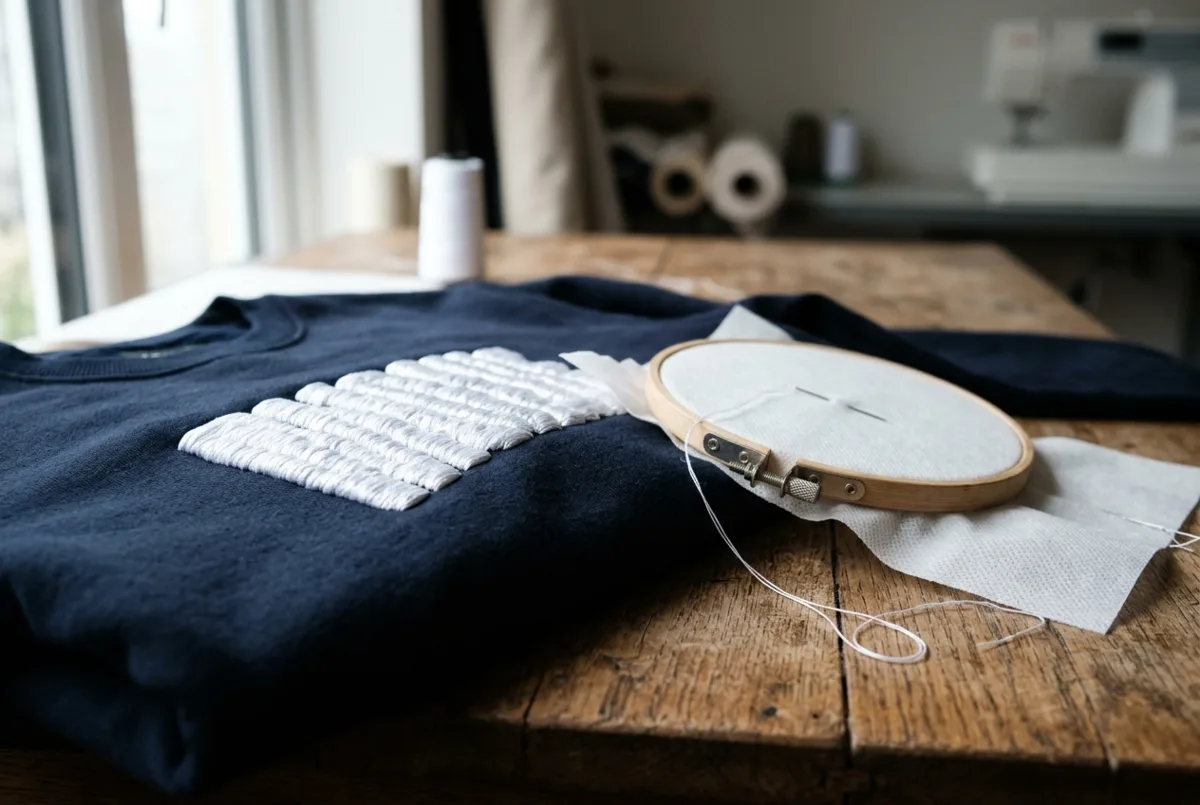
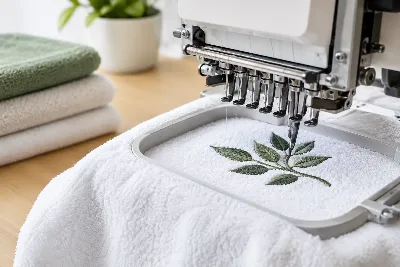
Image created with AI
For 3D embroidery, you lay a sheet of foam such as Sulky Puffy on top of the hooped fabric and stitch over it with very dense satin stitches. The needle perforates the foam along the edges of the satin columns, you tear away the excess, and a soft, raised padding remains under the thread. That's how you get the typical 'puff' effect you'll know from baseball caps and varsity jackets.
To make it work, you need three things: an embroidery file designed specifically for Puffy, a sturdy stabiliser under the fabric, and foam in a colour that matches your thread. With an ordinary embroidery file, the effect won't come out cleanly.
What exactly is Puffy?
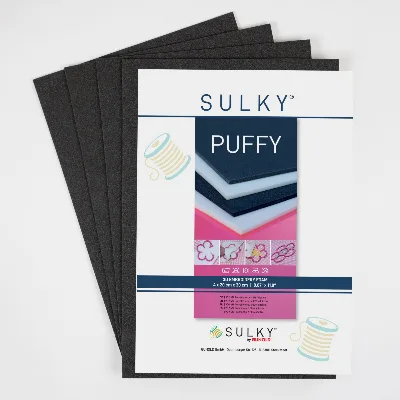
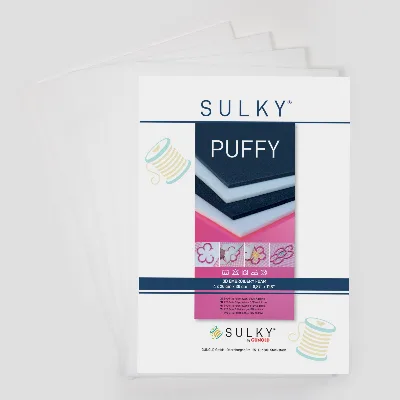
Puffy is an embroidery foam made of 92 % polyethylene and 8 % additives. Our Sulky Puffy by Gunold is 3 mm thick and comes in sheets of 20 × 30 cm, four per pack. We stock the foam in black and white. That covers most projects, as the foam is meant to disappear under the thread anyway.
In our Embroidery Felt & 3D Foam category you'll also find Sulky Felty, a 1.5 mm polyester felt. It's intended more for appliqués where the felt stays visible, rather than for padding satin columns.
What you need for 3D embroidery
| Product | Material | Role in 3D embroidery |
|---|---|---|
| Sulky Puffy | 92 % polyethylene, 8 % additives | Foam under the satin stitches, creates the volume |
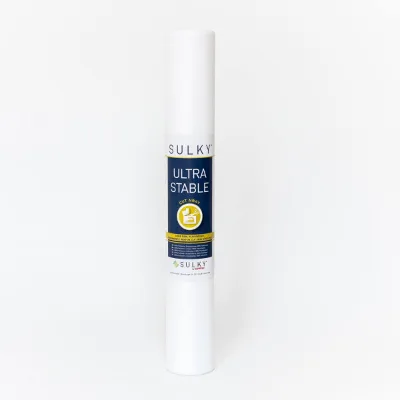
| Sulky Ultra Stable | 100 % polyester | Cut-away stabiliser under the fabric, supports the high stitch density |
| Sulky Rayon 40 | 100 % viscose | Glossy embroidery thread, covers the foam |
| Sulky Ultra Solvy | Polyvinyl alcohol with additives | Water-soluble film as a topper for flat parts of the design on fluffy fabric |
| Sulky Felty | 100 % polyester | Felt for visible, flat appliqués |
The right stabiliser
Puffy embroidery is very densely stitched and pulls hard on the fabric. A cut-away stabiliser such as Sulky Ultra Stable keeps the design in shape for good, especially on sweatshirt fabric, jackets or stretchy material. Ultra Stable comes in white and black, so you can use it discreetly under dark fabrics too. We explain in detail which stabiliser suits which fabric in our guide Choosing the best stabilisers for embroidery.
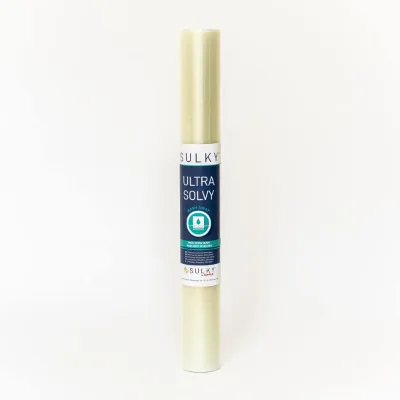
If your design has flat areas on towelling, fleece or velvet as well as the 3D parts, a water-soluble topper such as Sulky Ultra Solvy stops the stitches sinking into the pile. You can read more about this in Choosing the right topper for embroidery. The Puffy parts themselves don't need a topper, as the foam takes on that role.
Thread and foam colour
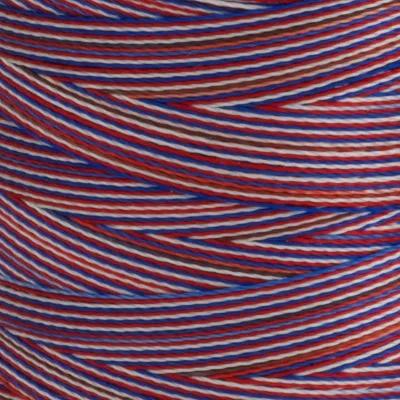
A glossy embroidery thread such as Sulky Rayon 40 made of 100 % viscose beautifully emphasises the curve, because the light runs over the rounded surface. Choose the foam colour to match your thread: white Puffy under light thread colours, black under dark ones. Then, if a tiny speck of foam does peek through between the stitches, it will hardly be noticeable.
Which embroidery file for puffy foam?
For Puffy, you need a file that has been specifically digitised for 3D foam. These files differ considerably from ordinary designs:
- Satin stitches instead of fill stitches: Only satin columns enclose the foam and press it into a rounded shape.
- High stitch density: The stitches sit closer together than usual, so the foam is completely covered and cleanly perforated at the edges.
- Closed ends: Extra cross stitches at the start and end of each column cut through the foam so it doesn't bulge out at the sides.
- Minimal underlay: There's hardly any underlay stitching under the 3D columns, otherwise the foam gets flattened.
- A stop before the 3D parts: The machine pauses so you can lay the foam in place.
Bold letters, numbers and simple shapes with medium-width satin columns work best. Very fine details and large areas aren't suitable for Puffy.
Embroidering with Puffy: step by step
- Hooping: Hoop the fabric and cut-away stabiliser together, nice and taut.
- Flat parts first: Stitch all the parts of the design that should stay flat. The file sets the order.
- Laying the foam: When the machine stops, place a piece of Puffy over the area of the 3D parts. Cut it slightly larger than the motif. A strip of tape outside the embroidery area holds it in place.
- Stitching the 3D parts: Restart the machine. The satin stitches cover the foam and perforate it along the edges. It's a good idea to stitch at a slightly reduced speed.
- Removing the excess: Take off the hoop and carefully tear away the excess foam along the perforation, holding the stitches down with your finger as you go.
- Further colours: If there are more flat parts to follow, only stitch them once the foam has been removed.
- Trimming the stabiliser: On the back, trim the cut-away stabiliser, leaving a little margin around the embroidery.
If you'd like to get your hands on the materials before you start, do pop into our shop in Neumarkt-Woffenbach.
Common mistakes
- Using an ordinary embroidery file: Fill stitches and satin stitches that are too loose flatten the foam or let it show through.
- Foam colour doesn't match the thread: White foam under dark thread can quickly look messy at the edges.
- Foam cut too small: If it slips while stitching, some columns end up with nothing underneath and stay flat.
- Stabiliser too light: The high stitch density pulls the fabric together and the design puckers.
- Tearing off the excess too abruptly: This can loosen stitches. Tear in small pieces and hold the stitches down.
- Choosing designs that are too fine: Narrow lines and small lettering can't hold the foam and look ragged.
Frequently asked questions
Can I do 3D embroidery on caps?
Yes, the front of a cap is the classic spot for Puffy embroidery. You'll need a cap hoop for your embroidery machine and a Puffy file adapted to the curved surface. Bold letters or a simple logo look best there.
How do I remove bits of Puffy that are still poking out?
Pick out larger bits with tweezers. Tiny scraps at the edges shrink back if you apply a little heat, for example steam from your iron held above the embroidery without touching it.
Is Puffy embroidery washable?
Yes. Sulky Puffy can be washed at 30°C without fabric softener or bleach and can go in the tumble dryer on a gentle, low-heat setting. Only iron the embroidery on a low temperature, ideally from the wrong side, so that it keeps its raised shape.
Is embroidery foam the same as puffy foam?
Yes, embroidery foam, puffy foam and 3D foam all refer to the same material: a thin sheet of foam that adds volume under satin stitches. Sulky Puffy is one such embroidery foam.
Does Puffy work with a domestic embroidery machine?
Yes, as long as the machine allows a stop in the stitching sequence and you use a suitable 3D file. You simply lay the foam in place at the stop, so you don't need any special accessories.
Matching categories
Matching products
Sulky Puffy 4 sheets 20 × 30 cm in Black
€7.90per piece
Unit price €32.92 / m²
Sulky Puffy 4 sheets 20 × 30 cm in White
€7.90per piece
Unit price €32.92 / m²
Sulky Rayon 40 Embroidery Thread 780 m Multicolour 2504
€6.90per piece
Unit price €0.01 / m
Sulky Ultra Solvy 50 cm × 5 m in Transparent
€22.00per piece
Unit price €8.80 / m²
Sulky Ultra Stable 50 cm × 25 m in White
€80.00per piece
Unit price €6.40 / m²