Embroider your own patches – how to get your design just right
A little embroidered rainbow on a child's jacket, a name tag for a PE bag or a cheeky motif on your jeans: embroidering your own patches turns simple favourites into something personal. And the best part? You don't need an embroidery machine or any particular experience. With a manageable design, good materials and a bit of calm, you can create patches that really suit your project.
Why embroidered patches are so practical
A patch is much more than decoration. It covers small stains or holes, labels clothes for nursery and gives bags, hats or handmade jackets an individual touch. Unlike designs embroidered directly onto a garment, you attach a patch only once the embroidery is finished. That's especially handy if you're not sure where the design will look best, or if the garment fabric is very stretchy, thick or delicate.
Hand-embroidered patches are meant to look lively. Small irregularities are part of the deal and make up their charm. For very fine lettering, detailed logos or lots of identical designs, however, an embroidery machine is the better choice. For individual motifs, names and simple shapes, hand embroidery is wonderfully straightforward.
What you need to embroider your own patches
Your choice of materials determines whether your patch will be sturdy and easy to sew on. A firm, not too loosely woven cotton fabric makes a good base, such as canvas or another woven fabric. Felt is also popular because its cut edges don't fray. It looks a little softer and is ideal for clear shapes such as stars, hearts, animals or letters.
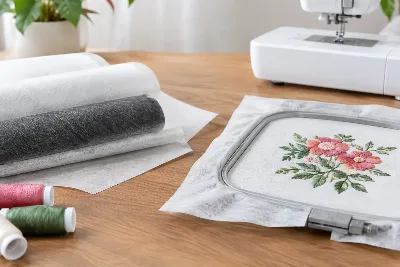
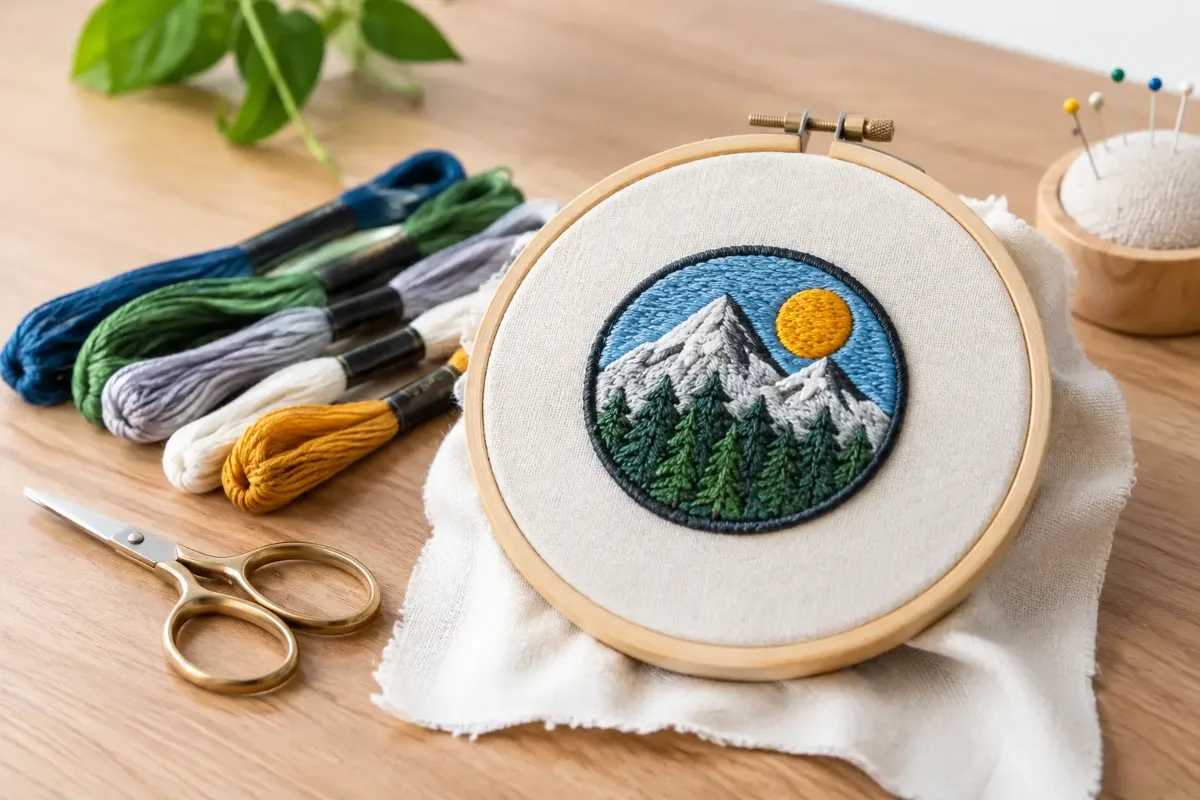
You'll also need embroidery thread, an embroidery needle with a sufficiently large eye, a small pair of fabric scissors, an embroidery hoop and a template. Later on, you'll need a sharp sewing needle and matching sewing thread to attach the patch. With thin woven fabric, an iron-on embroidery stabiliser on the back helps. It stabilises the fabric so that it doesn't pucker while you stitch.
For the edge, you have two good options: you can cut the fabric out close to the embroidery and secure the edge with a dense blanket stitch. Or you can work on felt and cut the shape out directly. The second option is usually easier for beginners, as there's no fraying.
Which threads and fabrics go together?
Classic six-strand cotton embroidery thread is versatile and can be separated. Two strands are often enough for fine lines, while for bold areas or outlines you'll use three to six. Woolly embroidery thread creates a more textured look but is less suitable for small details. Metallic thread looks festive but can be a little stubborn to work with – it's worth a quick patience test on a scrap first.
When it comes to fabric, the firmer the base, the neater the embroidery will sit. Very thin cotton almost always needs a stabiliser. Stretchy fabrics such as jersey aren't ideal for a first patch, as they distort easily. If you love the look of jersey, embroider your design on a firm base instead and then sew the finished patch on.
Preparing your design: simple beats complicated
For your first attempt, designs with clear lines are the best choice: a toadstool, a flower, a smiley face, an animal face or the initial of a name. Very small details quickly disappear in the thread. It's better to plan generous areas and recognisable shapes.
Draw your design onto the fabric with a washable marker or a very fine pencil. If you're using a printed template, you can hold it up to a window and trace the outlines. Make sure to leave at least one to two centimetres of fabric around the design. You'll need this allowance for the edge later and to sew the patch on securely.
Stretch the fabric taut in the embroidery hoop, but don't overstretch it. The surface should be smooth without the threads of the weave shifting. For small patches in particular, a small hoop is handy because it gives you good control over the design.
Embroidering a patch: step by step
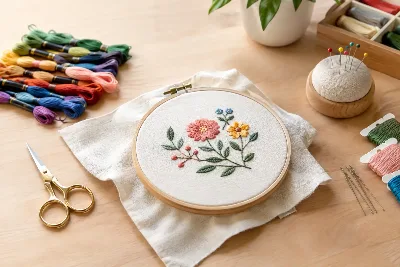
Start with the outline. Backstitch is perfect for outlines, letters and fine lines: make a small stitch forwards, then bring the needle back into the end point of the previous stitch. This creates a closed, clean line.
For larger areas of colour, you can use satin stitch. The stitches lie close together and fill the shape. Don't make your stitches too long, or they'll snag more easily. For wider areas, several short rows help. A little tip from experience: embroider the filled areas first and work the outline over them at the end. This makes the design look neater.
Dots and eyes work well with French knots, while small flowers quickly take shape with simple straight stitches. You don't need to master every embroidery stitch. Two or three techniques are perfectly enough for most designs. The most important thing is to keep your thread tension even. If you pull too tightly, the fabric will ripple. If the thread is too loose, the stitches will stick out.
Knot the thread on the back as discreetly as possible and run the end under some of the existing stitches. This helps the embroidery hold better, even if the patch is washed frequently later on.
Finishing the edge neatly
Only take the fabric out of the hoop once all the embroidery is complete. Then cut it out about three to five millimetres from the outer outline. With felt, the edge can simply stay visible. With woven fabric, blanket stitch reliably protects the cut edge: bring the needle through the edge from back to front and pull it through the loop that forms. Repeat the stitch closely all the way round.
If you'd like a particularly sturdy, classic patch look, you can work the edge in a dense buttonhole stitch. It takes a bit more time but is worth it for jackets, rucksacks and other items that get a lot of wear. For very small designs, a neatly cut felt edge is often enough.
Attaching patches to clothes and bags properly
Sewing the patch on is the most durable option. Pin it in place with a fine pin and sew all the way round just inside the edge with small stitches. For a thick felt patch, you can use a matching embroidery thread, so the seam itself becomes a pretty detail. On stretchy fabrics such as jersey, the garment should lie flat and not be stretched while you sew.
Iron-on interfacing on the back can be a quick fix, but it's no substitute for stitching on clothing that gets heavy wear. Extra stitching is especially sensible on children's trousers, rucksacks or sleeves. Be cautious with adhesive on jackets made from softshell, waterproof fabric or very smooth synthetics: heat can alter the material, and the bond isn't always permanent. Sewing is the more reliable solution here.
At first, it's best to wash the item at a low temperature and turn it inside out. This keeps the thread colours and edges looking lovely for longer. If a single edge stitch comes loose after many washes, it's quick to repair – a big advantage over glued-on designs.
Ideas for personal patches
Patches are especially lovely when they tell a little story. An embroidered fox can complement a favourite jumper, a name makes a lunch bag unmistakable, and a little heart rescues the knees of well-worn children's trousers. They're also a thoughtful addition to handmade gifts: as a label on a patchwork quilt, a monogram on a make-up bag or a motif on a sewn keyring.
When choosing colours, lay the fabric and embroidery thread right next to each other. Contrasts make the design easy to see from a distance, while tone-on-tone embroidery looks calmer and more elegant. At Die Stoffkönigin you'll find fabrics, threads and embroidery supplies for both – and looking at the item the patch is meant for often helps you choose.
Be brave and start with a small first design rather than waiting ages for the perfect idea. A hand-embroidered patch doesn't have to be flawless to bring joy. It's allowed to show that it was made by hand, especially for that one special person.
Matching categories
Matching products
Anchor Stranded Cotton 8 m Purple
€1.95per piece
Unit price €0.24 / m
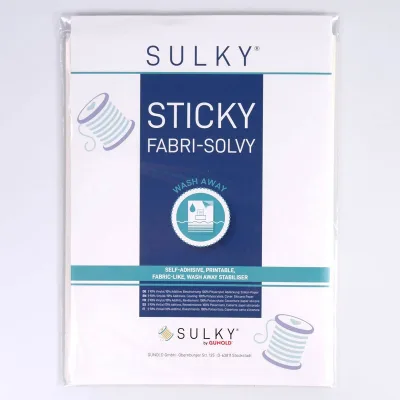
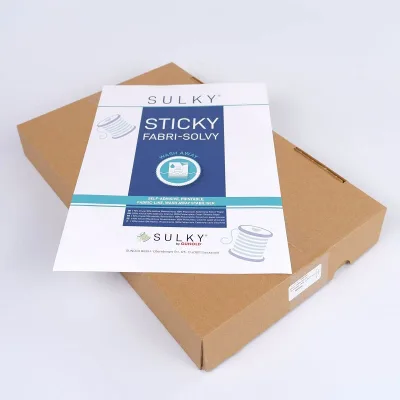
Sulky Sticky Fabri-Solvy 12 sheets 21.5 × 28 cm in White
€24.50per piece
Unit price €34.03 / m²
Embroidery Hoop
€14.90per piece
Anchor Stranded Cotton 8 m Iris
€1.95per piece
Unit price €0.24 / m
Sulky Sticky Fabri-Solvy 108 sheets 21.5 × 28 cm in White
€159.00per piece
Unit price €24.46 / m²
Embroidery Hoop
€13.90per piece