What Do You Need for Embroidery? The Essential Kit
A little motif on a child's jumper, a monogram on a fabric bag or flowers on a linen cushion: ideas like these need surprisingly little. If you're wondering what you need for embroidery, you can get started straight away with just a few well-chosen materials. What matters isn't owning every thread colour and every specialist tool from day one. Far more important are a suitable fabric, a good needle, embroidery thread and a little patience for those first stitches.
Hand embroidery is a wonderfully calming hobby that's easy to pick up in spare moments. At the same time, it adds a very personal finishing touch to your sewing projects. With the right basic kit, your first results will look neater, and you'll quickly discover which colours, techniques and projects you enjoy most.
What Do You Need for Embroidery? The Basics for Getting Started
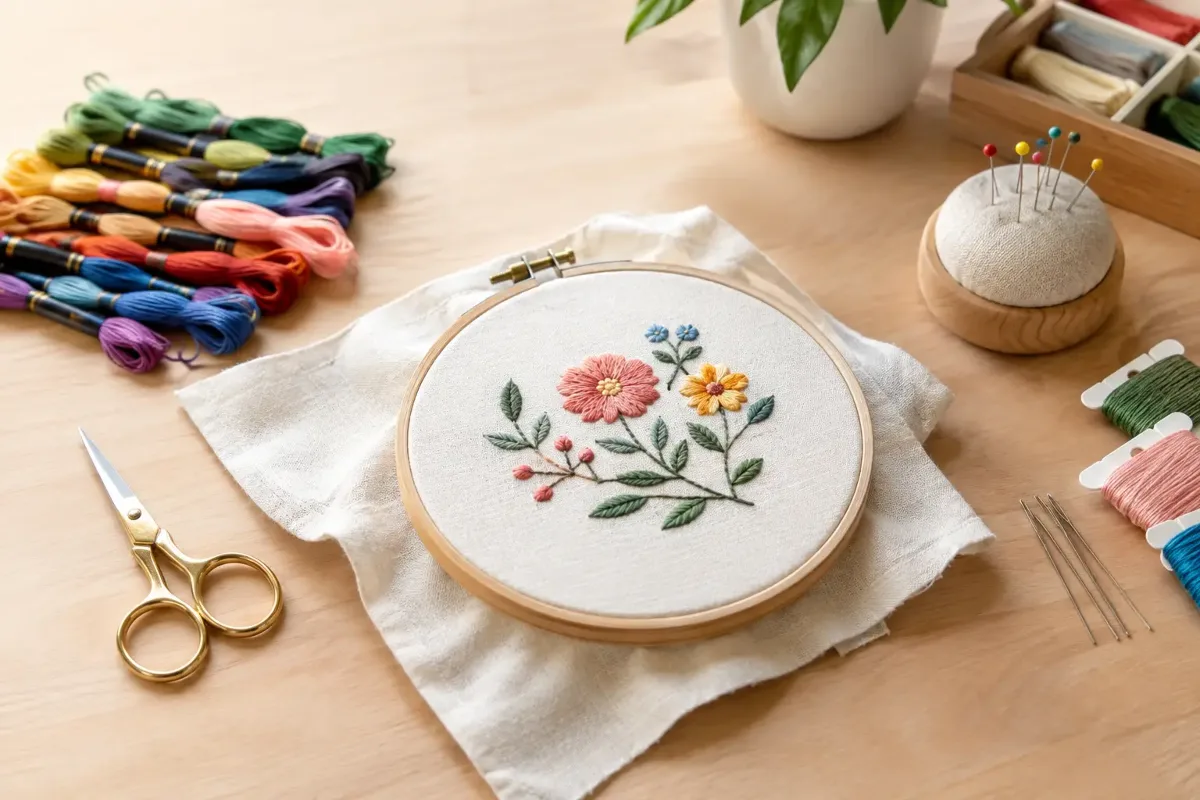
For classic hand embroidery, five things are enough to begin with: fabric, an embroidery hoop, embroidery needles, embroidery thread and a small, sharp pair of scissors. Add to that a design, which you either draw yourself or transfer onto the fabric from a template. This simple kit fits into a project box and also makes a lovely gift for creative people.
At the start, it's better to buy with purpose rather than stock up. A high-quality thread in just a few colours will serve you better than a huge selection whose shades don't suit your project. Especially with small embroidery designs, a harmonious colour combination stands out far more than the amount of material.
The Right Fabric as Your Foundation
Not every fabric is equally pleasant to embroider. For beginners, densely woven fabrics with as little stretch as possible are ideal. Cotton woven fabric, linen or a cotton-linen blend give your stitches support, are easy to put in a hoop and don't distort as easily.
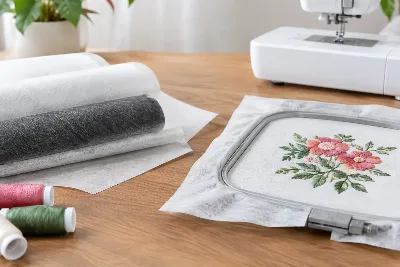
On thin fabrics the thread may show through, while on very sturdy canvas, pushing the needle through becomes hard work. Jersey, sweatshirt fabric and other stretchy fabrics are by no means off limits for embroidery, but they usually need a stabilising interfacing on the reverse. Otherwise the stitches pull together and the design puckers. For a first project, a scrap of cotton or linen is therefore the more relaxed choice.
Pay attention to colour, too: light threads need a darker background, while dark outlines look crisp on light fabrics. If you're embroidering a design on clothing, it's best to test the thread and fabric on an offcut first. That way you'll see early on whether the colours work and whether the fabric holds the stitches well.
An Embroidery Hoop Keeps Your Fabric in Shape
An embroidery hoop consists of two rings that hold the fabric taut between them. It stops the weave from distorting as you stitch and makes even stitches much easier. For small designs, hoops around 10 to 15 centimetres in diameter are handy.
Wooden hoops feel comfortable in the hand and are often suitable for displaying a finished piece of embroidery, too. Plastic hoops are light and easy to care for. More important than the material is that the screw closes properly and the fabric stays taut while you work. Don't tighten it to the absolute limit, though – too much tension can crush or distort delicate fabrics.
If your design is larger than the hoop, simply reposition the hoop carefully later on. Try not to leave areas you've already embroidered clamped in the hoop for long, as this can leave pressure marks, especially on linen or soft woven fabrics.
Embroidery Needles and Thread: Small but Crucial
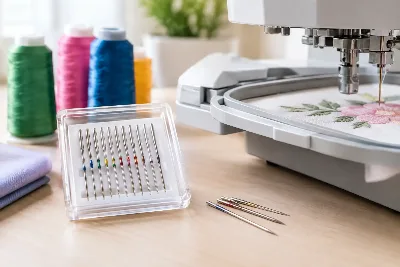
Embroidery needles have a slightly larger eye than fine hand-sewing needles. This makes embroidery thread easier to thread without fraying. The needle size needs to suit the fabric: for fine cotton and delicate lines, choose a finer needle; for thicker threads or heavier fabrics, a larger one.
Classic stranded cotton usually consists of six loosely twisted strands. For fine outlines, you'll often separate out just two or three strands. For filled areas or deliberately textured stitches, you use more. This is one of the simplest ways to give a design depth without having to buy different types of thread.
Start with threads that are colourfast and strong. Cotton embroidery thread is very versatile and works well for lettering, flowers, animal motifs or little accents on handmade bags. Shiny thread can look beautiful but is sometimes a little slippery to work with. For your first practice pieces, matt cotton thread is usually less fiddly.
A small pair of embroidery scissors with pointed blades helps you trim thread ends close to the fabric. Ordinary household scissors will do at a pinch, but they're less precise for fine work. Ideally, keep them just for thread and fabric – that way they'll stay sharp for a long time.
Transferring Your Design Without Damaging the Fabric
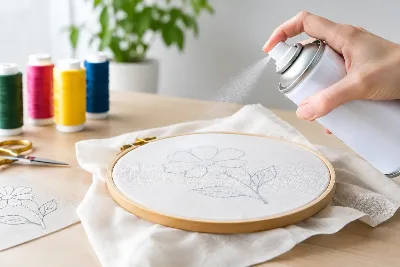
Even the most beautiful design won't help much if the lines remain visible after stitching or the fabric ends up stained. For light fabrics, a pencil with a very fine, light line works well. Only draw as much as you really need, and don't press hard.
On dark fabrics, washable or heat-erasable marking pens can be useful. Always check on an offcut first that the marks really do come out completely. Markings behave differently depending on the fabric, how long they've been left and the iron temperature. This is especially true for clothing that will be washed frequently.
Another option is water-soluble stabiliser. The design is drawn or transferred onto the stabiliser, placed on the fabric and stitched through. Once you've finished, it dissolves in water. This is handy for dark or textured fabrics such as towelling, and for detailed designs. With very delicate designs, though, you'll need to take a little care so the stabiliser doesn't tear while you stitch.
Useful Extras for Special Fabrics and Projects
You don't need to buy these tools straight away. They become worthwhile as soon as you want to embroider clothing, thick fabrics or larger designs:
- Embroidery stabiliser for supporting jersey, sweatshirt fabric, thin cotton or towelling.
- A thimble, if you're stitching through sturdy fabrics such as canvas or several layers.
- A needle threader for fine needles or if threading is tricky for you.
- A thread organiser or bobbin cards to keep opened skeins of stranded cotton tidy.
- Good lighting, such as a daylight lamp, for dark fabrics and fine details.
On clothing, the reverse side is particularly important. Loose threads can catch when you put the garment on or wash it. So secure the beginning and end of your thread neatly, but avoid bulky knots. Small, flat securing stitches on the reverse hold better and are less bulky.
Which Stitches Are Enough for a First Attempt?
You don't need to learn a whole dictionary of stitches right away. With running stitch, backstitch, stem stitch, satin stitch and French knots, you can already create a surprising number of designs. Backstitch is ideal for crisp outlines and lettering. Satin stitch fills small leaves, hearts or dots, while French knots make pretty flower centres and little accents.
Practise the stitches on a fabric scrap first. Stitch a few lines, curves and circles before you start on a favourite piece. Not every stitch will look even the first time – that's all part of it. Through repetition, you'll quickly develop a feel for how taut the thread should lie. Pulling too tightly causes puckering, while stitches that are too loose stand away from the fabric.
Hand Embroidery or Embroidery Machine?
The question of equipment also depends on what kind of embroidery you have in mind. For hand embroidery, the basic materials above are all you need. An embroidery machine opens up other possibilities: large, uniform designs, names or series across several items. For that, besides the machine, you'll need suitable embroidery files, machine embroidery thread, bobbin thread, stabiliser and possibly special hoops.
For a single monogram or a lovingly embroidered gift, hand embroidery is often worthwhile straight away. If you'd like to put lots of identical designs on T-shirts, cushions or bags, an embroidery machine can make sense in the long run. Both have their appeal: the machine saves time, while hand embroidery makes every piece one of a kind.
Keep Your First Project Deliberately Small
A large, highly detailed picture can wait. Start instead with a small bunch of flowers, a rainbow, a name or a single animal motif. A tote bag, a cushion cover or a piece of cotton woven fabric for framing all make rewarding practice surfaces. They lie flat, are easy to reach and don't have to stretch when worn.
Get your materials ready before the first stitch: put the fabric in the hoop, sort your thread colours, transfer the design and thread the needle. Then you can take your time. At Die Stoffkönigin you'll find fabrics, haberdashery and embroidery supplies that you can put together to suit your project. And if you're unsure about the type of fabric, interfacing or colour choice, personal advice will often help you more quickly than lots of guesswork.
Your first embroidery project doesn't have to be perfect. It's allowed to show that it's handmade – and that's exactly where its special charm lies.
Matching categories
Matching products
Anchor Stranded Cotton 8 m Purple
€1.95per piece
Unit price €0.24 / m
Embroidery Hoop
€14.90per piece
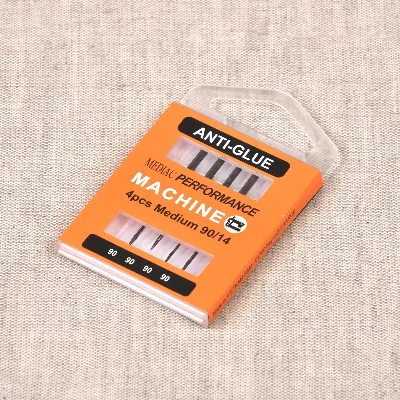
Machine Needles Anti-Glue 90/14, 4 pieces
€5.90per piece
Anchor Stranded Cotton 8 m Iris
€1.95per piece
Unit price €0.24 / m
Embroidery Hoop
€13.90per piece
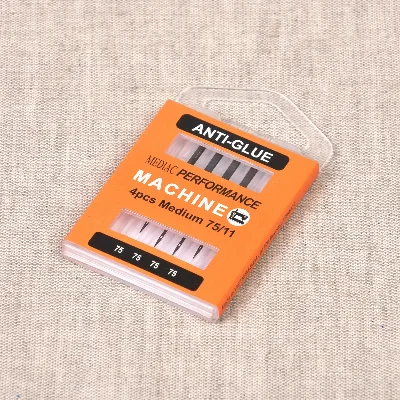
Machine Needles Anti-Glue 75/11, 4 pieces
€5.90per piece