
How to Choose the Right Fabrics for Patchwork Projects
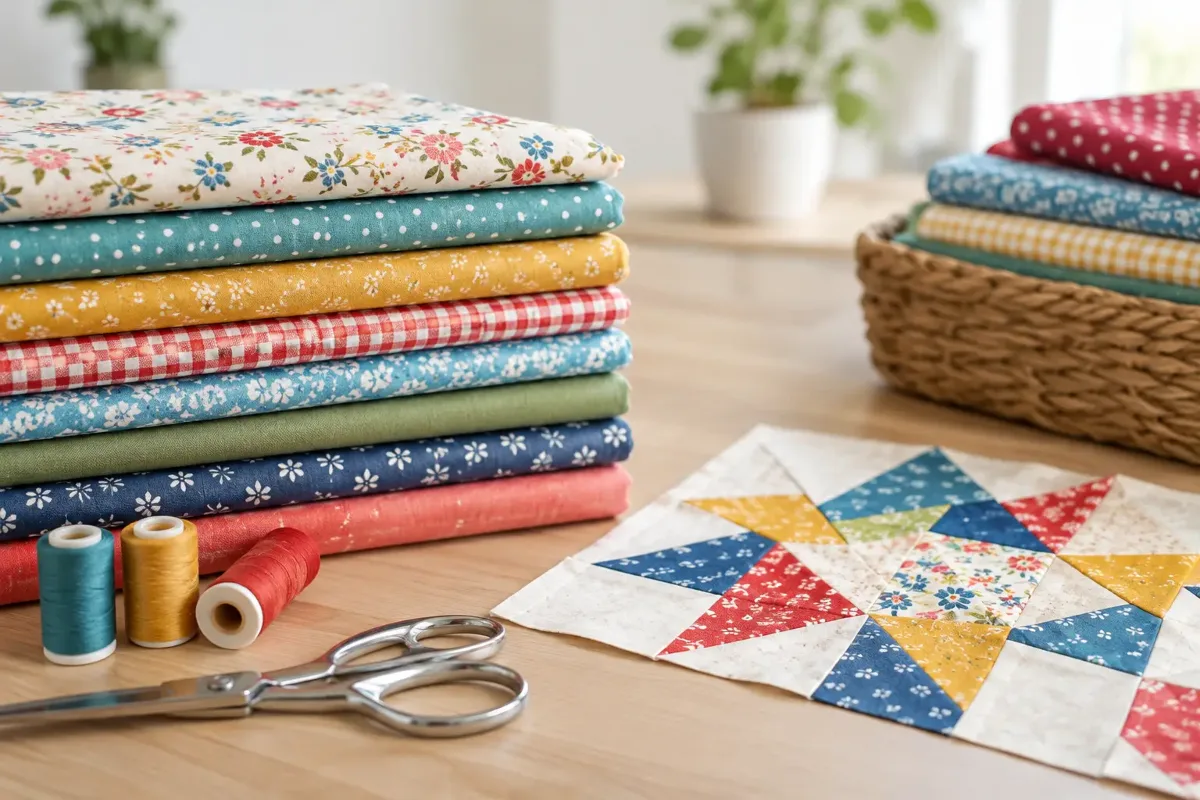
A patchwork project doesn't begin with the first cut. It begins with fabrics that work together. Fabrics for patchwork projects should be easy to cut, sew together accurately and still look harmonious after many seams, washes or years. Especially with quilts, cushions, bags or small gifts, your choice of materials decides whether lots of lovely individual pieces become a harmonious whole.
Fabrics for patchwork projects: what matters
For classic patchwork, woven cotton is usually the first choice. It holds its shape, cuts precisely and distorts far less than stretchy fabrics when you sew pieces together. This is especially helpful when lots of small squares, triangles or narrow strips meet. Patchwork cotton feels pleasant, is versatile and comes in a huge range of colours and prints.
Look for a firm, even weave. Very thin cotton can fray while you sew or shift under the presser foot. Very heavy home décor fabrics, on the other hand, don't always suit delicate patchwork blocks. For a quilt, a baby blanket or a wall hanging, a medium-weight cotton is usually just right. For bags, the outer fabric can be a little sturdier, such as canvas or a firm cotton. In that case, though, the patchwork pieces should ideally be made from materials of a similar weight.
Jersey, viscose and other stretchy fabrics are more of an exception for traditional patchwork blocks. They can look striking, but they need experience, suitable interfacing and careful handling. If you're just starting out, you'll get neat seams and even blocks much more quickly with woven fabric.
Uniform or deliberately mixed?
Not every fabric has to feel the same. A quilt can be lively, and a sturdy base fabric can make a lot of sense for a patchwork bag. What matters is that the fabrics within one area have similar properties. If a thin fabric sits right next to firm canvas, the seam may behave unevenly with use. That doesn't just look restless – it can also affect durability.
When working with fabrics of different weights, it helps to stabilise lighter ones with interfacing where needed. This is particularly worthwhile for bag flaps, fabric baskets or placemats. For a cosy blanket, however, extra interfacing is often unnecessary and makes the project stiffer than it should be.
Combining colours and prints with confidence
Patchwork thrives on contrast, but not every combination needs as many colours as possible. A good starting point is a small colour group of three to five main shades. Add neutral fabrics such as cream, white, grey, beige or navy. They give bold prints room to breathe and keep geometric shapes clearly visible.
It helps to look at lightness, not just colour. Lay your fabrics side by side and look at them from a little distance, or photograph them in black and white. You'll quickly see whether light, medium and dark values are all well represented. Without this difference, individual blocks can blur into one another – even if the colours actually go together beautifully.
Large-scale prints need a little more planning. A fabric with big flowers, animals or illustrations shows off best in larger pieces, such as squares, large rectangles or as the centrepiece of a block. For tiny triangles, small-scale prints, dots, stripes or calm plain fabrics are usually the better choice. Stripes can be especially appealing when you deliberately cut them straight, on the diagonal or alternating.
If you're unsure, try a simple rule: combine one eye-catching main fabric with smaller prints and at least one calm plain or marl fabric. That way, the result stays lively without looking busy. For children's quilts, colours and motifs can be cheerful. For a cushion in the living room, muted tones, nature motifs or a pared-back colour palette often look more timeless.
Wash before cutting – or better not?
This depends on how the piece will be used. If the quilt, a child's cushion or a tablecloth will be washed regularly later on, pre-washing is a good idea. Cotton can shrink slightly, and strongly dyed fabrics may release colour in the first wash. In that case, wash all the fabrics you plan to use in the same way, so they behave similarly later on.
For decorative projects that will hardly ever be washed, or for very small patchwork pieces, you can skip it. Just be careful when washing them later. A colour catcher sheet is a handy helper with strong reds, blues or dark shades. Iron the fabrics smooth after washing and before cutting. A neatly pressed fabric saves you lots of time when piecing.
Planning the right amount
With patchwork, it's not just the total amount that counts but also the size of the individual pieces. Half a metre of one fabric may be enough for large blocks, but for a detailed design with lots of colours, several small cuts often make more sense. If you want to repeat a particular print, allow a little extra. Directional prints, large motifs and stripes create more waste than plain fabrics.
Before you shop, check the sewing pattern or roughly sketch out your block. Note which fabrics will serve as background, contrast, border or backing. Especially for beginners, it's nice to lay the fabrics out side by side before starting and test how they're distributed.
At Die Stoffkönigin, many fabrics are available from just 20 cm. That's handy when you're looking specifically for accent colours, small prints or additions for a scrappy quilt. For backings, binding or larger areas, on the other hand, a generous cut of a matching base fabric is worthwhile. When it comes to binding, remember that bias-cut strips need more fabric than straight-cut ones.
Small projects make a great fabric test
A mug rug, a fabric basket, a cushion cover or a table runner is more than just a quick sewing project. Small formats let you test how colours, prints and fabric weights work together. They're also a relaxed way to practise piecing with a quarter-inch seam allowance, or just under 0.75 cm.
Start by sewing two or three test seams. Do the edges lie flat? Does the fabric fray a lot? Does a dark print show through a light fabric? Details like these are obvious straight away on a small sample and save you from having to rethink everything after cutting lots of pieces.
A rotary cutter, a cutting mat and a patchwork ruler help you get precise results. You don't need them for your first attempt, but they make repeated measurements much easier. Sharp tools stop fabric layers from slipping and edges from fraying. Also use a fine, good-quality cotton thread. Thread that's too thick can add unnecessary bulk where lots of seam allowances meet.
Keeping fabrics and blocks organised
As soon as several fabrics are on your sewing table, a clear system helps. Label cut stacks, especially when some pieces differ in size by only a few millimetres. Lay the blocks out as a trial before sewing them together and take a photo of the arrangement. In a photo, you can quickly see whether a print repeats too often in one spot or a colour is missing.
Press the seam allowances consistently to one side or open – both can work. With lots of small blocks, using one method throughout matters more than which one is better in principle. Pressing rather than pushing the iron keeps the shape stable. Place the iron down and lift it up again so the small pieces don't distort.
The loveliest fabric combinations often don't come from a huge selection but from a clear idea: a favourite colour, a special feature print or an occasion the piece is being made for. Lay out your selection in daylight, step back for a moment and then choose the fabrics that still look like you when they're together.