Prewashing cotton fabric: how to do it properly
A dress fits perfectly, the children's trousers are finished – and after the first wash they're suddenly a size smaller. You can often avoid this if you prewash cotton fabric the right way. Many cotton fabrics still change noticeably the first time they meet water, heat and movement. If you treat the fabric before cutting in the same way you plan to care for the finished piece, your sewing will be far more relaxed.
Why prewashing cotton fabric makes sense
Cotton can shrink in the wash. How much depends on the weave, the finish and the quality of the fabric. With densely woven poplin the change is often smaller than with loosely woven muslin or waffle piqué. Printed fabrics and fabrics in strong colours can also release excess dye during the first wash.
Prewashing takes this first surprise out of the equation. The fabric can shrink, relax and, if necessary, lose a little colour before any pattern pieces are laid on it. This is a real advantage for clothing, bed linen, cushion covers, table linen and any project that will go in the washing machine regularly.
There are exceptions, though. If a fabric is only intended as a wall hanging, for a card or for another project that will never be washed, it can often stay unwashed. In patchwork, too, not prewashing can be a deliberate choice: some sewists love the slightly antique, irregular look that develops after the first wash of the finished piece. The important thing is to stay consistent within a project.
Prewashing cotton fabric properly: the preparation
First, check the fabric's care instructions. They tell you which temperature and drying method are intended later on – and that's exactly what the prewash should be based on. If the fabric is going to become a summer dress that will be washed at 30 degrees, one wash at 30 degrees is usually enough. If you're making a kitchen apron or children's clothing that will regularly go in the machine at 40 degrees, it's best to prewash the fabric at 40 degrees too.
Choosing a higher temperature just to "shrink it for safety" isn't always a good idea. It can put more strain on the colours, make prints look duller or change the surface unnecessarily. The fabric should get used to its future everyday life – not to care it will never receive later.
Keep the fabric in one piece as far as possible to begin with. Small pieces that have already been cut fray more quickly and can distort more. You can divide very large lengths if the washing machine would otherwise be too full. Give the fabric enough room: an overloaded drum cleans less well and creases more.
Finish the cut edges or just wash them as they are?
Woven cotton fabric often frays at the cut edges in the washing machine. That's normal, but with loosely woven fabrics it can lead to long threads and loss of fabric. If you have an overlocker, quickly finish the two cut edges. A zigzag stitch on your sewing machine works just as well.
For smaller pieces of fabric, a laundry bag can also help. It keeps loose threads together better, but it's no substitute for edge finishing on fabrics that fray heavily. Jersey behaves differently from woven cotton and usually doesn't need its edges secured. For classic woven cotton fabrics such as poplin, canvas, muslin or patchwork fabrics, on the other hand, this small preparation step is often well worth it.
The right wash for colour and fibre
The first time you wash new cotton fabrics, it's best to keep them separate from light-coloured clothing and from other fabrics whose colours you want to protect. This applies especially to red, navy, black, petrol and intensely patterned prints. A colour catcher sheet can give extra peace of mind, but it's no licence to put every colour in one drum.
A mild detergent is usually a good choice for the first wash. You can skip the fabric softener. It isn't needed for sewing and can reduce a fabric's absorbency – for example with flannels, burp cloths or homemade towels. Bleach and detergents with strong optical brighteners don't belong anywhere near coloured fabrics if you want to enjoy the colours for a long time.
Choose a normal or gentle wash programme to suit the care recommendation. A very short programme can work if shrinkage is your only concern. For fabrics with a finish – a treatment that makes them look smooth or firm in the shop – a full wash cycle is a good idea, however. After washing, cotton often feels softer and more natural. And that's exactly the fabric quality you'll be working with when you sew.
What to do if the fabric bleeds a lot
If the water comes out of the machine noticeably coloured or the colour catcher has absorbed a lot of dye, wash the fabric separately once more. This can be necessary, especially with strong solid colours. Afterwards, the fabric shouldn't release any noticeable colour when it comes into contact with a damp white cloth.
A household remedy such as vinegar is often recommended for fixing colours. With modern fabrics this usually isn't necessary, and it's no substitute for a careful, separate prewash. It's better to rely on the care instructions, a suitable detergent and, if needed, a second wash.
Drying: the way your finished piece will live later
When it comes to drying, too, future care is what counts. If you want to tumble dry the finished garment in future, the fabric should also go in the tumble dryer before cutting. Only then will most of the possible shrinkage have taken place. This is particularly practical for everyday clothing, pyjamas or children's items that are washed frequently.
If you plan to dry your project on the line or a clothes airer, dry the fabric that way as well. Gently pull the fabric back into shape after washing and hang it up as smoothly as possible. Heavy cotton fabrics such as canvas can stretch slightly if hung from a single edge. Drape them over several rails to dry, or dry them flat if you have enough space.
Muslin needs a little attention: its typical, slightly crinkled texture changes depending on how it's dried. If you like the soft, airy look, simply let it dry naturally and don't iron it flat. For a more precise sewing project, you can smooth it carefully – just not so much that the lovely texture disappears completely.
Ironing and cutting properly after prewashing
Before you lay out your sewing pattern, the fabric should be completely dry. Moisture can distort measurements and mean that pattern pieces no longer fit together quite accurately later. Iron woven cotton smooth according to the care recommendation if you want to cut precise edges, notches and hems.
Not every fabric needs to be perfectly flat, though. With textured fabrics such as muslin, seersucker or waffle piqué, it's just about removing larger creases and laying the fabric out without tension. Canvas and poplin, on the other hand, benefit from a smooth surface, because pattern pieces can be aligned more neatly on it.
Also check the grain before cutting. After washing, the fabric can distort slightly, especially if it came out of the drum very wet or was hung up at an angle. Lay the fabric on a large surface with both selvedges parallel. If necessary, gently ease it back into shape. Don't stretch it forcefully – cotton should lie straight, but not under tension.
Common mistakes when prewashing cotton
The most common mistake is washing the fabric one way and then caring for it completely differently later. If you prewash fabric at 30 degrees and then regularly wash the finished piece hot and tumble dry it, you can still expect it to shrink. It's just as unwise to put dark new fabrics straight in with light-coloured laundry.
Cutting before prewashing can also cost more fabric than expected. If the fabric then shrinks or twists, the cut pieces may end up too small or no longer fit together exactly. If you've bought only just enough fabric, it's especially wise to wait until after washing before measuring and laying out your sewing pattern.
Last but not least, cotton shouldn't be left damp in the machine for days. That encourages unpleasant smells and deep creases. Take it out promptly once the programme has finished, shape it gently and dry it in the same way your finished piece will be dried later.
Well-prepared fabric doesn't just feel nicer – it's also easier to cut and sew reliably. If you're unsure about the fabric type, care or colour, a quick look at the product details will help – and if you have any questions, Die Stoffkönigin will be happy to advise you on your planned project.
Matching categories
Matching products
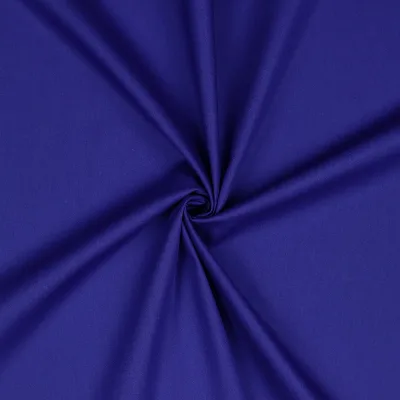
Cotton Woven in Dark Blue
€3.95per 0.5 m
Unit price €7.90 / m
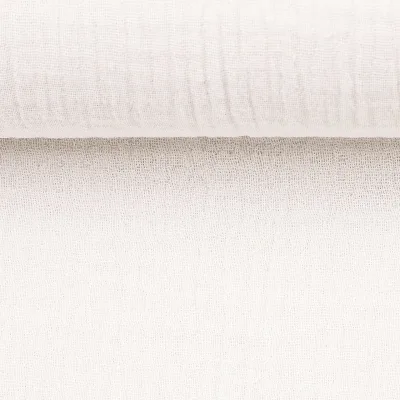
Muslin in Natural White
€5.45per 0.5 m
Unit price €10.90 / m
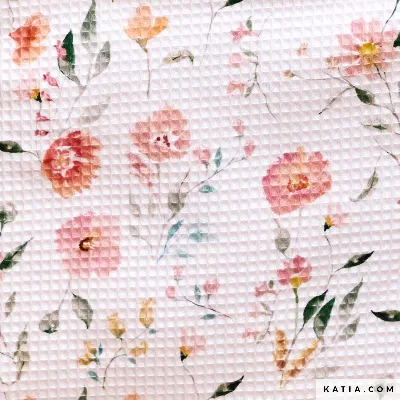
Woven Piqué Flowers in White/Pink
€9.95per 0.5 m
Unit price €19.90 / m
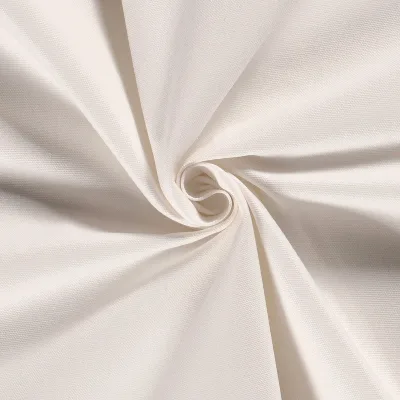
Canvas in Wool White
€6.45per 0.5 m
Unit price €12.90 / m