Finishing Canvas Fabric Edges Made Easy

On a handmade bag, raw edges often only become a problem when the project is almost finished: little threads come loose on the inside, and the fabric starts to fray at seams that take a lot of strain. That is why finishing canvas edges is part of the preparation for many bags, baskets, cushion covers and home decor ideas, not just the final step. Which method is right depends mainly on the weight of the canvas, how much strain the item will take and whether the inside will be visible.
Why canvas frays at the cut edges
Canvas is usually a tightly woven fabric made from cotton or a cotton blend. Its sturdy threads make it a great choice for bags, storage organisers, seat cushions, aprons or curtains. On an unsecured cut edge, however, these woven threads can gradually work loose. This happens especially quickly if you handle the pieces a lot, turn them through, wash them or if the seam allowances rub inside the project.
Not every project needs the same thorough edge finish. On a lined make-up bag, the raw edges end up protected between the outer fabric and the lining. Even so, a neat finish is worthwhile if the fabric frays badly or the bag will be used often. On unlined baskets, aprons and visible inside seams, on the other hand, finishing the edges is almost always a good idea.
A quick test saves frustration: gently pull at the cut edge of an offcut. If several threads come loose straight away, you should secure your pieces soon after cutting. If you are sewing with coated canvas, outdoor canvas or particularly densely woven fabric by the metre, the edge may fray much less. Here, what the item will be used for matters more than looks alone.
Finishing canvas edges: choosing the right method
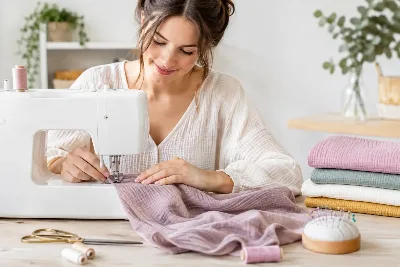
For most sewing projects, the zigzag stitch on a domestic sewing machine is perfectly adequate. It is straightforward, durable and works well even when canvas is too thick or too stiff for the overlocker. Set a medium stitch width and choose a fairly short to medium stitch length. The stitch should wrap the edge of the fabric without pulling it together.
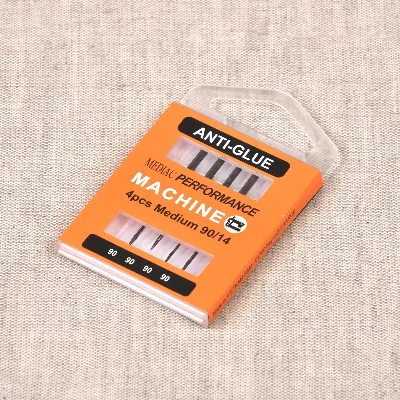
Sew slowly and guide the edge evenly. For thick canvas, a universal needle in size 90 or 100 helps, depending on the weight of the fabric. If stitches are skipped, a new, suitable needle is often the simplest fix. Always test the tension, stitch width and thread on an offcut first. That way you avoid wavy edges or an overly dense, stiff edge on your actual pieces.
Working quickly and neatly with an overlocker
An overlocker produces an even, professional-looking edge and is ideal when you are preparing several pieces. It is an excellent choice for light to medium-weight canvas. With very firm bag canvas, however, it can reach its limits: multiple layers, bulky seam intersections and heavy interfacing quickly become unwieldy.
Reduce the presser foot pressure if necessary and sew a test piece first. The knife matters too: if you only want to finish the edge, it should trim off as little fabric as possible. If the overlocker cuts away too much, your seam allowances and pattern pieces will no longer match up in the end. If you are unsure, disengage the knife, provided your machine offers this setting, and guide the edge especially carefully.
Binding edges with bias binding
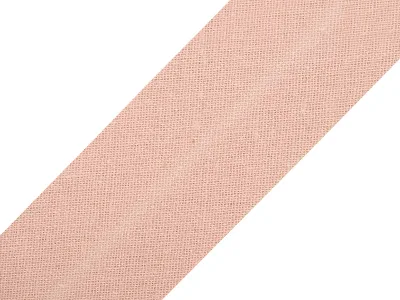
If you want the inside to look just as good as the outside, binding the edges with bias binding is a particularly neat solution. It works beautifully for unlined bags, peg bags, fabric baskets or placemats. On projects you plan to give as gifts, bound seam allowances also look really high quality.
Bias binding does, however, add extra material and some bulk. At the bag base, corners or intersections, this can get in the way when turning through and topstitching. So choose a fairly lightweight cotton bias binding and plan the order of your seams in advance. Sometimes it is wiser to bind individual seam allowances before sewing the pieces together. With closed seams, on the other hand, you can often attach the binding afterwards.
The flat-felled seam for hard-wearing seams
For unlined projects with straight seams, the flat-felled seam is a long-lasting alternative. One seam allowance is trimmed back, and the other is laid over it, folded under and stitched down close to the edge. The raw edge disappears completely, and at the same time you get a strong seam with a crisp look.
This technique is well suited to simple fabric bags, aprons, sturdy cushion covers or storage solutions. On tight curves, very thick layers and lots of corners, however, it becomes fiddly. In these cases, zigzag or binding is usually the easier choice. Also allow a little extra seam allowance so that you can fold the edge over neatly.
The right moment in the sewing process
Many sewists finish all their pieces straight after cutting. This is tidy and stops the edges fraying as you work. But it takes time and can mean unnecessary work on pieces that will later be shortened or adjusted.
It is often more practical to secure the edges in sensible stages. For example, sew the side seams of a bag together first, press the seam allowances open and then finish both edges together or separately. On a lined project, the outer fabric and lining can deliberately be left raw in some places because they will be enclosed later. In other places, such as inside pockets or visible dividing seams, the edges need finishing earlier.
Keep an eye on the instructions for your sewing pattern. Some designs are specifically constructed so that raw edges disappear behind lining, facings or by bagging out. If you reach for the overlocker too soon here, you may unintentionally trim off fabric or create extra bulk at what will later become a turned edge.
Common problems with heavy fabrics
Wavy edges are usually caused by a zigzag stitch that is too dense, thread tension that is too high or pulling too hard on the fabric. Lengthen the stitch slightly, reduce the tension gradually and let the feed dogs do the work. When finishing canvas, guide it but don’t pull it.
If the edge keeps fraying despite overlocking, the stitch may not be sitting close enough to the edge, or too little fabric was trimmed off. Also check whether the fabric at the cut edge is already badly damaged. In that case, it can help to trim a few millimetres off in a straight line and finish the new edge straight away.
At bulky intersections, the seam often becomes uneven because the presser foot is tilted. Sew slowly, use a hump jumper or a folded piece of fabric behind the foot if needed, and trim back seam allowances where they won’t be visible later. This little bit of preparation is especially worthwhile on bags: it makes not only the finishing easier but also the topstitching later on.
What’s different for bags, home decor and clothing
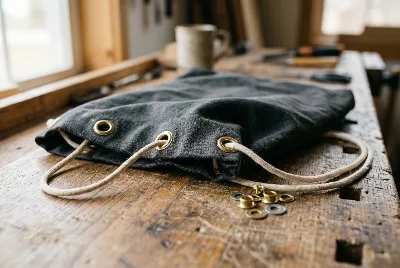
A canvas bag takes a lot of strain at the handles, base and side seams. Here the edge finish should be durable without adding unnecessary bulk. Zigzag and overlocking are good all-rounders, while bound seams really come into their own on unlined bags. Areas reinforced with interfacing or webbing sometimes need no extra finishing at all if they are completely concealed.
For cushions, table runners or curtains, a neat reverse side often matters most. Visible edges can be finished nicely with bias binding, a double-turned hem or a flat-felled seam. If a cushion cover is washed frequently, a solid finish is particularly sensible so that the seam allowance doesn’t disintegrate over time.
For clothing made from lighter canvas, such as an apron or trousers, the edge can stay more flexible. An overlocked edge or a narrow zigzag stitch is less bulky than bound seams. With thicker canvas, a finer sewing thread can help make the finish less stiff. Here, comfort matters as much as durability.
Good preparation saves fabric and frustration
Pre-wash canvas if the finished item will be washed later. Cotton canvas can shrink in the first wash. Afterwards it is easier to cut accurately, and the edges behave more realistically than on unwashed fabric by the metre. Press the fabric before cutting, mark the seam allowances clearly and keep offcuts for test stitching.
If you are looking for the right canvas, bias binding, thread or a suitable needle for your project, Die Stoffkönigin can advise you based on what you are planning to make. After all, a bag fabric needs different qualities from a canvas for an apron or a cushion cover.
Take a few extra minutes for a test piece. An edge that suits your fabric, your machine and your project turns a lovely idea into a handmade piece you will still enjoy after many uses.
Matching categories
Matching products
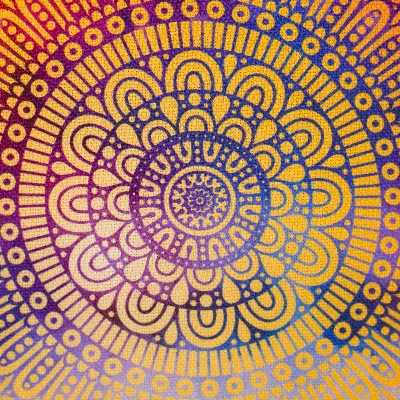
Canvas Doha Mandalas Pink/Purple by Swafing
€7.45per 0.5 m
Unit price €14.90 / m
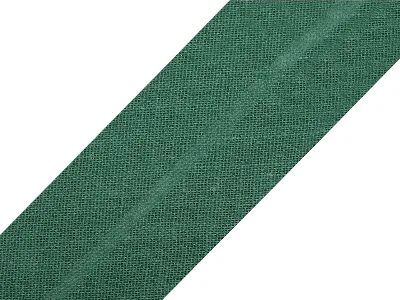
Bias Binding, Fir Green
€0.48per 0.5 m
Unit price €0.95 / m
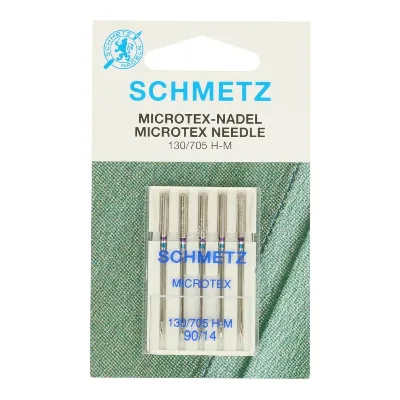
Machine Needles
€3.90per piece
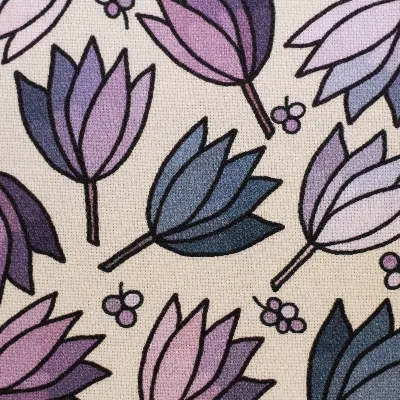
Canvas Floral Tales by Emjo Design Tulips on Cream by Swafing
€7.95per 0.5 m
Unit price €15.90 / m
Bias Binding, Powder
€0.48per 0.5 m
Unit price €0.95 / m
Machine Needles Anti-Glue 90/14, 4 pieces
€5.90per piece