Sewing in elastic made easy
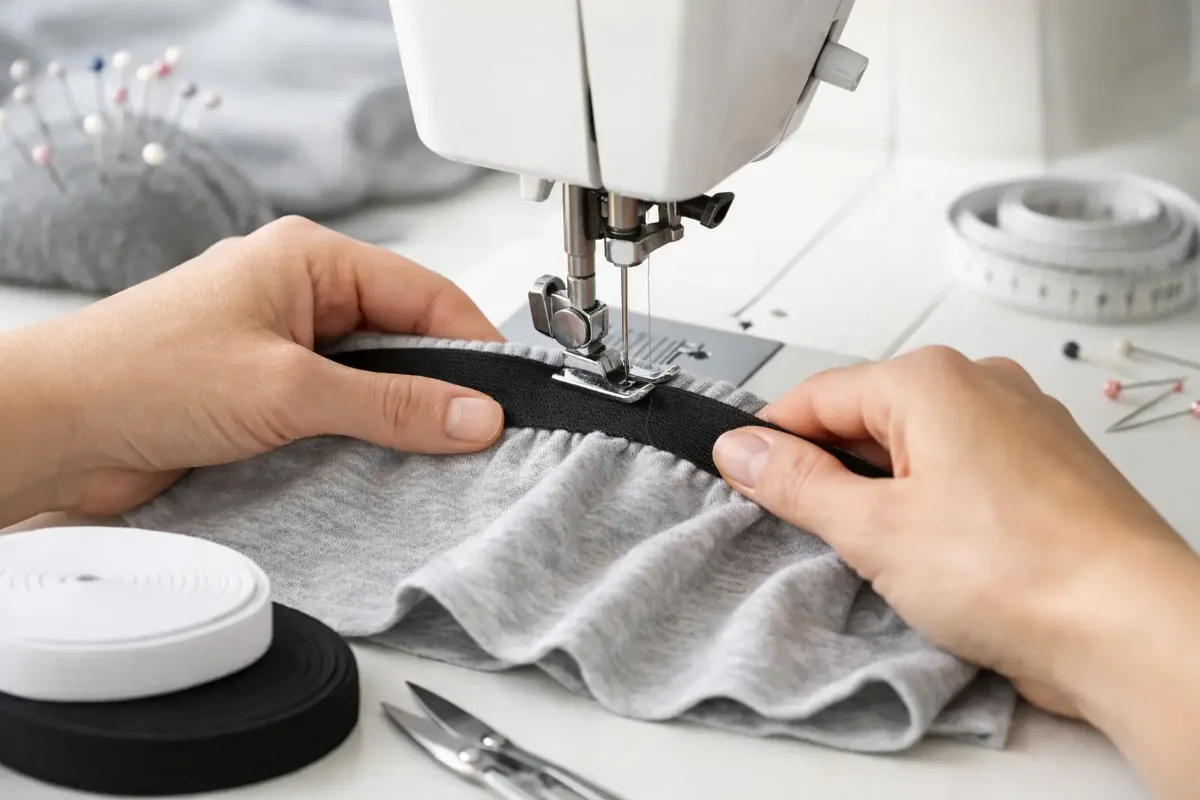
A skirt that slips, joggers that sit too loosely or a sleeve hem that sticks out? Sewing in elastic is a small technique with a big impact. Once the length, width and stretch suit your project, you get comfortable finishes that move with you and still hold their shape reliably.
Whether it's children's trousers, pyjamas, a skirt, underwear or handmade hair accessories, elastic is incredibly versatile – but not every type suits every purpose. With calm preparation and the right seam, even beginners can sew it in neatly.
Which elastic is right for your project?
The most important step happens before you even sit down at the sewing machine. Elastics differ not only in width but also in material, stretch and recovery. A soft, narrow elastic is comfortable for underwear or lightweight sleeves. For a skirt waistband, harem trousers or comfy children's trousers, it can be wider and firmer.
Braided elastic narrows when stretched. It works well in a casing but is less ideal for sewing on directly. Woven elastic keeps its shape largely even under tension and is a good choice for visible or directly attached waistbands. Lingerie elastic lies especially soft and flat against the skin. For sportswear or activewear, a wide, strong elastic that keeps its tension even with lots of movement can be a sensible choice.
Think about your fabric, too. A lightweight viscose fabric usually needs less tension than sturdy canvas. With jersey and sweatshirt fabric, the elastic should hold the fabric in without making it pucker or dig in uncomfortably when worn. If you're unsure, test the elastic and fabric on a scrap. This quick test often saves you a lot of unpicking later.
Working out the right length of elastic
The length determines whether a waistband sits comfortably. Measure the part of the body where the elastic will be worn, such as the waist, hips, wrist or ankle. Depending on how stretchy the elastic is, deduct roughly 5 to 15 per cent from that measurement. A very stretchy elastic usually needs a larger deduction than a firm one.
For a 70 cm waist, a 65 cm length of elastic can be a good starting point. That's not a hard-and-fast rule, though: a loosely draped skirt can have a more relaxed waistband, while children's trousers should stay securely in place without pinching. Before joining the ends, wrap the elastic around the relevant spot and check the fit. Add about 2 cm of overlap for the joining seam.
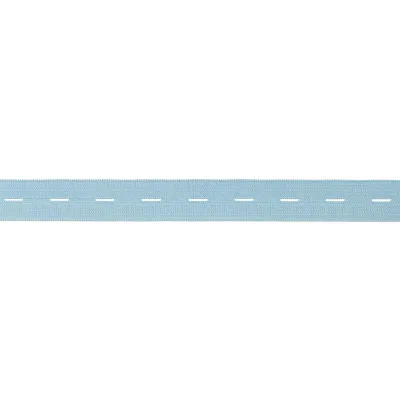
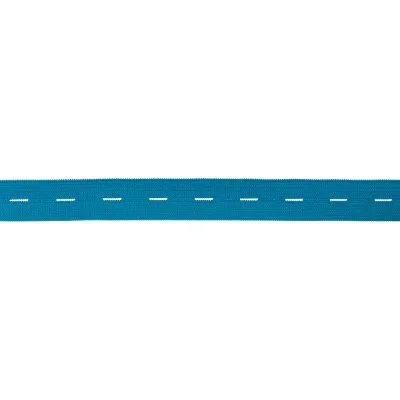
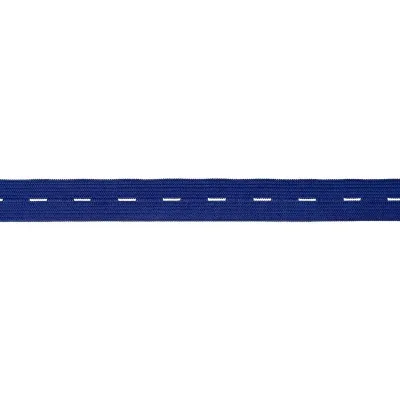
For children's clothing, it's worth making the waistband a little longer to begin with. Elastic that's too tight often feels uncomfortable and can leave pressure marks. An adjustable waistband with buttonhole elastic is a handy alternative if a garment needs to grow with your child.
Sewing in elastic: two tried-and-tested methods
For most projects, there are two straightforward approaches. Either the elastic disappears into a sewn casing, or it's stitched directly to the wrong side of the fabric and then folded over. Which method works best depends on the sewing pattern, the fabric and the look you want.
Threading elastic through a casing
A casing waistband is especially neat, comfortable and beginner-friendly. It's ideal for skirts, trousers, pyjamas and lots of children's projects. The fabric covers the elastic completely, so it doesn't rub against the skin.
First sew the centre back or side seam of the garment, depending on how the pattern is constructed. With woven fabric, finish the top raw edge so it doesn't fray. Then fold the edge to the inside. The casing needs to be slightly wider than the elastic: for 3 cm elastic, a casing of around 3.5 cm works well.
Topstitch the casing close to the edge, leaving a gap of about 3 to 4 cm. Use a safety pin to thread the elastic through the casing. Hold on to the other end or pin it to the fabric too, so it doesn't accidentally slip inside.
Overlap the ends by about 2 cm and stitch them together with a small rectangle with a cross inside. This join is strong and less bulky than a thick knot. Then spread the elastic evenly around the casing, close the gap and give the waistband a stretch all the way round to smooth it out.
Sewing elastic on directly and folding it over
This method makes sense when the waistband should lie flat or when a sewing pattern calls for a visible, even line of stitching. It works well for underwear, leggings, sportswear and lightweight jersey projects.
First join the elastic into a loop. Mark both the loop and the fabric edge at four evenly spaced points: front, back and both sides. Pin the elastic and fabric together at these marks, right side to wrong side. The elastic is usually shorter than the fabric edge, so you stretch it between the marks as you sew, while the fabric lies as flat as possible under the presser foot.
Sew all the way round with a narrow zigzag or a stretch stitch. Only stretch the elastic enough to match the length of the fabric. If you pull the fabric hard as well, the edge can go wavy. Then fold the elastic to the inside, turn the fabric over it and topstitch with a zigzag or a twin needle. This keeps the seam stretchy and gives a tidy finish.
The right needle, stitch and thread tension
For woven fabric, a standard universal needle usually works well. For jersey, sweatshirt fabric or other knits, a jersey or stretch needle is the better choice. It pushes the loops apart rather than piercing them, which helps prevent small holes along the seam.
A straight stitch is fine for joining the ends of the elastic, as this spot isn't stretched much. Wherever the fabric and elastic need to give together, use a zigzag, a triple zigzag or your sewing machine's stretch stitch. A very short, dense zigzag can perforate the elastic and weaken it over time. So always test your settings on a sample piece and then gently stretch the seam.
Thread tension deserves attention, too. If the seam puckers, the upper thread tension may be too high. If loops appear on the underside, it may be too low, or the machine may need rethreading. With stretchy fabrics in particular, small adjustments make a visible difference.
Common problems when sewing in elastic
If the fabric goes wavy, it was probably stretched along with the elastic as you sewed, or the elastic has too much tension. Carefully steam the area with your iron, provided the fabric can take the heat. This often settles a slight wave. If it remains, the only fix is to unpick part of the seam and resew it with less tension.
If the elastic twists in the casing, the casing is often much wider than necessary. With wide elastics, you can add several vertical lines of stitching after threading it through, for example at the side seams and centre back. This holds the elastic in place without affecting how it works. With very narrow elastic, a narrower casing is usually the nicer solution.
If the waistband slips despite the elastic, the elastic is too long or too soft. Don't cut off a lot straight away – just 1 to 2 cm shorter can make a noticeable difference to the fit. If the waistband pinches, on the other hand, it's too short or the elastic is too firm for the project. A wider, softer elastic often spreads the pressure more comfortably than a narrow one with high tension.
Little details for a lovely waistband
To stop the elastic twisting in the casing, join the ends flat and trim any protruding edges close to the stitching. While the casing is still open, you can check that the elastic isn't twisted anywhere before closing it for good. This quick check is worth its weight in gold, especially with long trouser waistbands.
Marks help with directly sewn-on elastic, too: divide the fabric edge and the elastic into quarters, or even eighths for very wide garments. This spreads the extra fabric evenly and keeps the waistband free of unsightly gathers. For a cohesive result, match the thread colour to the fabric. With visible elastic, though, you can also deliberately pick up the colour of the elastic.
At Die Stoffkönigin, you'll find elastic in a range of widths for delicate finishes, comfy children's clothes and sturdy trouser waistbands. If you choose your fabric, pattern and elastic together, you can usually narrow down the right solution quickly.
For your first waistband, take a few extra minutes for a fitting and a test piece. Well-fitting elastic is barely noticeable on the finished garment – but every time you wear it, you'll feel how much more comfortable it makes your sewing project.
Matching categories
Matching products
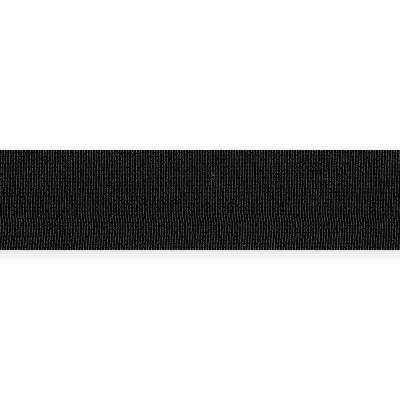
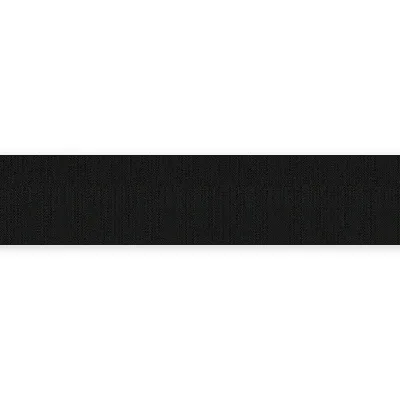
Ribbed Elastic 3 cm black
€1.30per 0.5 m
Unit price €2.60 / m
Buttonhole Elastic, Light Blue
€1.25per 0.5 m
Unit price €2.50 / m
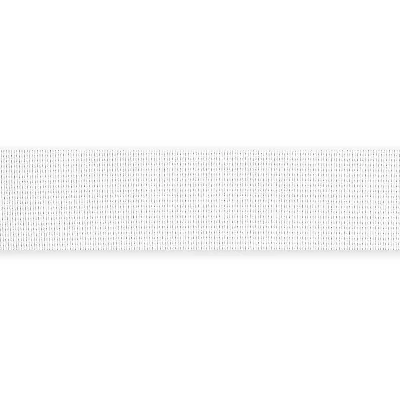
Ribbed Elastic 3 cm white
€1.30per 0.5 m
Unit price €2.60 / m
Buttonhole Elastic, Aqua
€1.25per 0.5 m
Unit price €2.50 / m
Ladder-Resistant Elastic 60 mm in Black
€2.45per 0.5 m
Unit price €4.90 / m
Buttonhole Elastic, Cobalt Blue
€1.25per 0.5 m
Unit price €2.50 / m