How to Attach Press Studs Properly When Sewing
A press stud that sits crooked or tears out after the second time you open it can spoil a lovely sewing project pretty quickly. If you want to attach press studs properly, it's not just about the tool. Above all, it comes down to the type of fabric, the reinforcement and choosing the right kind of stud. That's where most mistakes happen, and it's also where a few simple decisions can save you a lot of hassle.
Attaching press studs properly when sewing: what matters first
Before you set the first stud, it's worth taking a quick look at your project. A press stud on a baby bodysuit has very different demands from one on a softshell jacket, a make-up bag or a reversible jersey jacket. Three things always matter: how much pull the fastening has to take, how thick the material is and how often it will be opened.
Lightweight fabrics such as batiste, muslin or viscose usually need extra stabilising so the press stud doesn't tear out. Sturdier fabrics such as canvas, denim or softshell are more forgiving, but they're sometimes so dense that setting the stud takes a little more care. With stretchy fabrics such as jersey or sweatshirt fabric, reinforcement almost always makes sense, because otherwise the fabric moves with the stud and the fastening stretches out more quickly.
If you prepare carefully at this stage, you'll save yourself from replacing wonky or loose studs later on. It might not sound exciting, but in practice it's the difference between a fastening that works properly and one that drives you mad.
Which type of press stud suits your project?
Not every press stud is the best choice for every sewing project. The ones you'll come across most often are jersey press studs, classic sew-on metal press studs and no-sew press studs that are attached with pliers or a setting tool.
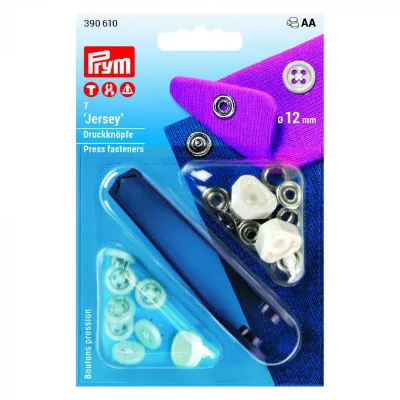
Jersey press studs with a prong ring are popular for baby and children's clothing, T-shirts and lightweight jackets. They're quick to apply and hold well as long as the fabric is suitably reinforced. For bags, pouches or home decor projects, sturdier versions are often the better choice, because opening them puts more strain on the fastening.
Sew-on press studs are handy when the fabric is delicate or when you'd deliberately rather work without a press tool. They often sit a little flatter and are a good solution in places where you don't want visible metal caps. The downside: sewing them on takes longer and only looks neat if you work precisely.
Plastic press studs can be a nice option for children's clothing in particular, because they're light and come in lots of colours. On the other hand, they don't cope equally well with every kind of strain. For thick layers of fabric or fastenings that get heavy use, metal is often the more reliable choice.
The right size matters more than you'd think
A press stud that's too small quickly looks lost on a jacket placket and often doesn't hold well enough. One that's too large can damage lightweight fabrics or make them stiff. Smaller sizes are usually right for bodysuits, bibs or light children's clothing, while bag flaps, jackets or accessories often need a bit more holding power.
If you're not sure, test the press stud on a fabric scrap with the same number of layers. It isn't an unnecessary extra step; it's often the best way to avoid weak spots in the finished project.
Preparing the fabric: the most important step before attaching
Many problems don't arise while you're actually setting the stud, but before that. The spot where the press stud will sit needs to be stable enough. This is especially true for jersey, knits, muslin, viscose and any fabric with a soft drape.
The easiest way is to reinforce the wrong side with a small piece of woven interfacing. The reinforcement should be slightly larger than the press stud itself so the strain is spread more evenly. For very stretchy fabrics, a small piece of woven fabric on the wrong side can also help. The key thing is that the area doesn't end up stiff as cardboard but still suits the project.
With coated fabrics, faux leather or softshell, it's important to work as neatly as possible, because holes can remain visible. Here you should only mark the position once both sides are lying exactly on top of each other.
Marking the position without surprises
Measuring matters more when setting press studs than many people think. On plackets, bag flaps or children's clothing in particular, a crooked stud is noticeable straight away. So always mark the centre and check that the top and bottom parts really line up.
A handy trick is to mark just one side first and, once that's set, transfer the matching position directly onto the closed piece. That way you avoid the two sides being ever so slightly out of line. If you're using several press studs, say along a placket, make sure the spacing is even. A ruler and a quick check are worth far more here than any correction later on.
Attaching press studs properly, step by step
Once you've settled on the material, size and position, things get straightforward. Even so, take your time, especially on your first attempts or when using a new tool.
Start by laying out all the parts of the press stud in order. Many models look alike but have different matching pieces. If you mix up the top and bottom parts, the stud won't close properly later. Then reinforce the fabric if needed and mark the exact position.
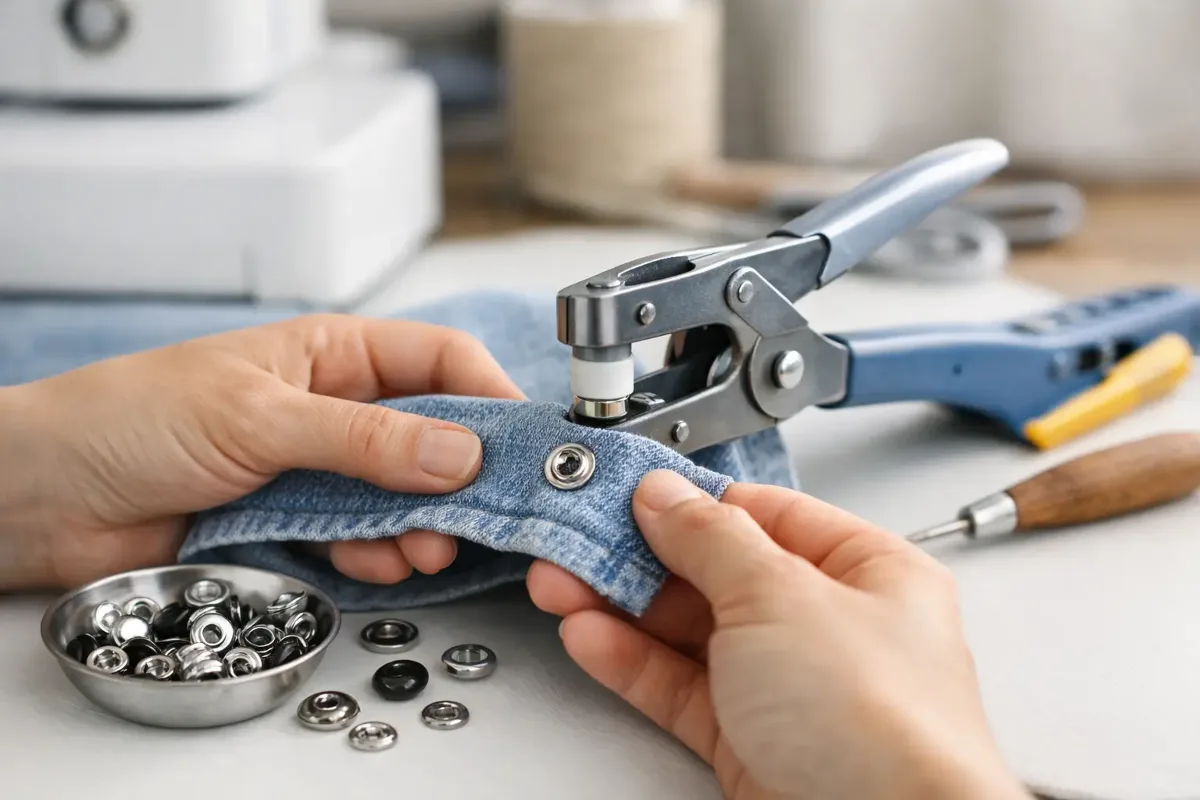
Now set the first side. Depending on the system, you either pierce the fabric or push the prong of the press stud part through the material. Take care not to stretch the fabric unnecessarily. Place the matching piece neatly on top and fix it with pliers, a press or the intended tool. It should sit firmly, but not be squashed so hard that the material or the stud gets misshapen.
Next comes the second side. Care is especially important here, because even a small offset is enough to make the fastening pull crooked. After setting, gently test whether the press stud closes and opens easily. If it already takes a lot of force, either the alignment is off or the fabric layers aren't well suited to the type you've chosen.
Pliers, press or by hand?
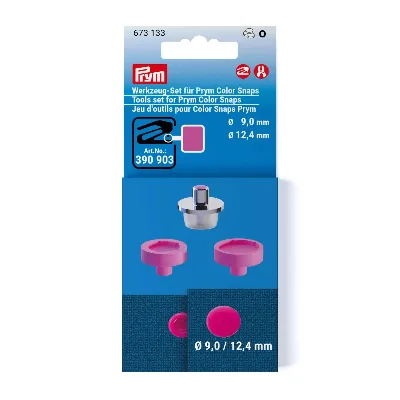
For many home sewists, pliers are the most practical solution. They're ready to use in no time and great for smaller quantities. A press is more worthwhile if you regularly work with lots of press studs or want particularly precise results.
Hand-sewn press studs are more flexible with delicate or thick materials but take more time. In return, they're usually easier to replace if needed. So which method is best has less to do with right or wrong and more to do with what you're sewing and how often you use these fastenings.
Common mistakes and how to avoid them
The classic one is a lack of reinforcement. The press stud looks fine at first but tears out after just a few uses. This is particularly annoying on children's clothing, because the fastenings get used a lot.
Another common mistake is using too much force when setting the stud. If you squeeze the pliers with all your might, you risk crooked or damaged parts. Even, controlled pressure is better. You'll quickly get a feel for it with a test piece.
The wrong choice of materials causes problems too. A chunky metal press stud on a gossamer-thin blouse rarely works out well. Likewise, a small plastic stud on a heavy bag flap often won't last long. It's always about the combination.
Last but not least, studs are often placed too close to the edge of the fabric. That leaves too little stability around the stud, and the edge can tear or distort. A little extra distance almost always gives a better result.
Which projects are press studs especially good for?
Press studs are ideal when you want a fastening that's quick, flat and practical for everyday use. They're especially popular for baby bodysuits, children's jackets, wrap clothing, make-up bags, purses, bag flaps and home textiles. They're also a practical solution for reversible projects or wherever a zip would be too much effort.
Even so, they aren't always the best choice. For bags that take a lot of strain, very thick layers or projects that need to close with great precision, a zip, a buttonhole or hook-and-loop tape may make more sense. So it's not just a matter of taste but of how the item will be used day to day.
Especially if you work with different types of fabric, it pays to think about notions and fabric together. At Die Stoffkönigin, this is often exactly where good advice makes all the difference in everyday sewing: not just any press stud, but one that really suits the fabric and the project.
If something does go wrong
Sometimes a press stud just doesn't sit perfectly despite all your preparation. In that case, it's better not to force things and carry on regardless. Crooked, loose or deformed parts should ideally be replaced straight away, before the finished piece suffers.
If the fabric has been damaged, it can often be rescued with an extra layer of interfacing, a small facing or, depending on the project, a decorative patch. It may not be plan A, but it's often much better than giving up on the whole piece.
The more of a feel you develop for fabrics and fastenings, the sooner setting press studs becomes second nature. And that's often the best moment in sewing: when a fiddly little step suddenly becomes something that simply works – neat, durable and just right for your project.
Matching categories
Matching products
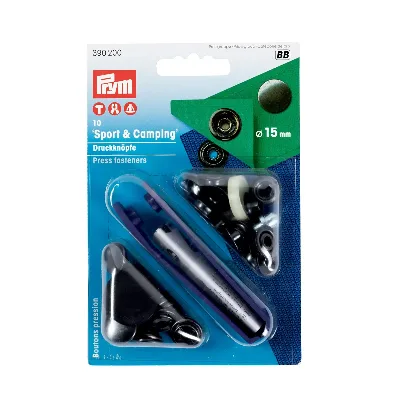
Prym Sport Camping metal snap fastener 15mm in Burnished
€12.90per piece
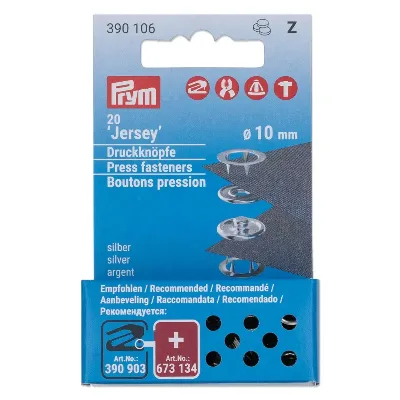
Prym jersey snap fastener 10mm in Silver
€10.90per piece
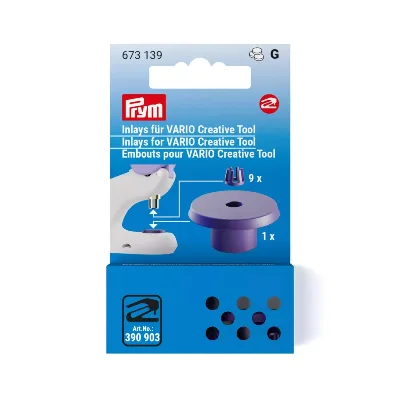
Prym Inlays VARIO Creative Tool tool insert in Violet
€3.40per piece
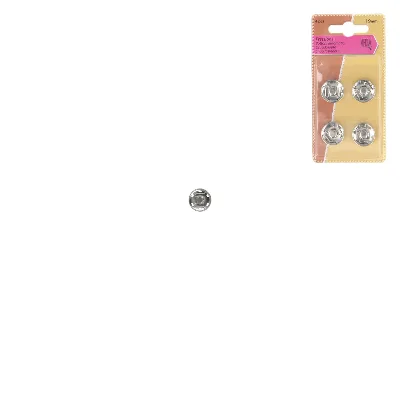
Sew-on Snap Fasteners 7 mm in Silver, 16 pieces
€3.50per piece
Prym jersey snap fastener in White
€11.50per piece
Prym Color Snaps Color Snaps tool 9 12,4 mm in Silver
€6.50per piece