How to calculate ribbing length correctly
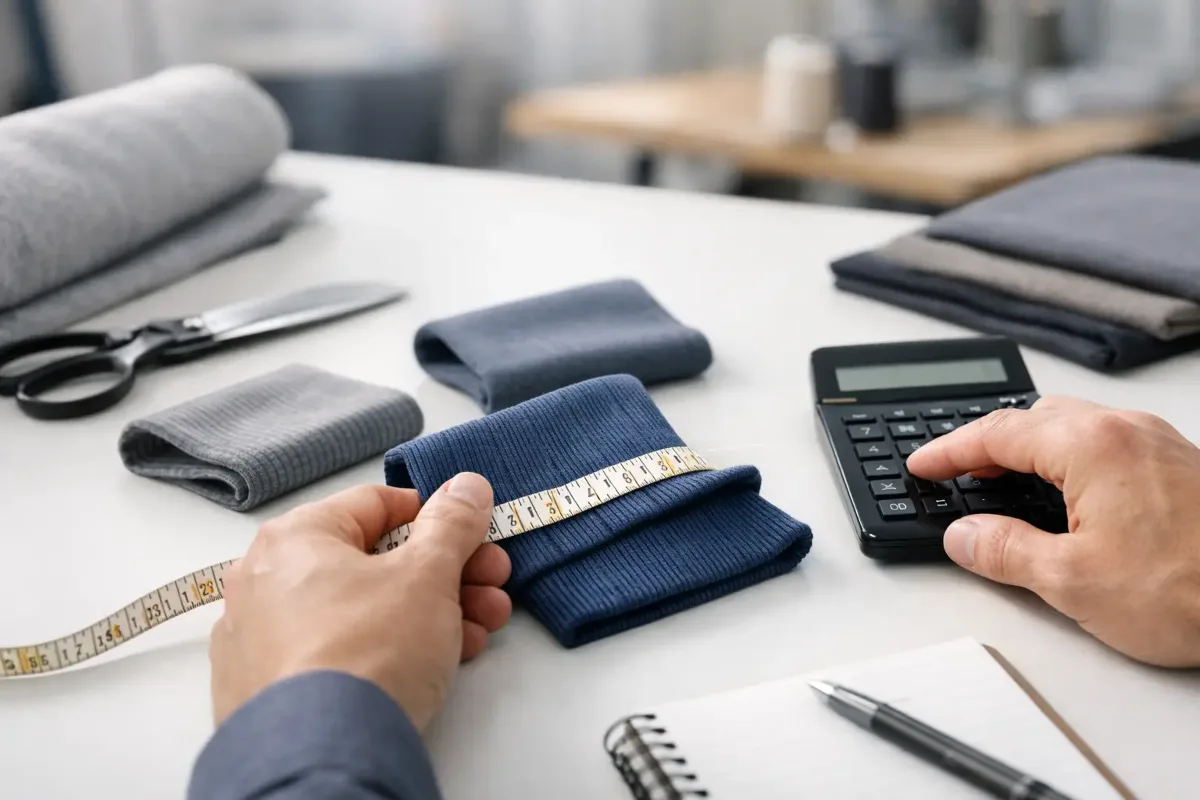
Ribbing can save a sewing project – or throw its whole look off balance. Too long, and it sticks out. Too short, and it puckers the fabric in an unflattering way. So if you want to calculate ribbing length correctly, you don't need complicated maths – what you mostly need is a feel for the fabric, its stretch and where the ribbing is going.
Why you should never just guess ribbing length
Many sewing patterns give you a finished ribbing length. That's handy, but it isn't always the best solution. Depending on the fabric quality, its elasticity and the project, the same measurement might fit perfectly one time and be noticeably too loose or too tight the next.
With ribbing fabric in particular, there are big differences. Fine rib behaves differently from tubular ribbing, and a very stretchy ribbing usually needs a different length from a firmer strip of jersey. Then there's the area where the ribbing is sewn on. A neckline should lie gently against the body, a sleeve cuff should feel comfortable, and a hem band can add shape without distorting the top.
So the rule is: don't cut blindly – take a moment to measure and calculate. It saves frustration, fabric and often unpicking later on.
Calculating ribbing length correctly – the basic formula
The most common formula is simple:
Circumference of the opening x ribbing factor = ribbing length
The ribbing factor usually lies between 0.7 and 0.9. Which value is right depends on how stretchy your material is and how snugly you want the ribbing to fit.
An example: the hem opening of a child's jumper measures 50 cm. If you use a factor of 0.8, you calculate 50 x 0.8. That gives you a ribbing length of 40 cm.
On top of that comes the seam allowance if you're closing the ribbing into a loop rather than cutting it on the fold. With a 1 cm seam allowance on each end, you'd cut 42 cm.
The height of the ribbing is a separate question. For the length along the opening, all that counts is the circumference plus seam allowance.
Which factors work well in practice
A very stretchy ribbing that holds its shape well often works nicely with 0.7 to 0.75. You'll often see this on necklines or baby cuffs that are meant to sit snugly.
For standard ribbing fabric, 0.8 is a good starting point. Plenty of projects turn out very neatly with it.
If the fabric is less stretchy or the ribbing should sit more loosely, 0.85 to 0.9 is often the better choice. This applies, for example, to hem bands on dresses or ribbing cut from jersey when you're not using classic ribbing fabric.
How to test the stretch before cutting
The most important step is often skipped: the stretch test. It shows you straight away whether your fabric springs back well or quickly loses its shape.
Take a piece of the fabric in your hands and pull it apart in the direction it will later need to stretch. If it stretches easily and a long way and then returns neatly to its shape, you can choose a smaller factor. If the material feels firmer or stays slightly stretched out, it's better to be a little more generous.
If you're unsure, cut the ribbing a little longer to begin with. You can always shorten it. Ribbing that's too short, on the other hand, can't be rescued once the fabric has been cut.
Where it goes makes all the difference
Not every piece of ribbing needs the same fit. That's exactly why there's no single number that always works.
At the neckline, the ribbing should lie flat and not stand away from the body. This is where you usually reduce it a bit more. Factors between 0.7 and 0.8 often work well, depending on the fabric type and the shape of the neckline.
On the sleeve, comfort matters. Cuffs that are too tight are annoying in everyday wear, especially on children's clothes. Here, 0.8 to 0.85 is often a good choice.
At the hem, it's all about the look. A hoodie with a classic waistband can happily have a bit of shape. A tunic or T-shirt often needs to hang more loosely. Accordingly, the factor varies between 0.8 and 0.9.
Calculating ribbing length for necklines, sleeves and hems
To make the formula genuinely useful in your everyday sewing, it's worth looking at some typical situations.
Neckline
Measure the entire neckline along the future seam line, i.e. without seam allowance. With a total circumference of 48 cm and a stretchy ribbing at a factor of 0.75, you get a ribbing length of 36 cm. Then add the seam allowance for closing it into a loop.
What matters here is that the neckline itself plays a role. A wide crew neck sometimes needs a different factor from a narrow neckline or a V-neck. With more strongly curved necklines in particular, a test piece is well worth it.
Sleeve cuffs
Measure the sleeve opening at the seam line too. With a circumference of 22 cm and a factor of 0.85, you end up with 18.7 cm. In practice, you'd round this to 18.5 or 19 cm, plus seam allowance.
If the cuff will be worn folded over, that doesn't change the length – only the height. For children's clothes, it can be a little roomier, especially if long-sleeved tops are worn underneath or it's worn under jackets.
Hem bands
This is where a close look really pays off. A hem band affects the whole silhouette. Measure the hem circumference, calculate with your chosen factor and then think about how much pull you really want.
For a sweatshirt with a 70 cm hem and a factor of 0.85, you get a ribbing length of 59.5 cm. That adds shape without pulling the jumper in too much. For a bomber-style look, 0.8 could work too. For a loosely draping top, that would often already be too tight.
Common mistakes when calculating ribbing
The most common mistake is measuring the opening including the seam allowance. What matters, though, is the future seam line. Otherwise the ribbing ends up unnecessarily long.
Just as often, the direction of stretch gets mixed up. Ribbing needs to stretch across its length, not along the grain. If it's cut the wrong way, the maths may add up on paper but not on the finished garment.
Sometimes the material itself is misjudged, too. Jersey can work as ribbing, but it often behaves differently from classic ribbing fabric. If you use the same formula for everything, you'll soon be in for some surprises.
And then there's sewing it on. Even a correctly calculated length won't help much if the ribbing is stretched unevenly. Mark quarters on both the ribbing and the opening, and you'll distribute the tension neatly and without ripples.
What to do if the pattern's measurement doesn't work
This happens more often than you might think. Not every sewing pattern is designed for every fabric quality. If the given value seems off, go ahead and trust your tape measure and your feel for the fabric.
A test strip can save a lot of frustration. Especially with new materials or very different levels of stretch, many home sewists do a small trial before cutting out the actual project. That's not a detour – it's often the quicker solution.
If you have a favourite T-shirt or a jumper that fits well, compare the ribbing lengths on those too. Over time, you'll develop a very reliable feel for what works on which project.
A handy practical tip for extra confidence
If you're torn between two factors, go for the slightly larger value on your first attempt and pin the ribbing on as a test before sewing it in place for good. That way you'll quickly see whether the shape is right.
With very stretchy fabrics especially, less isn't automatically better. A very short piece of ribbing often looks right when lying flat but can create too much pull once sewn on. Then the neckline rolls or the hem sticks out, even though the maths seemed to be correct.
If you sew regularly, it's a good idea to keep a little notebook: fabric type, factor used, result on the finished garment. It sounds unexciting, but it's worth its weight in gold. Especially if you often sew for children, in different sizes or with changing materials, it'll save you a lot of time on your next project.
At Die Stoffkönigin, we see time and again that it's exactly this mix of formula and hands-on experience that makes the difference. The maths gets you very close – the fabric in your hands decides the final touch.
Sometimes the perfect ribbing doesn't come down to a magic number, but to the fact that you took two extra minutes to measure and test. Those two minutes are often what turn a good sewing project into a favourite piece.
Matching categories
Matching products
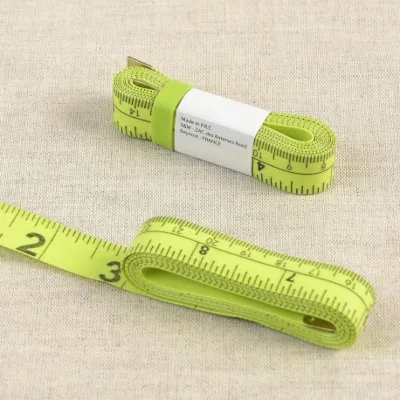
Tape Measure 150 cm neon green
€1.90per piece
Unit price €1.27 / m
Swafing Heike Fine Rib Ribbing Schwarz 299
€4.75per 0.5 m
Unit price €9.50 / m
Fine Rib Cuffing Marled in Dark Grey Melange
€3.50per 1 m
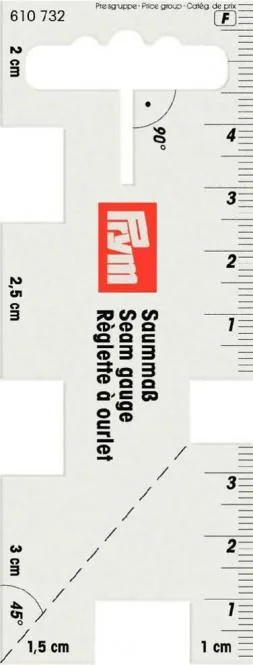
Prym measuring aid in Transparent
€2.90per piece
Prym Strong Safe adhesive dot 100 pcs. 2 in White
€9.30per piece