Embroidering with sticky stabiliser for clean designs
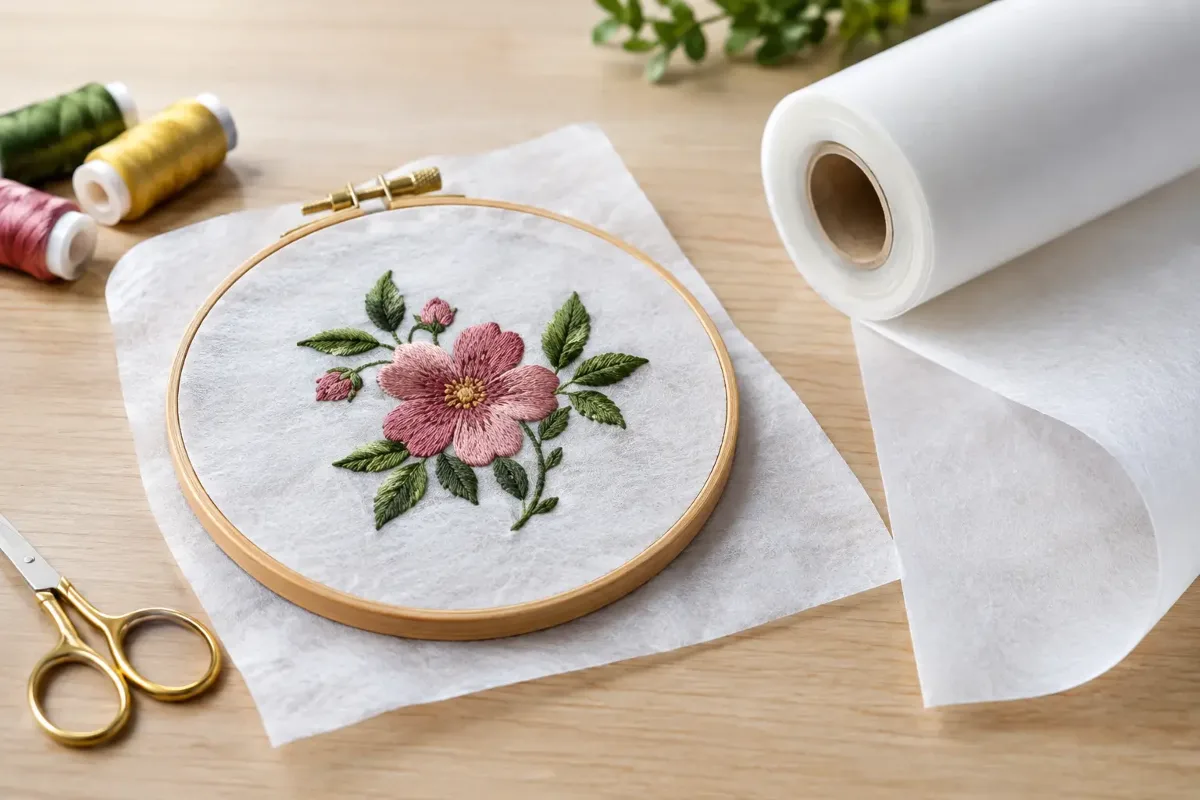
However beautifully a design has been digitised, if the fabric shifts in the hoop you'll end up with puckering, distorted outlines or little gaps between the colours. This is exactly where sticky stabiliser comes in. When embroidering with sticky stabiliser, you place the fabric on a self-adhesive layer of stabiliser instead of clamping it tightly in the hoop. This is especially handy for small offcuts, delicate fabrics and pieces you don't want to squeeze into the embroidery hoop.
Sticky stabiliser isn't a replacement for every type of stabiliser. But chosen well and hooped neatly, it makes many projects far more relaxed. What matters most are the properties of your fabric, the size of the design and whether the back of the finished piece should stay as soft as possible.
Why sticky stabiliser is so useful for embroidery
Sticky stabiliser, often called self-adhesive stabiliser, is a tear-away or wash-away stabiliser with an adhesive layer, protected by a paper backing. First you hoop the stabiliser, then carefully score just the paper layer and peel it off. You then smooth your fabric onto the exposed sticky surface.
The big advantage: the fabric isn't squashed between the two rings of the hoop. With velvet, fleece, coated fabrics, fine woven fabrics or items that are already sewn, this means you avoid unsightly hoop marks. The method also works well for small fabric scraps, as they only need to be big enough to hold the design all the way round. There's no need for a wide border for hooping.
Sticky stabiliser is a popular choice for ready-made T-shirts, bags, trouser legs, hats and baby bodysuits. These items often can't be hooped flat and crease-free in a standard hoop. With sticky stabiliser, you can position them precisely on the hooped stabiliser. That said, very stretchy fabrics usually need extra stabilising so the design keeps its shape.
Embroidering with sticky stabiliser: preparing your hoop and fabric
First choose a hoop that suits your design. Leave around two to three centimetres of space all the way round between the design and the edge of the hoop. A hoop that's too large makes it harder to get the stabiliser taut, while one that's too small gives the design too little stability.
Hoop the sticky stabiliser paper side up, as taut as you can. It should sit smoothly and not give when you tap it lightly. Tighten the hoop screw firmly, but don't force it. With plastic hoops, it helps to check the tension again once you've hooped.
Now score the paper backing inside the hoop, either in a cross or along a rectangular line. Use fine scissors, a pin or a seam ripper and only work on the surface – the stabiliser underneath mustn't be damaged. Peel off the paper without touching the sticky surface with your fingers more than necessary. Skin oils, threads and dust can weaken the adhesion.
Then lay your fabric on the stabiliser without stretching it. Smooth it from the centre outwards rather than pulling it tight. With a shirt or bag, it's best to smooth only the layer you're embroidering. Make absolutely sure any other layers are kept out of the embroidery area, so the machine doesn't accidentally stitch the front and back together.
Check the design position before you start
On ready-made garments in particular, positioning makes all the difference. Check the centre, height and alignment before the machine starts stitching. Existing seams, button plackets or a crosshair drawn with a water-soluble marking pen make handy reference points.
If your embroidery machine has a trace or outline function, use it. The needle moves around the outer edge of the design and shows you straight away whether everything fits within the area. If something's slightly off at this stage, you can simply re-stick the fabric. After the first hundred stitches, that would be far more frustrating.
Which sticky stabiliser suits your project?
Not all sticky stabilisers behave the same way. Tear-away sticky stabiliser is a good choice for many light to medium-weight designs on stable woven fabrics. After stitching, you carefully tear it away along the edge of the design. A small amount can be left in place if it gives the embroidery extra support and doesn't irritate the skin.
Wash-away sticky stabiliser is ideal when you want as little stabiliser as possible left on the back. That's nice for sheer fabrics, fine lingerie or projects where the back is visible. It does take a little patience, though, until all the residue has dissolved in the wash. Also bear in mind that the design may be a little more delicate until it has dried completely.
With jersey, sweatshirt fabric or other stretchy fabrics, a light sticky stabiliser on its own often isn't enough. Here, an additional cut-away stabiliser on the back stops the stitches from pulling the fabric in. The cut-away stabiliser stays permanently behind the design and is simply trimmed back close to it. It's the better solution for dense designs, lettering or lots of colour changes, even if it makes the back a little firmer.
For towelling, cuddle fleece and other high-pile fabrics, add a layer of water-soluble topping on the right side. It holds the loops down while you stitch, so fine lines and small letters don't disappear into the pile. After stitching, the topping is torn off or removed with water.
How to avoid puckering, thread nests and shifting fabric
Puckering around a design is rarely the machine's fault. Often the fabric hasn't been stuck down smoothly enough, the stabiliser is too light or the design is too dense for the fabric. With stretchy fabrics, don't pull on the fabric to get it smooth. Pulling creates tension, which shows up as puckering once you take it out of the hoop. Lay the fabric down relaxed and support it with a suitable backing stabiliser instead.
If a corner comes loose while you're stitching, stop the machine. You can secure small loose areas with a piece of sticky stabiliser or embroidery tape outside the stitching area. Tape should never go under the needle. If the loose area is already within the design, it's better to reposition or start the project again than to carry on stitching a shifted result.
Thread nests on the back are more likely to be caused by threading, the top thread tension or a blunt needle than by the sticky stabiliser. First check that the top and bobbin threads are threaded correctly. For fine fabrics and small details, a new, suitable embroidery needle is often the quickest improvement.
Stitching speed matters too. Large filled areas can be stitched quickly, but for delicate lettering, metallic thread or sensitive fabrics it's worth slowing down. The machine runs more smoothly and you'll spot sooner if something starts to come loose.
After stitching: removing the stabiliser cleanly
Only take the hoop off once the machine has completely finished and you've secured the threads. Peel the fabric slowly off the sticky surface – especially with fine fabrics, don't yank it off. Then remove tear-away stabiliser in small sections. Hold the design with one hand as you do so, so the embroidery isn't pulled out of shape.
In tight spots, such as between letters or around delicate leaves, small embroidery scissors help. Don't cut right along the stitches. A tiny border of stabiliser protects the embroidery and is barely noticeable on the back. For clothing worn next to the skin, you can cover scratchy bits with a soft backing fabric or choose a skin-friendly cut-away stabiliser from the start.
After a project, the sticky surface in the hoop is sometimes covered in fibres. Remove any loose threads before hooping new stabiliser. For a clean result every time, it's worth using a fresh piece of stabiliser. Reused sticky surfaces grip unevenly and are a common reason for fabric shifting partway through stitching.
When another stabiliser is the better choice
Sticky stabiliser is excellent when hooping would leave marks, the fabric is too small or the project is already sewn. For very large, dense designs on jersey, however, it isn't always the best solution on its own. There, the fabric needs long-term stability, which a cut-away stabiliser provides better.
Heavily textured, heavy materials can also push the adhesive to its limits. Faux leather, thick felt or several layers of a bag often hold well, but should also be secured outside the stitching area. With new materials, always test a small design on a scrap first. That way you'll see whether needle, thread, stabiliser and stitch density work together before you embroider a favourite piece.
If you're unsure whether to choose tear-away, wash-away or cut-away stabiliser, think about the fabric, the design and how the item will be used. A soft baby bodysuit needs something different from a canvas bag, and fine lettering needs something different from a large animal design. It's exactly this little bit of forethought that turns a lovely embroidery file into a result you'll enjoy for a long time.