Sewing muslin for beginners made easy
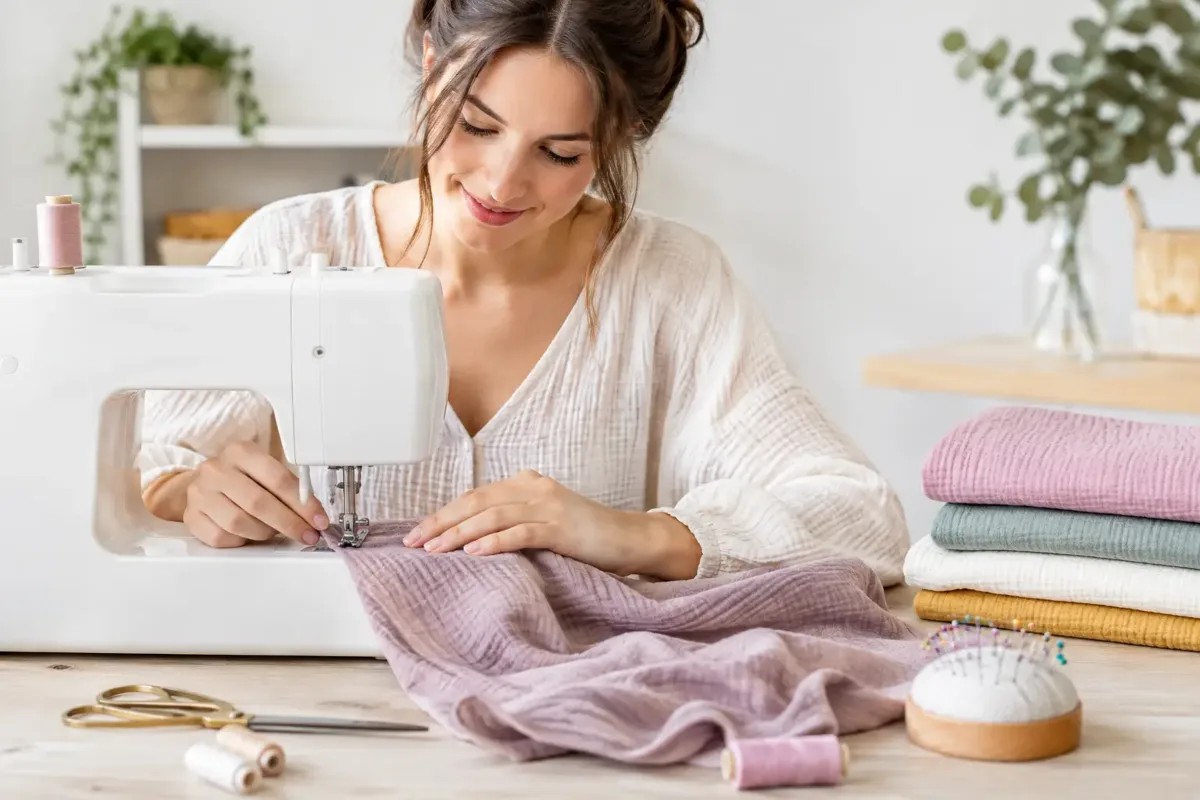
Sewing muslin as a beginner often feels easier than it first seems when you pick it up. The fabric is soft, airy and wonderful for cloths, baby items or summer clothing. At the same time, it tends to slip a little when you cut it and frays at raw edges. With a few calm, careful steps, that's no reason to get frustrated. It simply becomes part of a lovely first sewing project.
What makes muslin so special
Muslin usually consists of two layers of gauze loosely joined together, which is why it's also called double gauze. Its fine, slightly textured surface feels pleasant against the skin and is breathable, making it especially popular for children's clothing, neckerchiefs, blankets, blouses or lightweight trousers.
The loose weave has a practical consequence, though: muslin doesn't stretch like jersey when you sew it, but it can distort as it feeds through the machine. Cut edges also fray more quickly than on many more tightly woven cottons. That might sound like a challenge at first, but with the right preparation it's easy to manage.
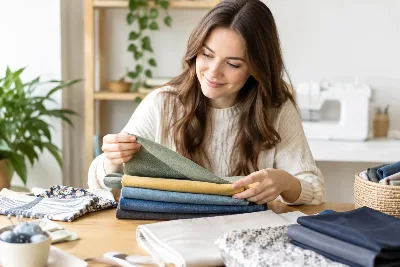
When buying fabric, think about what your project is for. For a burp cloth or a summer scarf, the fabric can be especially soft and drapey. For trousers, a skirt or a blouse, a slightly denser muslin is often nicer because it holds its shape better. With light colours, it helps to hold the fabric up to the light: depending on the quality, muslin can be slightly see-through.
Preparing muslin properly before sewing
Always wash muslin before cutting. The fabric may shrink a little in the first wash and often takes on its typical fine crinkle in the process. Wash it the way you plan to care for the finished item later. For most projects, a 30 or 40 °C wash is ideal.
Once it's dry, you don't need to iron muslin flat if you like its natural texture. Light pressing can still help with accurate cutting, though. Choose a medium temperature and, if in doubt, test it on a small scrap first. Too much heat can put unnecessary strain on the fibres.
Before cutting, lay the fabric out as flat as possible on a large surface. Don't pull on it to straighten it. It's better to line up the selvedge and gently smooth the fabric out with your hands. A rotary cutter and cutting mat often give cleaner edges on muslin than scissors. A very sharp pair of fabric scissors works just as well, though, as long as you don't shift the fabric.
Your starter kit for sewing with muslin
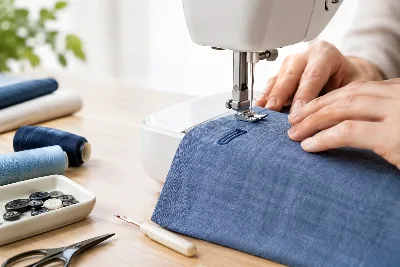
You don't need any special equipment. With this small basic kit, you'll be well prepared for most simple muslin projects:
- a universal or Microtex needle in size 70 or 80
- high-quality all-purpose thread in a matching colour
- very sharp fabric scissors or a rotary cutter
- fine pins, fabric clips or small Wonder Clips
- an iron and, if needed, a fine cotton pressing cloth
Fine needles leave smaller holes. With very loosely woven muslin in particular, it's worth replacing blunt or bent needles straight away. Fabric clips are handy at bulky spots, such as where several layers meet. On very fine edges, pins usually hold the fabric in position more precisely.
Sewing muslin for beginners: machine settings
To start with, set your sewing machine to a normal straight stitch with a stitch length of about 2.5 to 3 millimetres. If the stitch is too short, the seam can pucker the fabric unnecessarily. A slightly longer stitch often looks smoother and softer on muslin.
Always sew a short test seam on a scrap before starting the actual project. Check that the seam lies flat and that the fabric feeds under the presser foot without bunching up. If small ripples appear, reducing the upper thread tension can help. A walking foot is useful too, but by no means essential.
Start and finish every seam with a few backstitches so it doesn't come undone. Sew slowly, especially around curves and where several layers meet. Muslin rewards patience: if you simply guide the fabric rather than pulling it, your seam will stay much straighter.
Neatening edges and hemming
Raw muslin edges should be finished because they fray. An overlocker does the job quickly, but your regular sewing machine is perfectly capable of lovely results. A zigzag stitch or an overlock stitch on a domestic machine reliably protects the cut edge.
For visible edges, a narrow hem looks especially pretty. First fold the edge about 5 millimetres to the inside, press it carefully, then fold it over again. Stitch close to the inner folded edge. It takes a little practice the first time, but it gives cloths, blankets and scarves a neat finish.
If you're joining two pieces of fabric and want the inside to look tidy, a French seam is a good choice. First sew the pieces wrong sides together with a narrow seam allowance, trim the edge back a little if needed, turn the piece and then sew again with right sides together. The raw edge disappears completely inside the seam. For simple projects, it's a high-quality alternative to an overlocked seam.
Three projects that really work
A square muslin cloth is an ideal place to start. Cut a square, for example, finish all four edges with a narrow hem and you've got a light neckerchief, a headscarf or a handy little companion for days out. To begin with, choose a size that isn't too big. That way you can practise long, straight seams without having to manoeuvre lots of fabric.
A small snuggle blanket is straightforward too. Two layers of muslin on top of each other make a soft piece with a little more body. Sew the layers right sides together, leaving a turning gap, turn the blanket right side out and close the gap with edge stitching. An extra line of topstitching all the way round keeps everything flat and looks neat.
For your first garment, loose harem trousers with an elasticated waistband are a great choice. What matters is a sewing pattern that's specifically designed for woven fabric. A jersey pattern relies on stretch, so in muslin it will often end up too tight or uncomfortable. Before closing the elastic for good, quickly check it on the person the trousers are for. With baby and children's sizes in particular, this makes a noticeable difference.
Common beginner mistakes and how to avoid them
The most common mistake happens before the first stitch: the muslin is sewn without being washed. If the finished item shrinks later, the measurements and hems may no longer be right. Washing beforehand saves you that disappointment.
Needles that are too thick or a stitch that's too short can also cause unsightly holes and ripples. It's better to start with a fresh, fine needle and test your settings. If the fabric gets pulled into the needle plate at the start of a seam, hold on to the thread ends as you begin sewing, or start on a small scrap and then sew straight on into your project.
When cutting, it's tempting to cut through several layers at once to save time. For your first project, though, one or two layers are much easier to control. Marks are best made with tailor's chalk, a water-soluble pen or small snips within the seam allowance. Very sticky tape or heavy markings can damage the loose surface.
Small details, big impact
Muslin looks especially lovely when a project isn't made too stiff. So avoid heavy interfacing unless a pattern specifically calls for it, for example on a collar or button placket. If you need to stabilise an edge, a narrow, lightweight iron-on tape is often the better choice.
Your choice of colour also makes a big difference. Natural shades, soft pastels and muted tones emphasise the soft texture, while bold colours or prints can turn a simple pattern into a real favourite. At Die Stoffkönigin you'll find muslin available in small quantities, so you can plan colours and fabric combinations to suit even modest projects.
Give yourself plenty of time for your first piece, especially for cutting and hemming. A simple muslin cloth that's neatly finished and gets plenty of use is the best starting point for lots more ideas.
Matching categories
Matching products
Elastic Tape
€1.45per 0.5 m
Unit price €2.90 / m