How to Sew Rain Jacket Fabric Waterproof
A lovely rain jacket fabric on its own won't reliably keep the rain out. If you want to sew rain jacket fabric so that it stays waterproof, the way you finish the seams makes all the difference. After all, every stitch pierces the coating or membrane. With the right seam technique, as few needle holes as possible and seam tape, you can sew a jacket, puddle trousers or a rain suit that really stands up to everyday life.
First, get to know your rain jacket fabric
Rain jacket fabrics aren't all made the same way. Many lightweight qualities are polyester or polyamide with a water-repellent coating. Others have a membrane on the reverse and, depending on the quality, are breathable too. Both types work well for a children's rain jacket, a cycling poncho or lightweight overtrousers, but each needs slightly different handling.
Before cutting, take a close look at the wrong side of the fabric. If it feels smooth, rubberised or coated, you should damage it as little as possible while sewing. With fabrics that have a visible membrane, avoid stretching it unnecessarily or exposing it to high heat. If you're unsure, a small test seam on a scrap will tell you more than any amount of theory.
It's also worth asking how waterproof your project actually needs to be. For a windbreaker that only has to cope with a short shower, neatly sewn seams are often enough. If the jacket needs to protect you in persistent rain, on the school run or while cycling, you'll need seam sealing tape on the areas under the most strain. These include the shoulders, hood, sleeve seams, back yoke, crotch seam, and the side or inside leg seams on trousers.
Cutting out without unnecessary holes
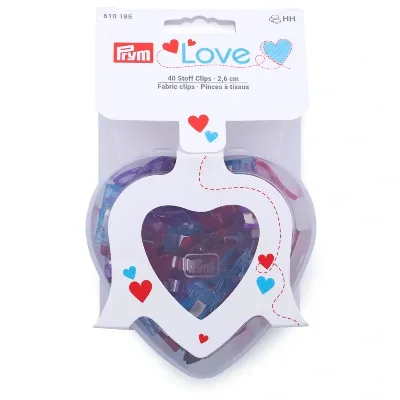
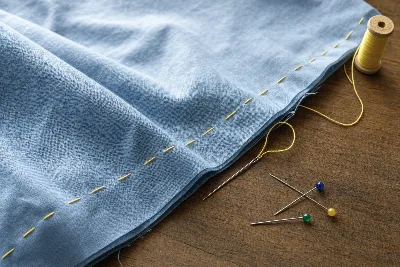
Pins aren't a good choice for rain jacket fabric. Every hole can stay visible and later become a tiny entry point for water. Use fabric clips instead, or hold your sewing pattern in place with pattern weights. A rotary cutter with a sharp blade gives particularly clean edges and doesn't push the fabric around as easily as scissors do.
Cut the fabric in a single layer if possible, especially if it's slippery or the coated sides shift against each other when folded. With printed rain fabrics, make sure all pattern pieces follow the same grainline. Particularly with prints featuring animals, vehicles or larger motifs, the finished jacket looks much calmer when everything runs in the right direction.
The best way to transfer markings is with small snips within the seam allowance or a piece of masking tape outside the future seam line. Chalk and marker pens often don't hold well on coated surfaces, so test them on a scrap first.
The right seam allowance
A seam allowance of about 1 cm is practical for most jacket sewing patterns. It gives you enough surface to seal the seam with tape later on. Very narrow seam allowances make ironing on or bonding tape unnecessarily tricky. Where layers get bulky, such as at the collar, hood or zip placket, it can make sense to carefully trim and grade the seam allowances after sewing.
Sewing rain jacket fabric waterproof: setting up your machine
A size 80 universal needle works well for many light to medium-weight rain jacket fabrics. For very fine qualities, a size 70 may be a better fit. If the fabric is noticeably sturdier, a size 90 is fine too. What matters most is a new, sharp needle: a blunt point can damage the coating and leave uneven holes.
Good-quality polyester sewing thread is the best choice. It's strong, absorbs little moisture and suits synthetic outer fabrics. Cotton thread is less suitable for a weatherproof jacket because it can soak up water.
Set a slightly longer stitch length, usually around 3 to 3.5 mm. Very short stitches place the needle holes close together and can weaken the seam. Sew slowly and evenly. Check beforehand whether the fabric feeds smoothly under the presser foot. If it drags or sticks to the foot, a Teflon foot, walking foot or a strip of tissue paper between the foot and the fabric can help. Simply tear the paper away carefully after sewing.
Don't backstitch over the same spot several times at the start of a seam, as this also creates lots of holes. Instead, leave longer thread tails, pull them through to the wrong side and knot them by hand. This looks neater on visible seams and is kinder to the material.
Which seams really keep the rain out?
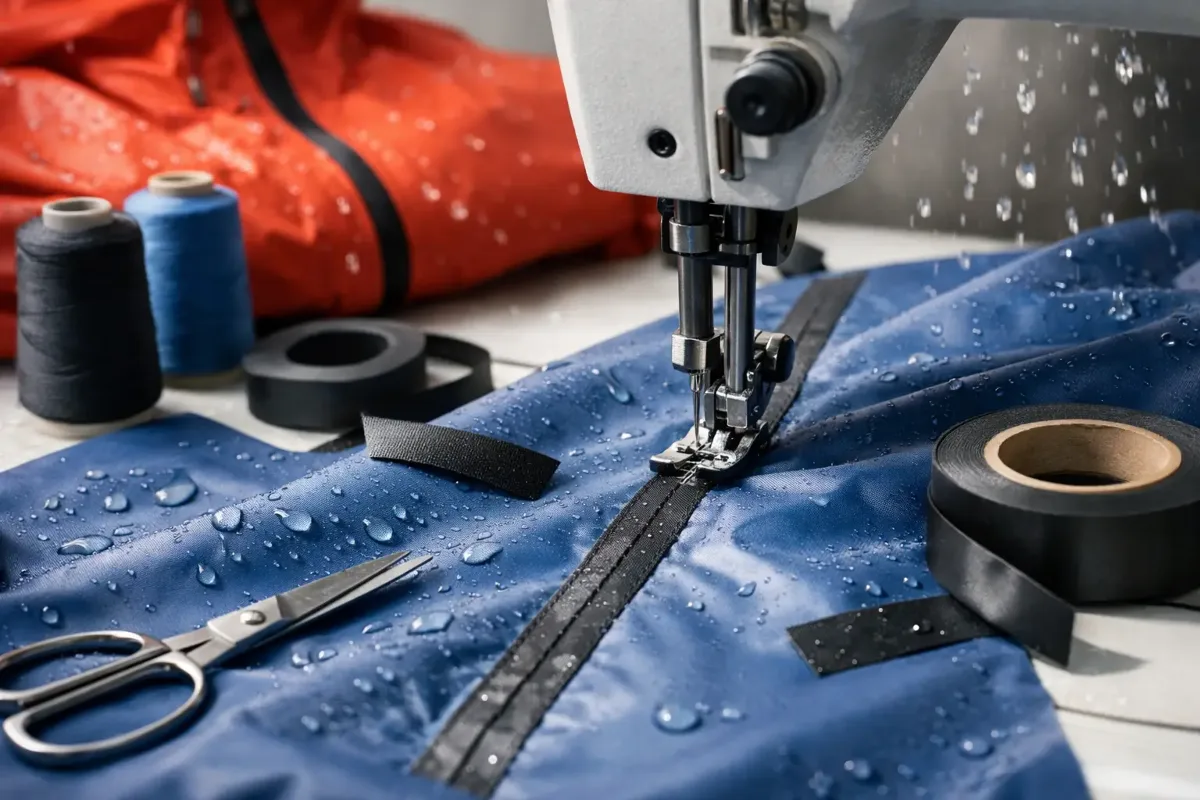
A normal straight-stitch seam joins the pieces securely, but it isn't automatically waterproof. Water can seep through the needle holes, especially when there's pressure on the seam – from a rucksack strap on your shoulder, for example, or when sitting on wet ground. So the rule is: seal the seam from the inside.
The easiest way to do this is with waterproof seam tape that suits your type of fabric. There are iron-on tapes and versions applied with a hot-air press. Before buying and before applying, check carefully whether the tape is compatible with coated fabrics, PU fabrics or membranes. Not every tape sticks to every backing.
Never just start ironing on a high setting. Many rain jacket fabrics only tolerate a little heat and can go shiny, melt or lose their coating. Always test the temperature, pressure and time on a scrap first. Place baking paper or a cloth between the iron and the fabric and work in sections. The seam tape should lie flat without any air bubbles, but the outer fabric mustn't become distorted.
If your fabric can't be ironed, a special seam sealant can be an alternative. It's applied to the seam from the wrong side and then needs to dry thoroughly. The result does the job, but doesn't always look as even as neatly applied tape. Even so, it's very handy for small areas, repairs or pocket seams.
Flat seams instead of bulky edges
On rainwear, flat seams are comfortable to wear and easier to seal. First sew the pieces right sides together, then carefully press the seam allowances open – only at a suitable temperature – or smooth them flat with your finger. Then seal the seam from the inside with tape.
With fabrics that aren't too stiff, you can press the seam allowance to one side and edgestitch it from the outside. This stabilises the seam and gives the jacket a sporty look. Bear in mind, though, that every extra line of topstitching adds more needle holes. For heavy rain, a simple, single-stitched seam sealed on the inside is often the better choice.
Plan zips, hoods and finishes cleverly
Most leaks don't happen in the middle of a large panel, but at transitions. A hood needs a good fit and should be fully sealed where it joins the jacket. A small peak helps stop rain running straight into your face. For children's jackets, a simple hood with elastic or a press stud is often more practical for everyday wear than a complicated design with lots of panel seams.
On the front opening, a wide facing or storm flap protects the zip. Open-ended zips are practical, but their teeth aren't watertight. For a project that will often be worn in the rain, an overlapping flap with press studs or hook-and-loop fastening is a good addition. Try to keep hook-and-loop tape away from direct contact with a hot iron.
Sleeve and hem finishes are especially easy with a casing and elastic. Ribbing is only partly suitable for a classic rain jacket because it can soak up water. For a casual jacket with a water-repellent outer fabric, it can still look lovely – it all depends on whether looks or maximum weather protection is your priority.
Common mistakes and quick fixes
If the seam puckers, the thread tension is often too high or the stitch length too short. Adjust the settings in small steps. If stitches are skipped, a new needle or a slightly different needle size usually helps. If the layers slip against each other, place your clips closer together along the edges and sew without pulling.
If you have to unpick a seam, holes will remain. With some coated fabrics they partly close up over time, but you shouldn't rely on that. Seal the area from the inside afterwards with seam tape or seam sealant. That's why it pays to tack with clips and do a quick fitting before the final seam, particularly for the zip, hood and pockets.
Once it's finished, give your jacket a real-life test. Hang it up, spray water onto the shoulders, hood and seams, or hold it briefly under a gentle shower. Then check the inside. This way you'll spot open edges or poorly bonded seam tape before the jacket heads outdoors for the first time.
A handmade rain jacket doesn't have to look perfect to become a favourite. When the pattern, fabric and sealing suit how you'll use it, you'll end up with a garment you can count on for puddles, playground weather and walks. Die Stoffkönigin is happy to give you personal, practical advice on choosing rain jacket fabric, the right seam tape or suitable haberdashery.
Matching categories
Matching products
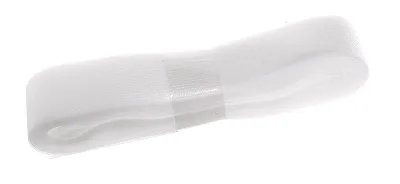
Ribbon, White
€9.95per piece
Unit price €1.99 / m
Rainwear Fabric Fruit in Cream
€7.45per 0.5 m
Unit price €14.90 / m
Prym holding aid 2,6 cm 40 pieces in Multicolour
Back soon€17.90per piece
Thread, Yellow
€3.10per piece
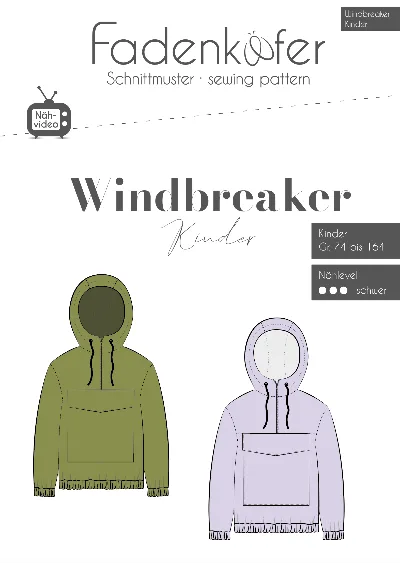
Paper Sewing Pattern Windbreaker Kinder
€12.90per piece