Choosing the Right Children's Sewing Patterns for Beginners
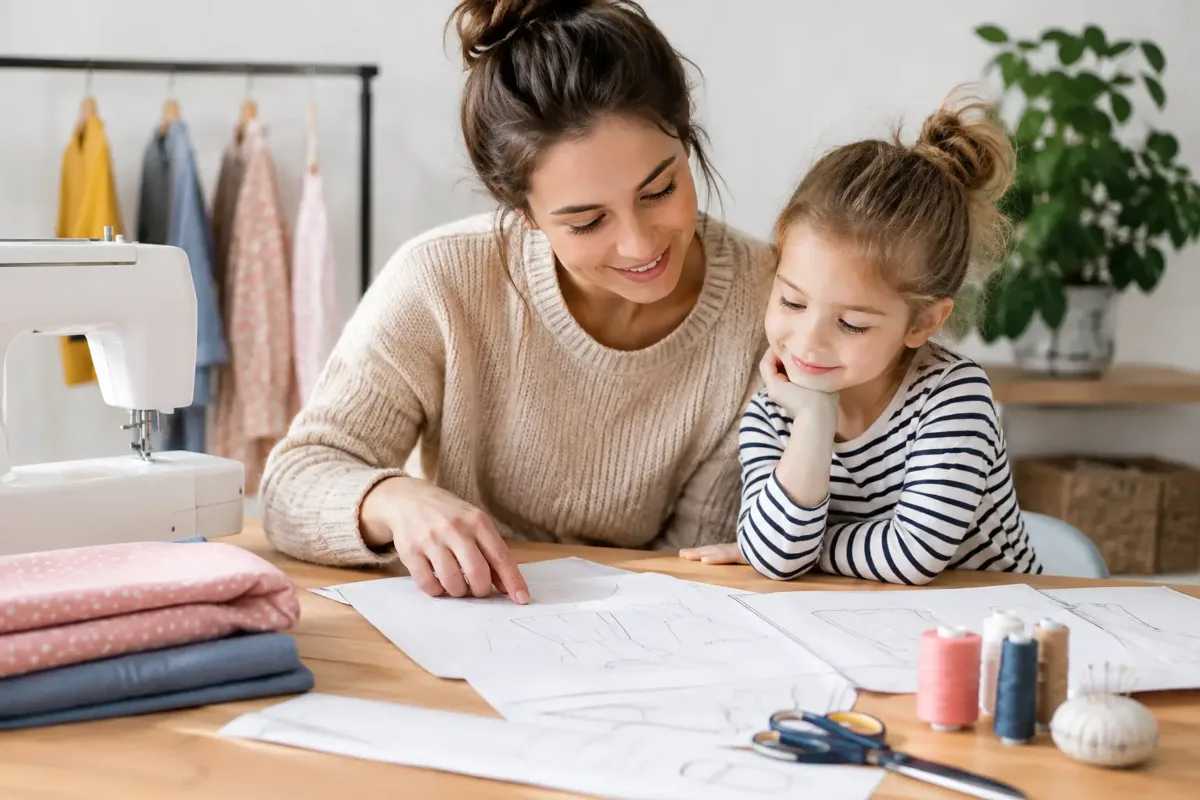
A home-sewn children's top doesn't have to look perfect to be a complete success. If the fabric feels comfortable, the seams hold and your child wants to put it on straight away, you've already won. With the right children's sewing patterns for beginners, getting started is far more relaxed – even if your overlocker is still new or you've only done small repairs on your sewing machine so far.
When it comes to children's clothing, the choice is huge: a T-shirt, harem trousers, leggings, a dress, a hoodie or a hat? For your first project, what matters isn't what looks particularly clever, but what gives you a manageable process. A well-chosen sewing pattern, a suitable fabric and a little patience make all the difference.
How can you tell if a sewing pattern is beginner-friendly?
A pattern for beginners has few pattern pieces, clear instructions and as few details as possible that call for precision. Zips, button plackets, set-in pockets or multiple collar layers look lovely, but they raise the difficulty level. They make great next projects – just not necessarily the best place to start.
Patterns with clean lines and stretch fabrics are particularly suitable. Simple harem trousers often need just two main pieces and a ribbing waistband. A T-shirt, with its front, back, two sleeves and neckband, is a little more involved, but perfectly doable with illustrated instructions. A loose jersey dress can also be a lovely first project, as long as it has no fastening.
Look out for phrases in the description such as "for beginners", "quick to sew" or "with detailed step-by-step instructions". Information on fabric requirements, the notions you'll need and the sizes included is also helpful. A pattern that covers several sizes is often especially good value – after all, children grow faster than you can pick out the next fabric.
Projects that are ideal for a first attempt
Harem trousers, simple leggings, hats, neck scarves and straight-cut T-shirts are perfect for getting started. They have few tricky spots and give you a visible result quickly. If you've already gained a bit of experience with jersey, you could try a simple dress or a raglan jumper.
A hooded hoodie is achievable, but it takes more time and a careful order of steps. The same goes for lined jackets or garments with zips. There's nothing wrong with tackling projects like these later on. At the beginning, a successful, wearable piece is far more motivating than a demanding pattern that ends up lying around unfinished.
Children's sewing patterns for beginners: getting the size right
The size on a shop-bought label is a first clue, but not a reliable measurement. Children are built differently: some are quite slim, others need more room around the tummy or longer legs. That's why it's worth taking a quick look at the pattern's size chart.
Above all, measure height, chest, waist and hips. For trousers, inside leg length and tummy circumference are also useful. If your child falls between two sizes, the style of the garment decides: for slim-fitting leggings the larger size is often more comfortable, while for loose harem trousers the smaller one may fit better. If in doubt, compare a well-fitting garment with the pattern's measurements.
Many sewing patterns already include seam allowance, others don't. This small detail is crucial. If the seam allowance isn't included and you forget to add it when cutting, the garment will come out noticeably smaller. So always read the first pages of the instructions in full before the scissors come out.
Paper, PDF or pre-cut pattern?
Paper patterns are practical because you can start straight away. You cut out the size you want or trace it off so the other sizes are kept intact. PDF patterns often offer a wide choice and can be printed more than once. Here the test square is important: first print only the page with the test square and measure it. Only once the square is exactly right should you print the remaining pages and tape them together.
If you'd rather skip the taping, you can also have PDF patterns printed at full size. This is especially handy for larger patterns and makes for clean, clear cutting. At Die Stoffkönigin, this service is simply a practical part of everyday sewing.
The fabric determines how it sews and how it fits
Even the loveliest print won't help much if the fabric doesn't suit the design. The fabric recommendation on a sewing pattern isn't just there for decoration. It shows how the pattern is intended and which properties are needed for the fit and for sewing.
For T-shirts, leggings, dresses and harem trousers, cotton jersey is a great classic. It's soft, stretchy, comfortable against the skin and very versatile. For hard-wearing items such as leggings or slim trousers, a share of elastane provides freedom of movement and helps them keep their shape. French terry, or summer sweat, is ideal for jumpers, joggers and in-between-season clothing. It's a little firmer than jersey but stays comfortable.
Ribbing is used for necklines, cuffs and waistbands. It should be very stretchy and spring back into shape after stretching. For a first pair of harem trousers, a wide ribbing waistband is especially forgiving: it replaces a fiddly elastic casing and sits comfortably on most children.
Cotton woven fabric is a lovely choice for loose dresses, skirts, shirts or light summer trousers. However, it doesn't stretch. So you can't simply sew a pattern designed for jersey in woven fabric without changing the fit. When you're starting out, it's better to stick to the fabric recommendation. It saves frustration and makes the result more predictable.
Before cutting: three small steps with a big impact
Wherever possible, wash fabrics for children's clothing before sewing. Natural fibres can shrink in the first wash, and any finishes are removed. Wash the fabric the same way the finished garment will be washed later. Then iron it smooth – that way you can lay out the pattern pieces accurately.
Pay attention to the grainline. An arrow on the pattern pieces shows how they need to lie parallel to the selvedge. With jersey, the direction of stretch also matters: on most dressmaking fabrics it runs across the fabric, perpendicular to the selvedge. Trousers or a T-shirt usually need this stretch to go around the body, not from shoulder to hem.
With printed fabrics, it's worth taking a quick look before cutting. You don't want animals, vehicles or flowers to end up upside down. Stripes and large motifs sometimes need a bit more fabric so the front and back look harmonious. It's better to allow a little extra, especially if you want to match the pattern when cutting.
What equipment do you really need?
For simple children's clothing, an ordinary domestic sewing machine is all you need. An overlocker is nice and quick, but not essential. With a narrow zigzag stitch or a stretch stitch, you can sew jersey and ribbing reliably on a sewing machine too.
Useful extras include a jersey or stretch needle, suitable sewing thread, good fabric scissors or a rotary cutter, pins or fabric clips, a tape measure and a sewing gauge. A twin needle is a nice addition for ribbing and hems later on, but it's not a must. If you're working with jersey, don't economise in the wrong place: a blunt or unsuitable needle can cause holes, skipped stitches and unnecessary annoyance.
Before you start sewing for real, test your stitch on a fabric scrap. Check whether the seam stretches with the fabric and whether the fabric goes wavy. Small adjustments to the thread tension, stitch length or presser foot pressure are normal. They're all part of getting to know your fabric and your machine.
How to keep your first project relaxed
Don't try to sew in a rush. Have your pattern pieces, fabric, thread and instructions ready and work step by step. Markings, notches and balance marks are there for a reason – they help you join pieces together correctly. Careful marking pays off especially with sleeves and ribbing.
Press seams open or to one side carefully as you go. This step is often skipped, but it improves the look and makes the next seams easier. With stretch fabrics, there's another rule: don't pull the fabric. Let the machine's feed dogs do the work and just guide the fabric loosely.
If a seam goes wrong, it doesn't mean you can't sew. A seam ripper is part of the basic kit because even experienced sewists use one regularly. Unpicking, re-pinning and sewing again usually takes less time than being annoyed later by twisted trousers or a wonky neckband.
Common mistakes – and how to avoid them
Seam allowances that are too small, wrongly cut sleeves or a neckband that's too tight happen easily. Usually it's not down to talent, but to a note in the instructions that got overlooked. Read each step through before you sew it, and check the right and wrong sides of the fabric.
Ribbing shouldn't simply be cut to the same length as the fabric edge, either. It's stretched slightly as you sew it on so that it lies nicely afterwards. Many instructions give the exact length. If they don't, a test piece will help more than guesswork.
For your first project, choose a plain fabric or a small, even print. Large pattern repeats, very slippery fabrics or extremely thin jersey call for more experience. Of course your favourite fabric can be something special – but a fabric that's easy to work with makes sure the joy doesn't end at the cutting stage.
For your first children's garment, pick a design that genuinely matches your current skills. Soft harem trousers, a simple T-shirt or a hat aren't small projects in the sense of being "worth less": they're the best practice for straight seams, ribbing and a feel for fabric. And when the finished piece is worn with pride for the first time, you'll know exactly which sewing pattern gets to go on your sewing table next.