How to Sew an Invisible Zip: A Step-by-Step Guide
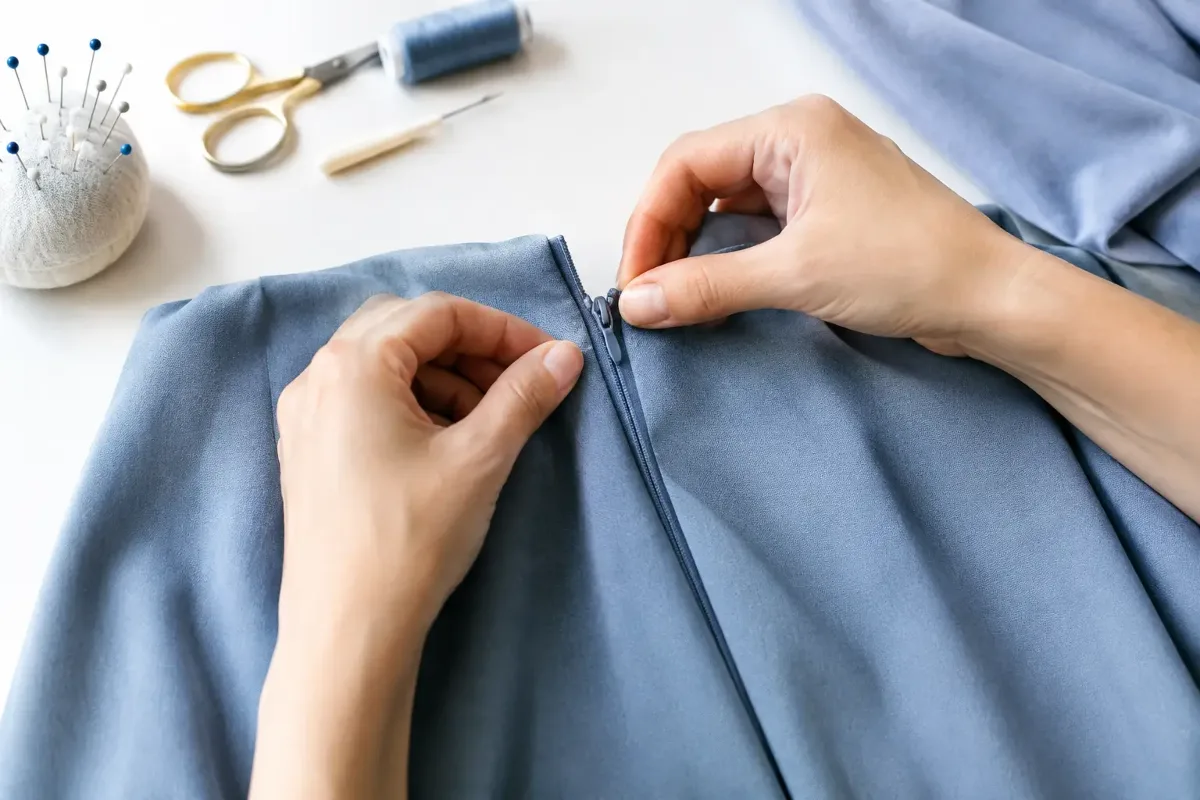
An invisible zip can instantly make a handmade dress look far more polished. With this guide to sewing an invisible zip, you'll get a neat finish with no visible line of stitching beside the teeth on the outside. What matters most isn't speed but good preparation: the right zip, accurately marked seam allowances and a special presser foot make all the difference.
When an invisible zip is the right choice
Invisible zips look especially lovely in dresses, skirts, blouses, cushion covers and lightweight bags. When closed, the coil disappears into the seam and only the small zip pull remains visible. The effect is calm and elegant – particularly with patterned fabrics, fine viscose or occasionwear.
For very thick fabrics such as teddy fleece, bulky quilted fabric or several layers of canvas, a conventional zip is often the better option. For bags that get heavy use, a visible, sturdy zip may also last longer. Garments made from jersey need a little more care: stabilise the zip edge so it doesn't stretch while you sew.
Preparing your materials and tools
An invisible zip should be longer than the planned opening. If it's 22 cm long, for example, the opening can end just short of that. The excess at the end is later caught in the seam or trimmed at the very end. A zip that's too short, on the other hand, can't be lengthened discreetly.
Besides your fabric and zip, you'll need matching thread, pins or fabric clips, a seam ripper, a tape measure and a fabric marker. An invisible zip foot is especially helpful. Its grooves guide the teeth outwards so the needle can stitch exceptionally close to the coil. You can also use a standard zip foot, but the seam usually won't be quite as invisible.
Press your fabric pieces before cutting and check the seam allowance in your sewing pattern. Many patterns use 1.5 cm, some 1 cm. The zip must sit exactly on this intended seam line – not at the edge of the fabric.
Stabilising stretchy or delicate fabrics
Viscose, satin, lightweight jersey and loosely woven fabrics can distort at the opening. To prevent this, press a narrow strip of fusible stay tape or lightweight interfacing onto the wrong side of the fabric along the zip edge. This keeps the edge stable without making it stiff.
For jersey, a stable but not overly firm tape works well. Take care not to stretch the fabric as you press it on. Especially on dresses with a side zip, this small step prevents rippling and a crooked zip later on.
Sewing an invisible zip: step-by-step instructions
The following method works for a zip in the centre back seam or in a side seam. It's important that the fabric pieces haven't yet been fully sewn together along this seam.
1. Mark the opening and the end of the seam
Place the two fabric pieces right sides together. Mark where the zip should start at the top edge and where you want the opening to end at the bottom. The rest of the seam below the zip will be closed later.
Transfer the markings to both fabric edges. On a skirt this is usually the centre back; on a dress, the zip can also sit in the side seam. Make sure that prints, horizontal stripes and seams line up at the same height.
2. Close the seam below the opening
Sew the fabric pieces together from the bottom of the marked zip opening down to the hem. Backstitch carefully at the start of the seam. Press the seam allowances open.
The section above stays open – this open edge is exactly where the zip goes in. You can sew the whole seam first and unpick it afterwards, but it means more work and you risk visible pressing marks.
3. Prepare the zip
Open the zip completely. On many invisible zips, the teeth curl towards the back. Gently uncurl them with your finger so you can see the small groove right next to the coil. That's where your stitching needs to run later.
You don't need to press the teeth flat – too much heat can damage plastic coils. If you'd like to open them up a little on a stubborn zip, use a low iron temperature and place a pressing cloth in between.
4. Pin the first side of the zip
Place the first side of the zip right side down on the right side of the fabric. The teeth point inwards towards the centre of the fabric, with the zip tape lying on the seam allowance. The top edge of the tape should line up with the top edge of the fabric or with the placement line given in the pattern.
Pin or tack the tape in place along the edge. Tacking is a good idea, especially with slippery fabrics: it only takes a few minutes longer but stops the tape shifting while you sew. Also check that the coil lies exactly on the seam line.
5. Stitch close to the teeth with the special foot
Attach the invisible zip foot. Guide the coil into the matching groove of the foot and sew from top to bottom. The foot automatically pushes the teeth open slightly so the needle goes in right next to them.
Sew until you're just short of the zip pull – the foot can't go any further there. Don't backstitch directly into the coil; instead, finish the seam neatly just before it. If you're using a standard zip foot, gently push the teeth aside as you sew. Sew slowly and check the distance regularly.
6. Align the second side precisely
Close the zip to test it and lay the second fabric edge right sides together on the second zip tape. Now you'll see whether horizontal stripes, the waist seam or the print match up. Mark these points directly on the tape and fabric before pinning the second side.
Open the zip fully again. Sew the second side in from top to bottom as well. Make sure both top fabric edges are at the same height – even a difference of a few millimetres will be immediately noticeable at the waistband or neckline later.
7. Join the seam and the end of the zip
Close the zip and check the outside. The seam should be smooth, the coil shouldn't be visible and the zip pull must glide easily. Only then do you sew the small section between the already closed seam and the zip.
To do this, place the fabric right sides together again. Start just above the end of the existing seam and sew as close as possible to the zip stitching. A small offset of 1 to 2 mm is normal and usually disappears into the seam allowance. Then carefully press the seam allowances open – without pressing the zip with a hot iron.
Common problems and quick fixes
If the zip sticks out at the top, the tape is usually too far from the fabric edge or the seam allowance wasn't taken into account. Unpick just the top section and reposition it. If the coil is visible from the outside, the stitching was too far from the teeth. The special foot will help here, or a second line of stitching a few millimetres closer to the coil.
Ripples along the opening are often caused by stretched fabric or by the zip being pulled while sewing. With lightweight fabrics, stay tape is the best prevention. If a ripple has already been sewn in, gentle steaming can help, although not every fabric will shrink back completely.
If the zip pull gets stuck at the bottom, the joining seam is often too close to the zip tape. In that case, unpick a few stitches of the joining seam and resew with a little more space. You should be able to close the zip without tugging at it or pushing the fabric out of the way.
Neat finishes for lining, facings and waistbands
On dresses and skirts, the top edge is often finished with a facing, waistband or lining. Only attach this layer once the zip has been inserted and checked. Fold the facing to the inside at the top edge so it covers the zip tape neatly. Trim the seam allowance at the top so nothing adds bulk.
A few hand stitches on the facing hold it securely to the zip tape and stop it flipping outwards when you put the garment on. This is a discreet, durable solution, especially on lined dresses. For a beautiful result, it's worth sewing the last few centimetres deliberately slowly – that's where you decide whether the zip simply looks sewn in or truly professionally finished.
An invisible zip takes a little patience the first time, but after two or three projects the process becomes surprisingly familiar. Do set aside a scrap of fabric before cutting out: a quick test shows you how the foot, fabric and zip work together – and gives you confidence for your actual favourite piece.
Matching categories
Matching products
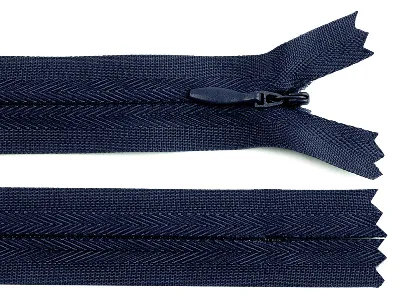
Concealed Zip, 20 cm, Dark Grey
€1.20per piece
Unit price €6.00 / m
Sulky Sticky Fabri-Solvy 12 sheets 21.5 × 28 cm in White
€24.50per piece
Unit price €34.03 / m²
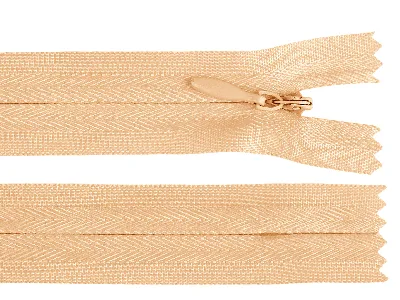
Invisible Zip 40 cm Peach
€2.20per piece
Unit price €5.50 / m
Double-Sided Fabric Tape, 5 mm, 18 m
€6.90per piece
Unit price €0.38 / m
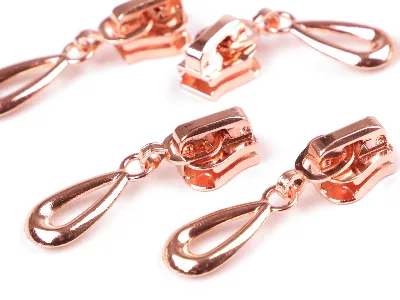
Zip Slider in Rose Gold
€0.95per piece
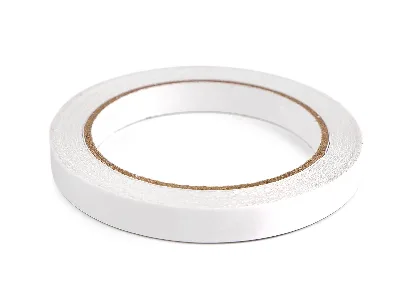
Double-Sided Fabric Tape, 12 mm, 18 m
€10.90per piece
Unit price €0.61 / m