Choosing the right needle for your embroidery machine
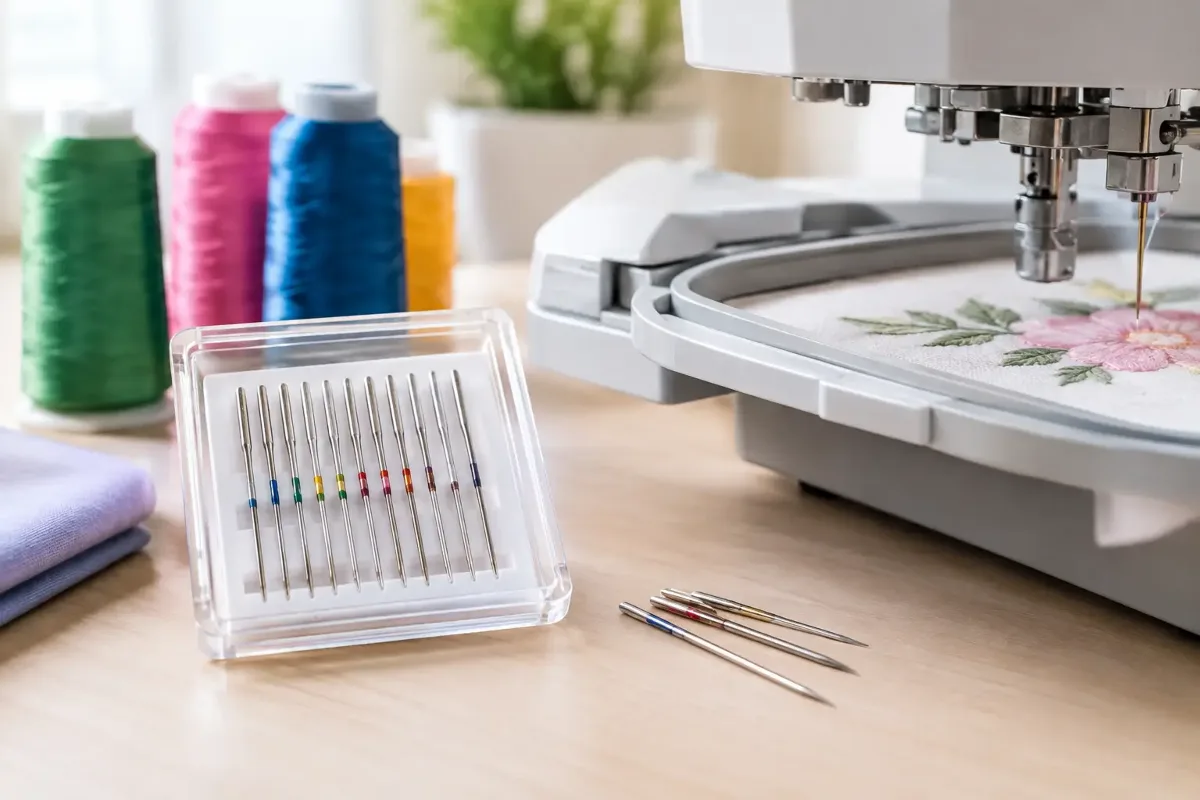
Your design is almost finished when suddenly the top thread snaps, the outlines turn messy or little holes are left behind in your fine jersey. More often than not, the embroidery file isn't to blame – and neither, at first, is the machine. Choosing the right needle for your embroidery machine makes a noticeable difference to every project. It brings thread and fabric together cleanly, is gentle on delicate materials and helps keep thousands of stitches looking even.
Machine embroidery puts a lot of demands on a needle at once: fine or heavy embroidery thread, high stitching speeds, frequent changes of direction and fabrics of all kinds. A needle that works perfectly well for everyday sewing isn't automatically the best choice here. If you match your needle to your fabric, thread and design, you'll save yourself a lot of unpicking and can embroider far more calmly.
How an embroidery needle differs from a universal needle
A machine embroidery needle is designed for the particular demands of embroidery. Its eye is usually a little larger than that of a comparable universal needle, so embroidery thread glides through more easily, is under less strain and breaks less often. At the same time, the special shape of the needle helps it form stitches reliably at high speed.
Universal needles are versatile helpers for lots of sewing jobs, and they can cope with a small, simple embroidery design. With large filled areas, dense embroidery or delicate rayon and metallic threads, however, you'll quickly see why a proper embroidery needle is worth having. It's a small investment that can visibly improve your results.
Important: the needle must always match your embroidery machine's needle system. Most domestic sewing and embroidery machines use the common flat-shank system 130/705 H. A quick look at your manual will put your mind at rest, especially with older machines or less common models.
Finding the right needle for your embroidery machine
When choosing, three questions are key: which fabric is in the hoop, which thread are you using and how dense is the design? You'll find the needle size as a number on the packet – the higher the number, the thicker the needle.
Size 75/11: the reliable all-rounder
For many embroidery projects, size 75/11 is a great starting point. It works brilliantly with standard 40 wt machine embroidery thread and medium-weight fabrics such as cotton woven fabric, poplin, quilting cotton, many jerseys and lighter canvas. It's also often the right choice for embroidered children's clothing, cushion covers, bag appliqués and small gifts.
If you regularly embroider different kinds of projects, keeping 75/11 embroidery needles to hand gives you a handy standard size. Even so, it's worth a quick fabric check: a very fine fabric sometimes needs a finer needle, while a firm fabric needs more stability.
Size 65/9: for fine fabrics and delicate details
On fine batiste, lightweight cotton, organza, tulle or very thin blouse fabrics, a 65/9 embroidery needle helps keep needle holes small. It's also suitable for fine threads and delicate lettering. The advantage is gentle handling; the downside is that with thick thread, several layers of fabric or a densely digitised design, the thin needle can reach its limits.
Good stabilising is especially important here. Even the best needle won't stop puckering if the fabric isn't properly supported in the hoop. With fine, stretchy materials, a water-soluble stabiliser on top can also help stop the stitches sinking into the fabric.
Size 80/12 or 90/14: for heavier fabrics and designs
For firmer fabrics such as denim, home décor fabric, heavier canvas, felt or multiple layers, an 80/12 embroidery needle may be the better choice. It's sturdier and guides the thread reliably through the material. For particularly heavy projects, such as a thick bag or embroidered coat fabric, you may need a 90/14.
A thicker needle isn't automatically better, though. A needle that's too thick pushes fibres further apart and can leave visible holes in fine fabrics. So always choose the finest needle that can safely handle your fabric, thread and stitch density.
Matching the point to the material
It's not just the size – the shape of the point also makes a big difference to the finish. For woven fabrics such as cotton, linen or canvas, standard embroidery needles with a slightly rounded point are usually the right fit. They pass cleanly through the weave without making unnecessarily coarse holes.
For jersey, sweatshirt fabric, French terry and other knits, stretch needles or ballpoint embroidery needles are often the better solution. The point pushes the loops apart rather than piercing individual fibres. This reduces ladders and runs and is kinder to the fabric – a choice that really pays off for children's clothing, T-shirts or leggings with an embroidered design.
Metallic thread calls for something more specialised. It's decorative but more delicate than classic polyester or rayon thread. A metallic needle with an extra-large eye reduces friction and helps prevent thread breaks. Embroider a little more slowly with it, and test how the thread, needle and tension work together on a scrap first.
Thread, bobbin thread and stabiliser are part of the picture
An embroidery needle never works alone. When the top thread breaks, many people reach straight for the tension dial. That may be the answer, but check the needle, threading path and thread first. An old, bent or blunt needle often damages thread without you noticing. Poor-quality or badly stored thread can also shed fluff and unwind unevenly.
For machine embroidery, use embroidery thread wherever possible together with a suitable, fine bobbin thread. Sewing thread is sometimes fine for small designs, but on larger areas it often looks less even and can put more strain on the machine. Position your top-thread spool so the thread can run off smoothly without catching.
Stabiliser supports the fabric and so indirectly takes pressure off the needle too. Tear-away stabiliser suits more stable woven fabrics, while cut-away stabiliser is better for stretchy fabrics or those that fray easily. For towelling, velour and other fabrics with a pile, a water-soluble topper keeps fine lines and small letters visible. Which option is right depends on the fabric and the design – a dense logo usually needs more support than loose lettering.
When to change your needle
An embroidery needle is a consumable. Even after just a few hours of embroidering, its point can become blunter although it looks perfectly fine. Because of the sheer number of stitches, embroidery puts more strain on a needle than a lot of everyday sewing.
Change the needle at the latest when threads break for no obvious reason, stitches are skipped, the machine suddenly sounds louder or the embroidery looks uneven. You should also fit a new needle after a needle breaks, after it touches the hoop or after embroidering very heavy materials. For an important gift or an elaborate project, a fresh needle is a simple safety check.
When inserting it, make sure the needle is pushed all the way up into the clamp and facing the right way. A needle sitting even fractionally too high or too low can cause problems with catching the top thread. The screw should be firmly tightened, but without using excessive force.
When the embroidery still isn't right with a new needle
A new embroidery needle won't solve every problem. If loops appear on the underside, the top thread is often threaded incorrectly or the top tension is too loose. If the bobbin thread shows clearly on top, the top tension may be too tight. Adjust in small steps and make a note of settings that work well with particular fabrics.
Skipped stitches can be caused by the wrong type of needle, a damaged needle or an unsuitable stabiliser. With jersey, it's also worth checking whether a stretch needle would work better. If the fabric puckers, the project usually needs a more stable combination of stabilisers or more careful hooping – not automatically a thicker needle.
A test sample is worth its weight in gold. Hoop the same fabric with the same stabiliser, use the thread you've planned and stitch out a small part of the design. That way, you'll see before starting the real project whether colours, density, tension and needle all work together.
Choosing the right embroidery needle isn't complicated specialist knowledge – it's simply a dependable part of good preparation. If you take a quick look at your fabric scrap, thread and stabiliser together, you'll usually find the right combination in no time. And if you still can't decide between two types of needle, a test on a small piece of fabric often tells you more than any packet label.