Attaching Eyelets Properly: A Step-by-Step Guide to a Secure Fit
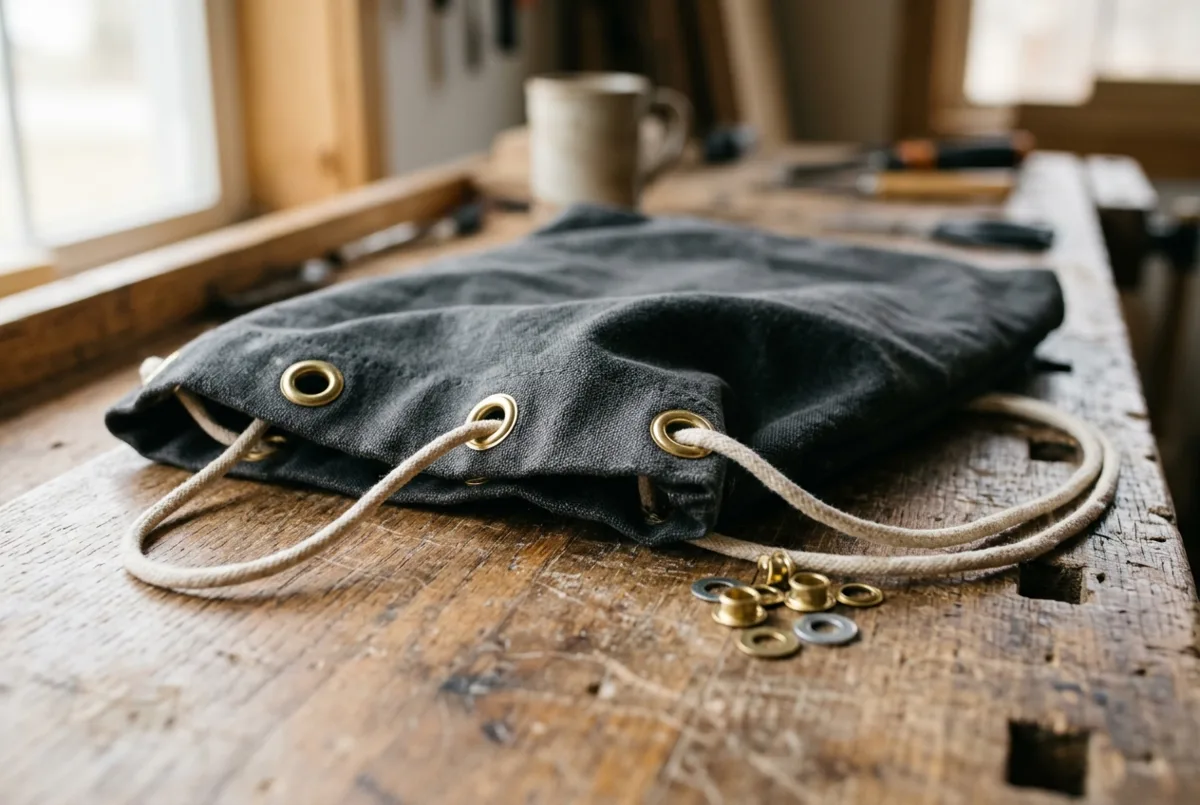
Image created with AI
An eyelet will hold for good when three things come together: the hole is cut on the snug side, the fabric is reinforced at that spot, and the shank is rolled evenly over the washer. Then the eyelet won't spin, and the fabric won't fray out from under the metal.
The process in brief: mark the position, iron on interfacing, punch the hole, push the eyelet through from the right side, place the washer on the wrong side and press evenly with the right tool. A test piece made from a scrap of your fabric with the same reinforcement will show you beforehand whether the hole size and material thickness are right.
First, the tool: VARIO pliers or Creative Tool
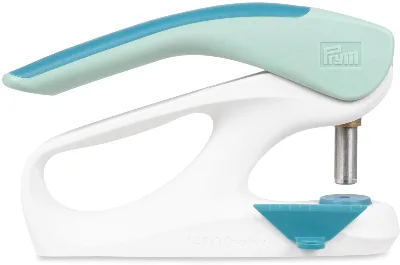
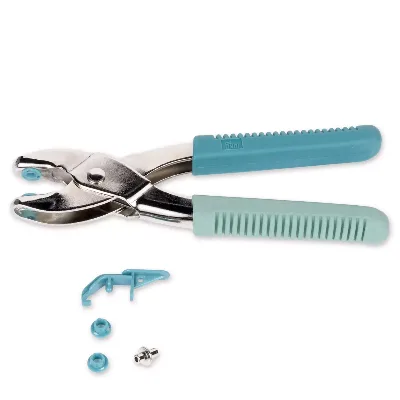
To punch and press, use either the Prym VARIO pliers or the Prym VARIO Creative Tool.
Both are the base tool into which you fit attachments: a hole punch that cuts the hole, and a pressing die that squeezes the eyelet and washer together. Without these attachments, no eyelet will sit neatly. The punch and pressing tool must always match the eyelet size, otherwise the hole will be too big or the shank won't be rolled over evenly.
Eyelet and washer: how the fastening works
A classic eyelet with washer is made of two parts. The eyelet itself has a flat collar, which stays visible on the right side of the fabric, and a shank that goes through the hole. The washer sits on the wrong side. When you press, the shank rolls outwards over the washer and clamps the fabric firmly between the collar and the washer. You'll find a selection of different sizes and finishes in our Eyelets & Washers category.
Which size you need depends on what has to go through the eyelet. For fine lacing, thin ribbons or small charms, the 4 mm brass Prym eyelets are enough. For drawstrings on hoods, waistbands or drawstring bags, go for a medium size, such as the burnished 11 mm Prym eyelets and washers, which barely stand out on dark fabrics. If a thick rope or a carabiner needs to pass through, the 14 mm Prym eyelets and washers are the right fit.
Size overview of the eyelets mentioned here
| Item | Diameter | Finish | Best for | Tool set |
|---|---|---|---|---|
| Prym eyelets | 4 mm | silver-coloured | fine lacing, thin ribbons, charms | Tool set for Prym eyelets with washers, 4, 5 and 8 mm |
| Prym eyelets and washers | 11 mm | burnished | drawstrings on dark fabrics | Tool set for Prym eyelets with washers in 11 and 14 mm for the Creative Tool |
| Prym eyelets and washers | 14 mm | silver-coloured | thick cords, ropes, carabiners | Tool set for Prym eyelets with washers in 11 and 14 mm for the Creative Tool |
Step by step: fitting eyelets with washers
1. Mark the position
Mark the centre of the eyelet with chalk or a vanishing marker. On the back, the washer must sit entirely on smooth fabric and mustn't overhang an edge or sit on a seam allowance. For two eyelets for a drawstring, measure both points from the centre front so they sit symmetrically.
2. Reinforce the fabric
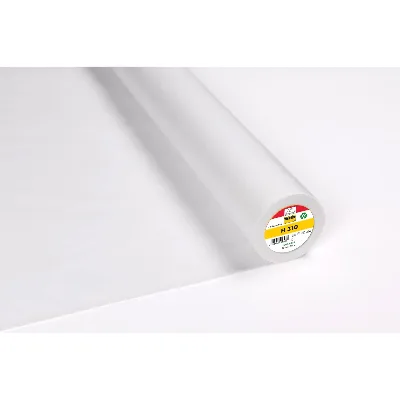
Eyelets rarely tear out because of the eyelet itself – it's because the fabric underneath gives way. So iron a piece of interfacing onto the wrong side, such as Vlieseline H310. It's made of 100% R-PES, i.e. recycled polyester, and is ironed on at a medium temperature. Cut the piece slightly larger than the washer all round. It'll be even sturdier if the eyelet goes through two layers, for example the outer fabric and the facing.
3. Punch the hole
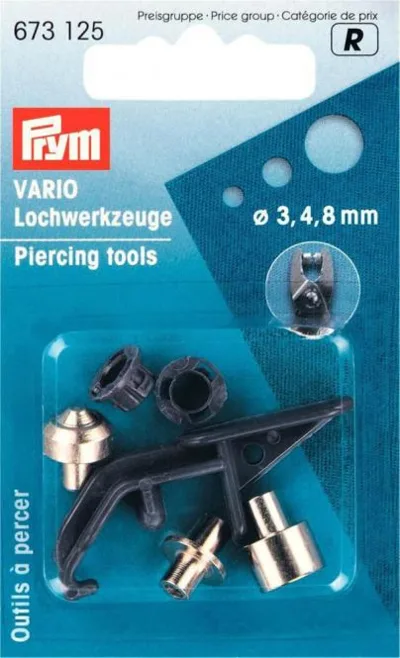
The hole should be just big enough for the shank to fit through. A punched hole has clean edges and frays less than a cut one. On the Creative Tool, fit one of the supplied hole punches in 2.5, 3.0, 3.5 or 4.0 mm; on the VARIO pliers, use the Prym hole punch for the VARIO pliers. For 11 and 14 mm eyelets, the matching punch is included in the tool set for the Creative Tool, which you'll meet in step 5.
4. Insert the eyelet and washer
Push the eyelet through the hole from the right side of the fabric so that the collar lies flat. Turn the piece over and place the washer over the shank from the wrong side. If the shank pokes out just slightly above the washer, the material thickness is right.
5. Press
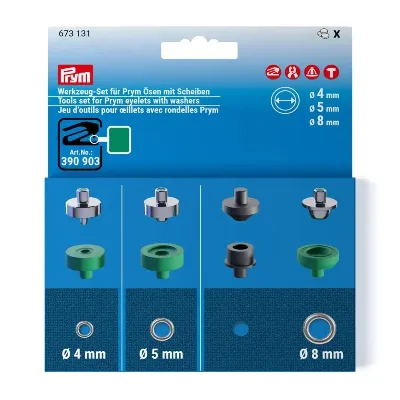
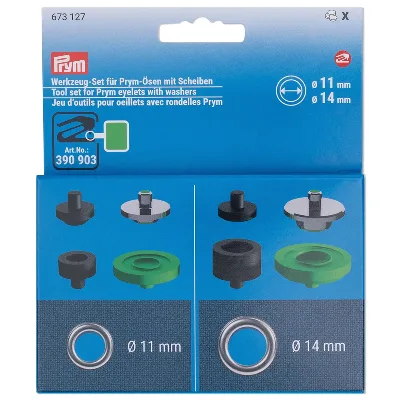
Fit the pressing die from the tool set that matches your eyelet in the size overview above. For 4, 5 and 8 mm eyelets, that's the tool set for Prym eyelets with washers, which you fit into the VARIO pliers or the Creative Tool. For 11 and 14 mm eyelets, use the tool set for Prym eyelets with washers for the Creative Tool. It's designed for the Creative Tool only – the VARIO pliers can't handle these sizes. Place the eyelet collar-down in the lower part, position the upper part vertically on the shank and press evenly.
A hammer and setting punch are the worst option and only for emergencies. If you do have to work this way, use a hard surface with no give and strike a few straight blows; lots of tentative taps are more likely to make the shank tilt.
6. Check the fit
The finished eyelet shouldn't turn, and the shank should be rolled over evenly all the way round. If it still moves, position the tool again and give it another even press.
Eyelet patches as a design feature
Eyelet patches add an eye-catching accent, for example where the drawstring comes out of a hoodie or joggers. The patches mentioned here measure 30 × 30 mm and have an 8 mm hole. They come in plain brown, silver and grey, as well as with rhinestones in black/silver or brown/gold.
Plan the position just as you would for a normal eyelet: symmetrical to the centre front and with interfacing on the wrong side, so the fabric under the patch doesn't stretch out. The manufacturer's instructions explain how to attach the patch to the fabric; only cut away the fabric inside the hole once the patch is firmly in place.
For care, follow the patches: wash the finished garment at 30 °C without fabric softener or bleach, don't tumble dry it and don't iron over the patches. Wash the rhinestone versions on a delicate cycle.
Which fabrics are suitable for eyelets
Eyelets are easiest in firm woven fabrics such as canvas, interfaced cotton or faux leather. If you're planning a bag or a drawstring bag, think about the eyelets when choosing your fabric. With stretchy fabrics such as jersey or sweatshirt fabric, reinforcement is essential, otherwise the hole will pull out of shape as you wear it.
If the layers get very thick, for instance with padded canvas or where several seam allowances meet, the shank often won't be long enough to roll over. In that case, move the eyelet to a spot with fewer layers, trim the seam allowances around the eyelet or leave out a layer of padding there. Your test piece will show whether it works: the shank must still visibly protrude once the washer is in place.
Common mistakes
- Hole too big: the eyelet can't grip, spins and, in the worst case, slips out.
- No reinforcement: thin or stretchy fabric tears around the washer under the pull of the cord.
- Pressed too hard: if the eyelet is over-pressed, the collar deforms and the fabric gets crushed between collar and washer.
- Tool at an angle: if the tool isn't vertical, the shank buckles on one side and the eyelet sits crooked.
- Washer forgotten or placed upside down: the rolled shank then cuts straight into the fabric and wears through the threads.
- Too close to an edge or seam: if the washer partly sits on a seam allowance, you'll get a bulge and the eyelet won't lie flat.
If you'd like to try pressing eyelets in peace with some support, you can rent a sewing space in our Königliches Nähstübchen sewing room and get help while you sew.
Frequently asked questions
What size eyelet do I need for a hoodie drawstring?
Measure the cord at its thickest point, including the end tips if it has any. The inner diameter of the eyelet should be slightly larger so the cord glides easily and doesn't bunch up when you thread it.
Can I fit eyelets without a hole punch?
Not neatly. With an awl or scissors, the hole is rarely round and exactly the size of the shank, so the eyelet sits loosely or the fabric frays at the edge. That's why you should use the hole punch in your eyelet's size.
How do I remove an eyelet that's been fitted wrongly?
On the back, bend the rolled shank open bit by bit with side cutters or small pliers and pull the eyelet out. The hole stays in the fabric, so fit an eyelet of the same size or slightly larger in the same spot.
Do eyelets rust in the wash?
The Prym eyelets mentioned here are made of brass. Brass doesn't rust, but it can darken over time.
Matching categories
Matching products
Prym VARIO Creative Tool, mint/sage leaf edition
€90.00per piece
Vlieseline fusible interfacing H310 in White
€4.75per 0.5 m
Unit price €9.50 / m
Prym VARIO punch pliers in Sage
€17.90per piece
Prym tool insert in Violet
€7.60per piece
Prym eyelet tool 4 5 8 mm in Multicolour
Back soon€9.90per piece
Prym Creative Tool eyelet tool 11 14 mm in Multicolour
€9.90per piece