Tacking thread: what is it and how do you tack properly?
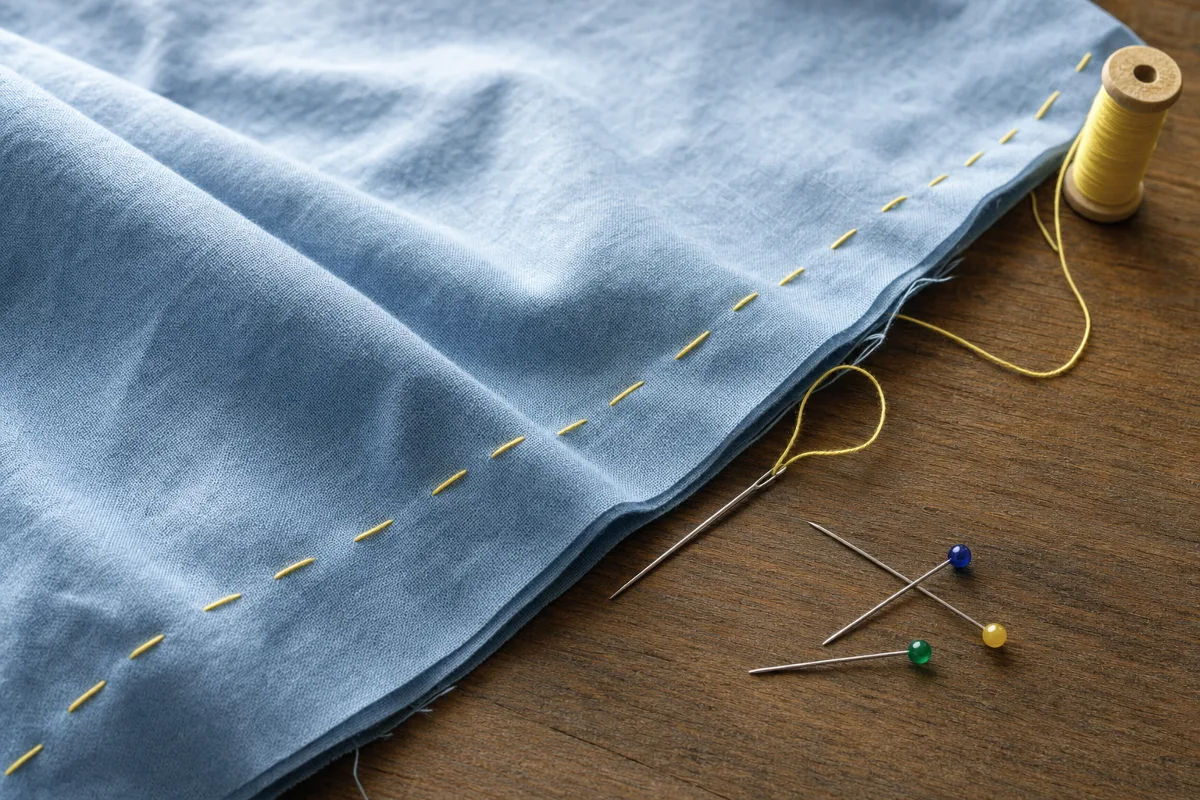
Image created with AI
Tacking thread is a temporary thread you use to hold layers of fabric together before the actual seam is sewn. It is loosely twisted and deliberately easy to break, so once you've finished sewing you can pull it out again effortlessly and without leaving marks. You tack with large, simple running stitches by hand or with the longest straight stitch on your sewing machine, sewing just beside the final seam line rather than right on it.
Tacking is worth it wherever pins get in the way or layers tend to slip: when setting in sleeves and inserting zips, with slippery fabrics, for a fitting or when transferring markings from the sewing pattern. It takes a little time, but it often saves you from having to unpick.
How tacking thread differs from ordinary sewing thread
Sewing thread is meant to hold; tacking thread is meant to come out again. Because it is less tightly twisted, you can snap it with a quick tug and it slides easily out of the fabric. A strong sewing thread, on the other hand, tends to pucker fine fabrics as you remove it or catch on individual fibres. To find out how the various sewing threads for the actual seam differ, read our guide Choosing between cotton and polyester thread.
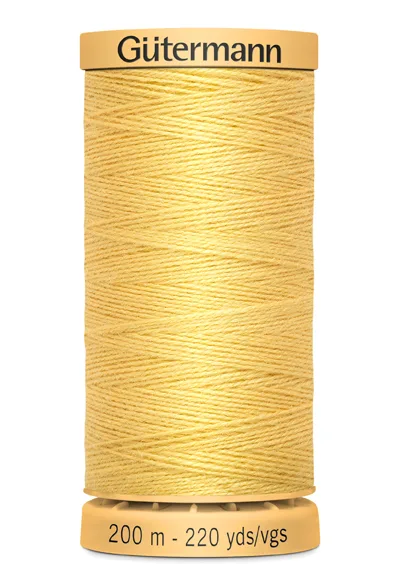
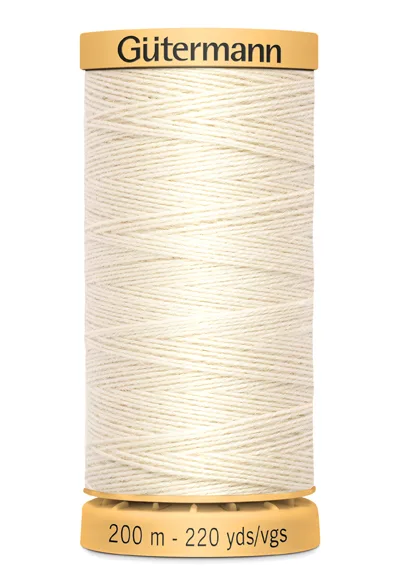
In our tacking thread category you'll find, among other things, Gütermann tacking thread on 200 m reels, for example in pink, yellow and cream. Choose a colour that stands out clearly from your fabric: on dark fabrics, the Gütermann tacking thread in yellow is instantly visible, while pink works well on light fabrics. The Gütermann tacking thread in cream is best for mid and dark tones, as it almost disappears on white.
What you need for tacking
- Tacking thread in a contrasting colour.
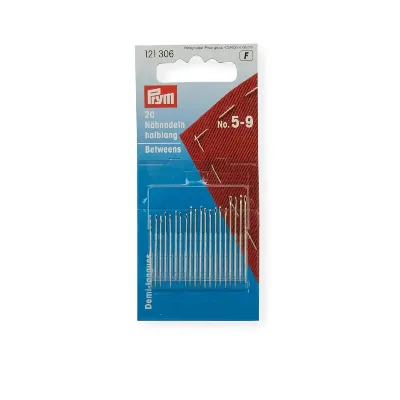
- A hand sewing needle with an eye that isn't too small. The Prym medium-length sewing needles come in an assortment of sizes 5 to 9: a thicker needle for firmer fabrics, a finer one for thin fabrics.
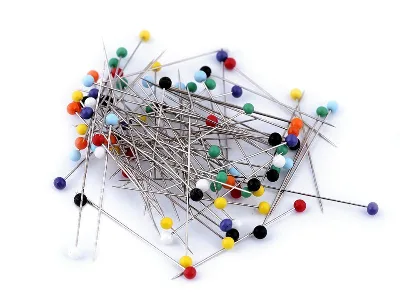
- Pins to line up the layers before tacking. For fine fabrics, the extra-fine glass-head pins are pleasant to use because they leave hardly any holes.
- Fabric clips for thick layers or materials that can't take pin holes, such as faux leather or oilcloth. The long Wonderclips, for example, are ideal for this.
- A small, pointed pair of scissors for snipping the tacking stitches.
The main tacking stitches at a glance
| Method | Used for | What the stitches look like | Hand or machine |
|---|---|---|---|
| Simple tacking stitch (running stitch) | Tacking seams, fittings, zips, sleeves | Even, long stitches in a line | Hand |
| Diagonal tacking | Securing large areas, lining, interfacing, layers for quilting | Diagonal stitches on top, short straight stitches underneath | Hand |
| Tailor's tacks | Transferring pattern markings to both layers of fabric | Loose loops that are cut between the layers | Hand |
| Machine tacking | Long, straight seams, quick fittings | Straight stitch at the longest stitch length | Machine |
Simple tacking stitch: how to do it
- First, secure the layers with pins or clips.
- Thread your needle with a length of tacking thread, not too long or it will tangle. Tie only a small knot at the end, or secure the start with a small backstitch.
- Stitch up and down at even intervals. Stitches about 1 cm long are a good rule of thumb; on curves and in tight spots, make them shorter.
- Tack about 1 to 2 mm beside the final seam line, within the seam allowance. That way you won't sew the tacking stitches in, and they'll be easy to remove later.
- Don't pull the thread tight. The fabric should lie flat and not pucker.
- At the end, one or two backstitches are enough instead of a firm knot.
Diagonal tacking for larger areas
If you want to secure lining, interfacing or several layers over a large area, work in rows: on the underside, take a short stitch across the direction of work, which creates a diagonal stitch on the top side leading to the next row. This keeps the layers fixed in relation to each other while still allowing them to move very slightly, which prevents creases. Lay your work flat on the table and lift it as little as possible.
Tailor's tacks for marking
For dart points, pocket positions or buttonholes, sew through both layers of fabric with a double strand of tacking thread and leave a loose loop. Then gently pull the layers apart and cut the threads in between. Small tufts of thread remain on both pieces in exactly the same spot. This method is particularly useful on fabrics where chalk or marking pens won't show up or would leave marks.
Tacking with a sewing machine
Set your machine to its longest stitch length, which on many models is 4 to 5 mm. Don't secure the start and end with backstitching; leave long thread tails instead. Slightly loosening the upper thread tension makes it easier to pull the stitches out later. Our guide How to set your sewing machine's thread tension shows you how to adjust the tension and reset it afterwards. For machine tacking, it's best to use ordinary sewing thread in a contrasting colour, as tacking thread is designed for hand sewing and may snap in the machine.
How to remove tacking thread properly
Snip the tacking stitches every few centimetres and pull out the short pieces one by one. If you pull out one long thread in one go, the fabric can bunch up. With machine tacking, pull the bobbin thread: it will often come out in one go if you hold the seam flat as you pull. Use the tip of a needle to pick out any stray bits of thread.
Common mistakes
- Tacking right on the seam line: the machine seam catches the tacking thread and you have to painstakingly pick it out.
- Pulling too tight: the fabric puckers and the finished seam keeps the ripples.
- Large knots: they get caught in the fabric and leave holes in fine fabrics.
- Thread matching the fabric: you'll struggle to find the tacking stitches again later.
- Tacking without pinning first: the layers shift while you're still tacking.
- Thread that's too long: it twists, tangles and costs more time than it saves.
- Leaving tacking stitches in too long: anything that's only there to hold things in place should come out once you've sewn the seam.
If you'd like to try tacking with some guidance first, you can book a sewing space in our Royal Sewing Room (Königliches Nähstübchen) here in Neumarkt-Woffenbach and get help as you learn to sew.
Frequently asked questions
What's the crossword answer for "sewing with tacking thread"?
Sewing with tacking thread is called tacking, or basting in American English. Depending on the number of letters, the answer is usually TACK, BASTE, TACKING or BASTING.
Can I use ordinary sewing thread for hand tacking?
At a push, yes, but sewing thread is strong and harder to remove. It can pucker fine fabrics as you pull it out. Tacking thread, by contrast, snaps easily and slides cleanly out of the fabric.
Can I press over tacking stitches?
Better not to press firmly. Under pressure and heat, tacking stitches can leave imprints in delicate fabrics. Only press the seam properly once the tacking thread has been removed; before that, press lightly at most.
Tacking or pinning: which is better?
Pins are enough for straight, straightforward seams. Tacking is worth it for slippery fabrics, curves, set-in sleeves, zips and fittings, because there are no pins in the way and nothing slips.
Where can I buy tacking thread?
You can buy Gütermann tacking thread in the tacking thread category of our online shop.
Matching categories
Matching products
Thread, Yellow
€2.70per piece
Unit price €0.01 / m
Thread, Cream
€2.70per piece
Unit price €0.01 / m
Prym hand sewing needle 5-9 in Silver
€2.90per piece
Pins
€2.90per piece
Wonderclips / Stoffklammern
€7.50per piece