Hemming curtains yourself: how to get a beautiful drape
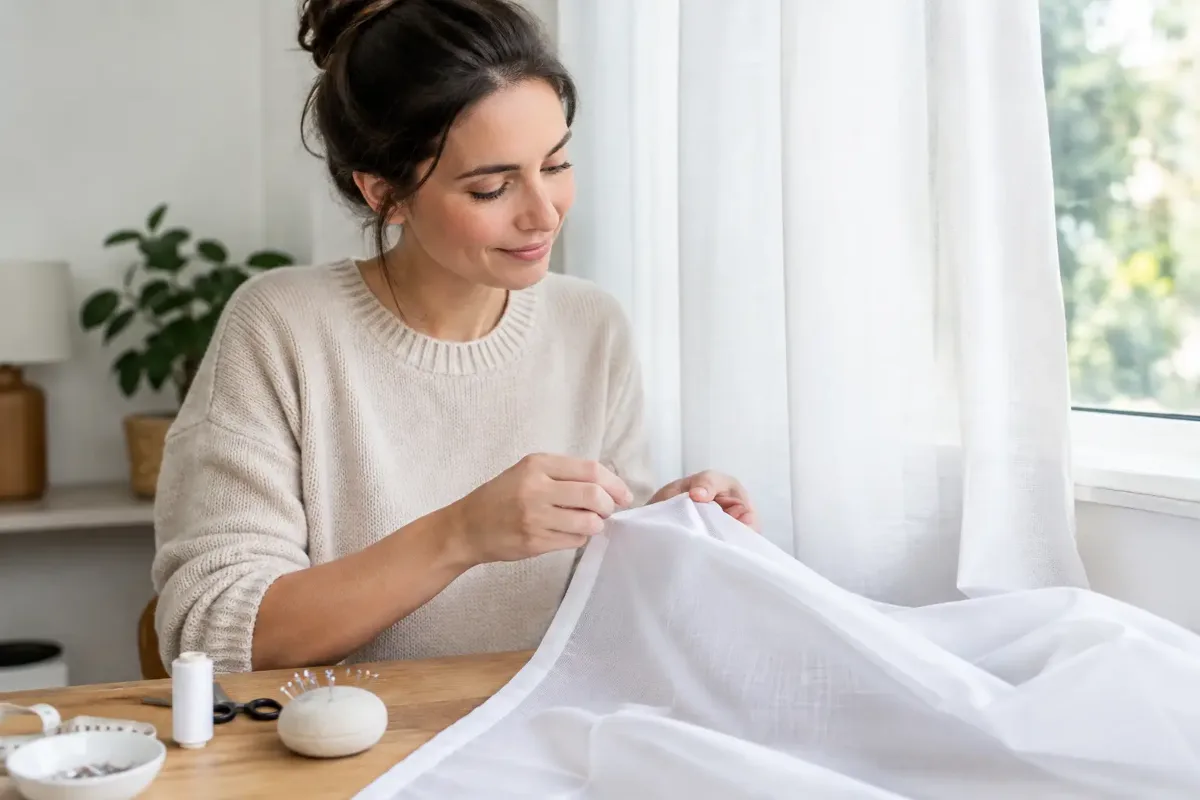
Your curtain is already up on the pole, but it drags along the floor and instantly looks less tidy? Then it's time to hem your curtains yourself. With a little patience, a carefully measured turn-up and the right method, you can do it even without much sewing experience. The key isn't to work especially quickly, but to take your time lining up the fabric before the first stitch.
Hemming curtains yourself starts with the right measurement
The most common mistake happens before you even start sewing: the curtain gets measured while lying flat. But fabric behaves differently at the window. Lightweight furnishing fabrics, voile and net curtains in particular can drop a little further under their own weight. So first hang the curtain exactly as it's meant to fall later – with the intended gliders, heading tape or tab tops.
Ideally, leave the fabric to hang for a day. Then measure the distance from where you want the hem to finish to the bottom edge at several points: left, centre and right. With wide panels or curtains, it's worth adding more measuring points. Windowsills, radiators and slightly uneven floors can make a line that looked straight when pinned appear crooked later on.
How long the curtain should be is a matter of taste. A light, airy net curtain can end around one to two centimetres above the floor. Heavy curtains usually look lovely when they hover just above it. If you deliberately want the fabric to pool on the floor, it needs a bit more length – although that's less practical for everyday textiles, as dust collects more quickly on the floor.
Remember to add the hem allowance
Add the hem allowance to your desired finished length. For a classic double-folded hem on light to medium-weight fabrics, you'll usually add six to ten centimetres. With very sheer fabric, a narrower hem is often enough, while a heavy furnishing fabric benefits from a slightly wider finish.
If the curtain is much too long, only cut off the excess once you've checked everything. Mark the cutting line with tailor's chalk, a fabric marker or pins. Cut on a large, smooth surface and use sharp fabric scissors. A frayed or wavy cut edge makes hemming afterwards unnecessarily fiddly.
Which method suits your curtain fabric?
Not every curtain has to be hemmed on a sewing machine. The best option depends on the type of fabric, how durable you need the hem to be and how visible it's allowed to be. With a delicate net curtain, an inconspicuous finish matters most; with opaque curtains, it's more about a neat, sturdy drape.
With a sewing machine: neat and long-lasting
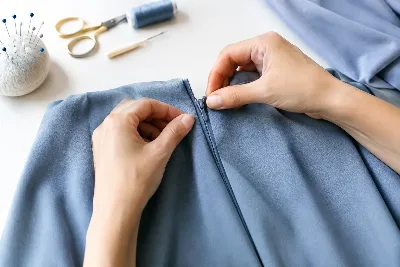
A double-folded hem is the classic solution. First fold the bottom edge of the fabric about one centimetre to the inside and press it carefully. Then fold the edge over again to your desired hem width and press once more. This way the raw edge is tucked safely inside the hem and can't fray.
Pin the fold in place with fine pins at right angles to the sewing direction, or use fabric clips. Sew close to the inner folded edge. A straight stitch with a medium stitch length works well for most curtain fabrics. Test the thread tension and stitch appearance on a scrap first – especially on fine fabrics, stitches that are too tight can cause puckering.
Choose a thread that matches the colour of your fabric as closely as possible. For white net curtains, clear invisible thread isn't always the best choice: depending on the light, it can shine and feel a little stiff. A fine sewing thread in a matching colour is often the more discreet option.
Sewing by hand: ideal for delicate and special fabrics
If you don't have room for a machine or the fabric is very delicate, you can sew the hem by hand. A blind stitch holds the fold in place without being clearly visible on the right side. To do this, you only ever pick up a few threads of the curtain's right side.
This method takes longer, but it's wonderful for high-quality curtains, very thin fabrics or small alterations. Be careful not to pull the thread too tight. Otherwise the fabric edge will gather and the hem will lose its smooth drape.
Iron-on hemming tape: the quick alternative
Iron-on hemming tape is handy when you're in a hurry or would rather not sew. It's placed between the fabric edge and the fold and fused with the iron. For lightweight curtains in rooms where they won't get much wear, this can be a good solution.
For heavy blackout curtains, coated fabrics or curtains that are washed frequently, a sewn hem usually lasts longer. Always check the fabric's care instructions, too. Some synthetic fibres only tolerate low temperatures, and heat can leave visible marks on coated fabrics. A test on a hidden spot will save you any nasty surprises.
How to get a truly straight hem
When hemming curtains, pressing isn't a side step – it's what makes the difference between a quick makeshift fix and a neatly finished edge. The pressed fold shows you exactly where the seam should run and stops the fabric from shifting as you sew.
Work in sections on long lengths of fabric. Mark, fold and press one section first, then move on to the next. If you try to turn three metres of fabric at once, the edge will easily slip. A large table, a clean floor or several surfaces pushed together make a huge difference.
On sheer fabrics, use pins as sparingly as possible, as the holes they leave can remain visible. Fabric clips are often the better choice here. On heavy, densely woven curtains, however, you can secure the fold a little more generously – otherwise the weight of the fabric will pull on it.
Special cases: net curtains, eyelets and blackout curtains
A lightweight net curtain needs a narrow hem so the bottom edge doesn't look weighed down. Folding it twice by one to two centimetres usually looks balanced. On a very fine voile, a rolled hem made with an overlocker or a special presser foot can also look lovely. It does take a bit of practice, though, and isn't the best choice for every fabric.
Always measure eyelet and tab-top curtain panels while they're hanging. The way they're hung can change the length depending on the pole and how the folds fall. With heading tape, too, it's worth checking the final gathered width: gather and hang first, then decide on the length.
Blackout fabrics and thermal curtains often have several layers or a coating on the back. Use a suitable, sturdy needle and sew slowly. If the fabric is very thick, a single fold may look better than a hem folded several times. In that case, you can finish the raw edge beforehand with a zigzag stitch or bias binding – as long as that suits the type of fabric and the look you're after.
Quick fixes for small hemming problems
Rippling along the hem is often caused by too much thread tension, a hem that's too deep for a very light fabric, or pulling while you sew. Sew without tugging the fabric, reduce the upper thread tension if necessary and test the setting. Pressing again carefully can also smooth out slight ripples.
If the curtain is still too long after hemming, you can usually add another narrow fold without any trouble. Too short is trickier. So it's better to measure a little generously at first and only settle on the final length once the curtain is hanging. If a hem ends up too short, adding a strip of fabric can be a creative solution – for example as a colour-coordinated border on opaque curtains.
Crooked side edges don't have to mean everything has gone wrong, either. First check that the curtain is hanging straight on the pole. If the fabric itself was cut slightly off-grain, use the line that looks straight in the window as your guide for the hem – not just the selvedge.
A good hem can be understated: it gives your curtain structure, lets it fall smoothly and, at best, simply stays invisible. If you're unsure about fabric, thread or the right needle, personal advice can help – and at Die Stoffkönigin we're just as happy to help with your very first window as with a whole home.