


This fabric comes in 9 colours
A mid blue with no green cast — the colour between pale and dark blue that combines with either. At 30 cm a dress opens at the side without its seam losing its line. On trousers and shorts this is the usual length too.
A plastic coil of 3 mm on a polyester tape. Only the slider stays visible afterwards; everything else lies inside the seam. Close it before every wash, so the tape will not distort and the teeth cannot catch in other laundry. Never press directly over the slider, or the plastic takes damage.
What Nahtverdeckte Reißverschlüsse Mittelblau is suitable for
- Dresses fastening at the side, because this opening suffices.
- A-line skirts, because the opening reaches past the hip.
- Bean bag covers, because the cover comes off for washing.
Sewing tips
- Ein spezieller Nähfuß für nahtverdeckte Reißverschlüsse ist praktisch Pflicht — er rollt die Spirale auf und führt die Naht direkt darunter.
- Der Verschluss wird eingenäht, BEVOR die Naht darunter geschlossen wird. Das ist umgekehrt zum normalen Reißverschluss.
- Vor dem Nähen die Spirale mit dem Bügeleisen auf niedriger Stufe flach ausrollen, dann kommt die Naht nah genug an die Zähne.
- Beide Seiten von oben nach unten nähen, nicht gegenläufig — sonst verzieht sich die eine Seite gegen die andere.
- Am unteren Ende so weit nähen, wie der Fuß kommt, dann den Rest der Naht mit normalem Fuß schließen und die letzten Zentimeter von Hand verriegeln.
- Bei dehnbaren Stoffen ein schmales Formband oder Vlieseline in die Nahtzugabe legen, damit die Kante gerade bleibt.
- Zum Waschen schließen und nicht direkt über den Schieber bügeln.
Matching colour code 213
- Reißverschluss Spirale 3 mm Länge 16 cm pinlock Mittelblau
- Reißverschluss Spirale 3 mm Länge 18 cm pinlock Mittelblau
- Reißverschluss Spirale Breite 3 mm Länge 20 cm pinlock Mittelblau
- Reißverschluss spiralförmig 3 mm, 35 cm, nicht teilbar, Mittelblau
Available in more colours in the Nahtverdeckte Reißverschlüsse series.
Frequently asked questions
Do I need a special presser foot?
Practically yes. An invisible zip foot rolls the coil open as you sew and guides your seam right beneath it. Without one, your seam stays too far away and the teeth show.
In what order do I sew?
The opposite way round from an ordinary zip: first sew the fastener into the open edges, then close the seam below it. Sew first and insert after, and you will never get it neatly under.
How does it look tidy inside?
A facing or lining covers your seam allowances and the tape. If you have neither, finish those allowances with overlock or zigzag beforehand, or they fray beside the tape.
How do I set it into a cushion cover?
Into the side seam, before sewing the cover together. Measure so your opening takes up at least half the cushion width — otherwise the insert only goes back in with a struggle.
Care instructions:

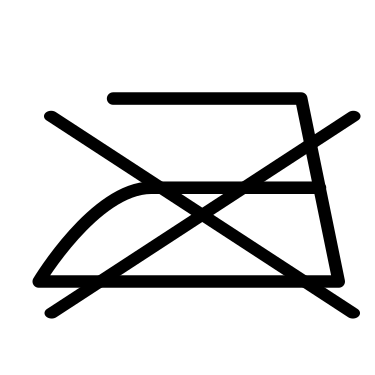


Daten und Pflege
- Colour code
- 213
- Width
- 3 mm
- Length (cm)
- 30 cm
- End type
- nahtverdeckt
- Type
- Spirale
- Material
- 100 % Polyester
- Artikelnummer
- 503021037